I am thrilled to be participating in this baby shower-themed blog hop, organized by Sydney of Tastefully Frugal. If you’re joining me here at Flourish & Knot for the first time: welcome! Each of us interpreted the theme in a slightly different way, so there is a real variety of inspiration for you. Inspired by the many beautiful handmade baby gifts I received at my own shower, I thought I’d make a jellyfish tag toy.

This toy would be a perfect addition to any baby shower gift; and as a future mom, I think that anything that doesn’t light up, flash, or make weird sounds is a welcome addition to playtime! 😉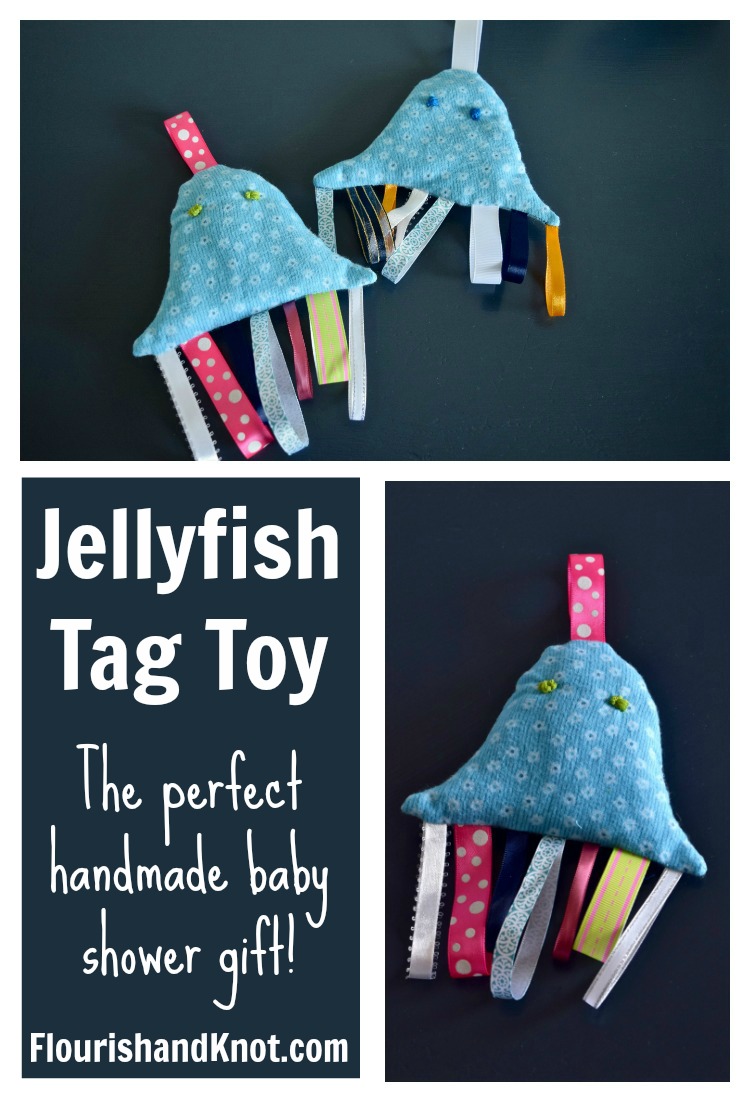 The idea of these tag toys, is that they can be hooked onto a baby play gym or stroller, and provide some tactile play for baby. Bright colours make them attractive, and they can be washed!
For safety’s sake, I made sure the ribbons weren’t too long, and that everything was VERY well sewn-on. I used a machine, but this could easily be made by hand-sewing.
Materials
Small square of cotton or flannel (for body of jellyfish)
Jellyfish pattern (Jellyfish Tag Toy Pattern)
5-7 ribbons of varying lengths, widths and colours. (Mine were between 4″ and 6.5″ in length)
Co-ordinating thread (and needle or sewing machine)
Co-ordinating embroidery floss (and needle)
Straight pins
Fabric scissors
Directions
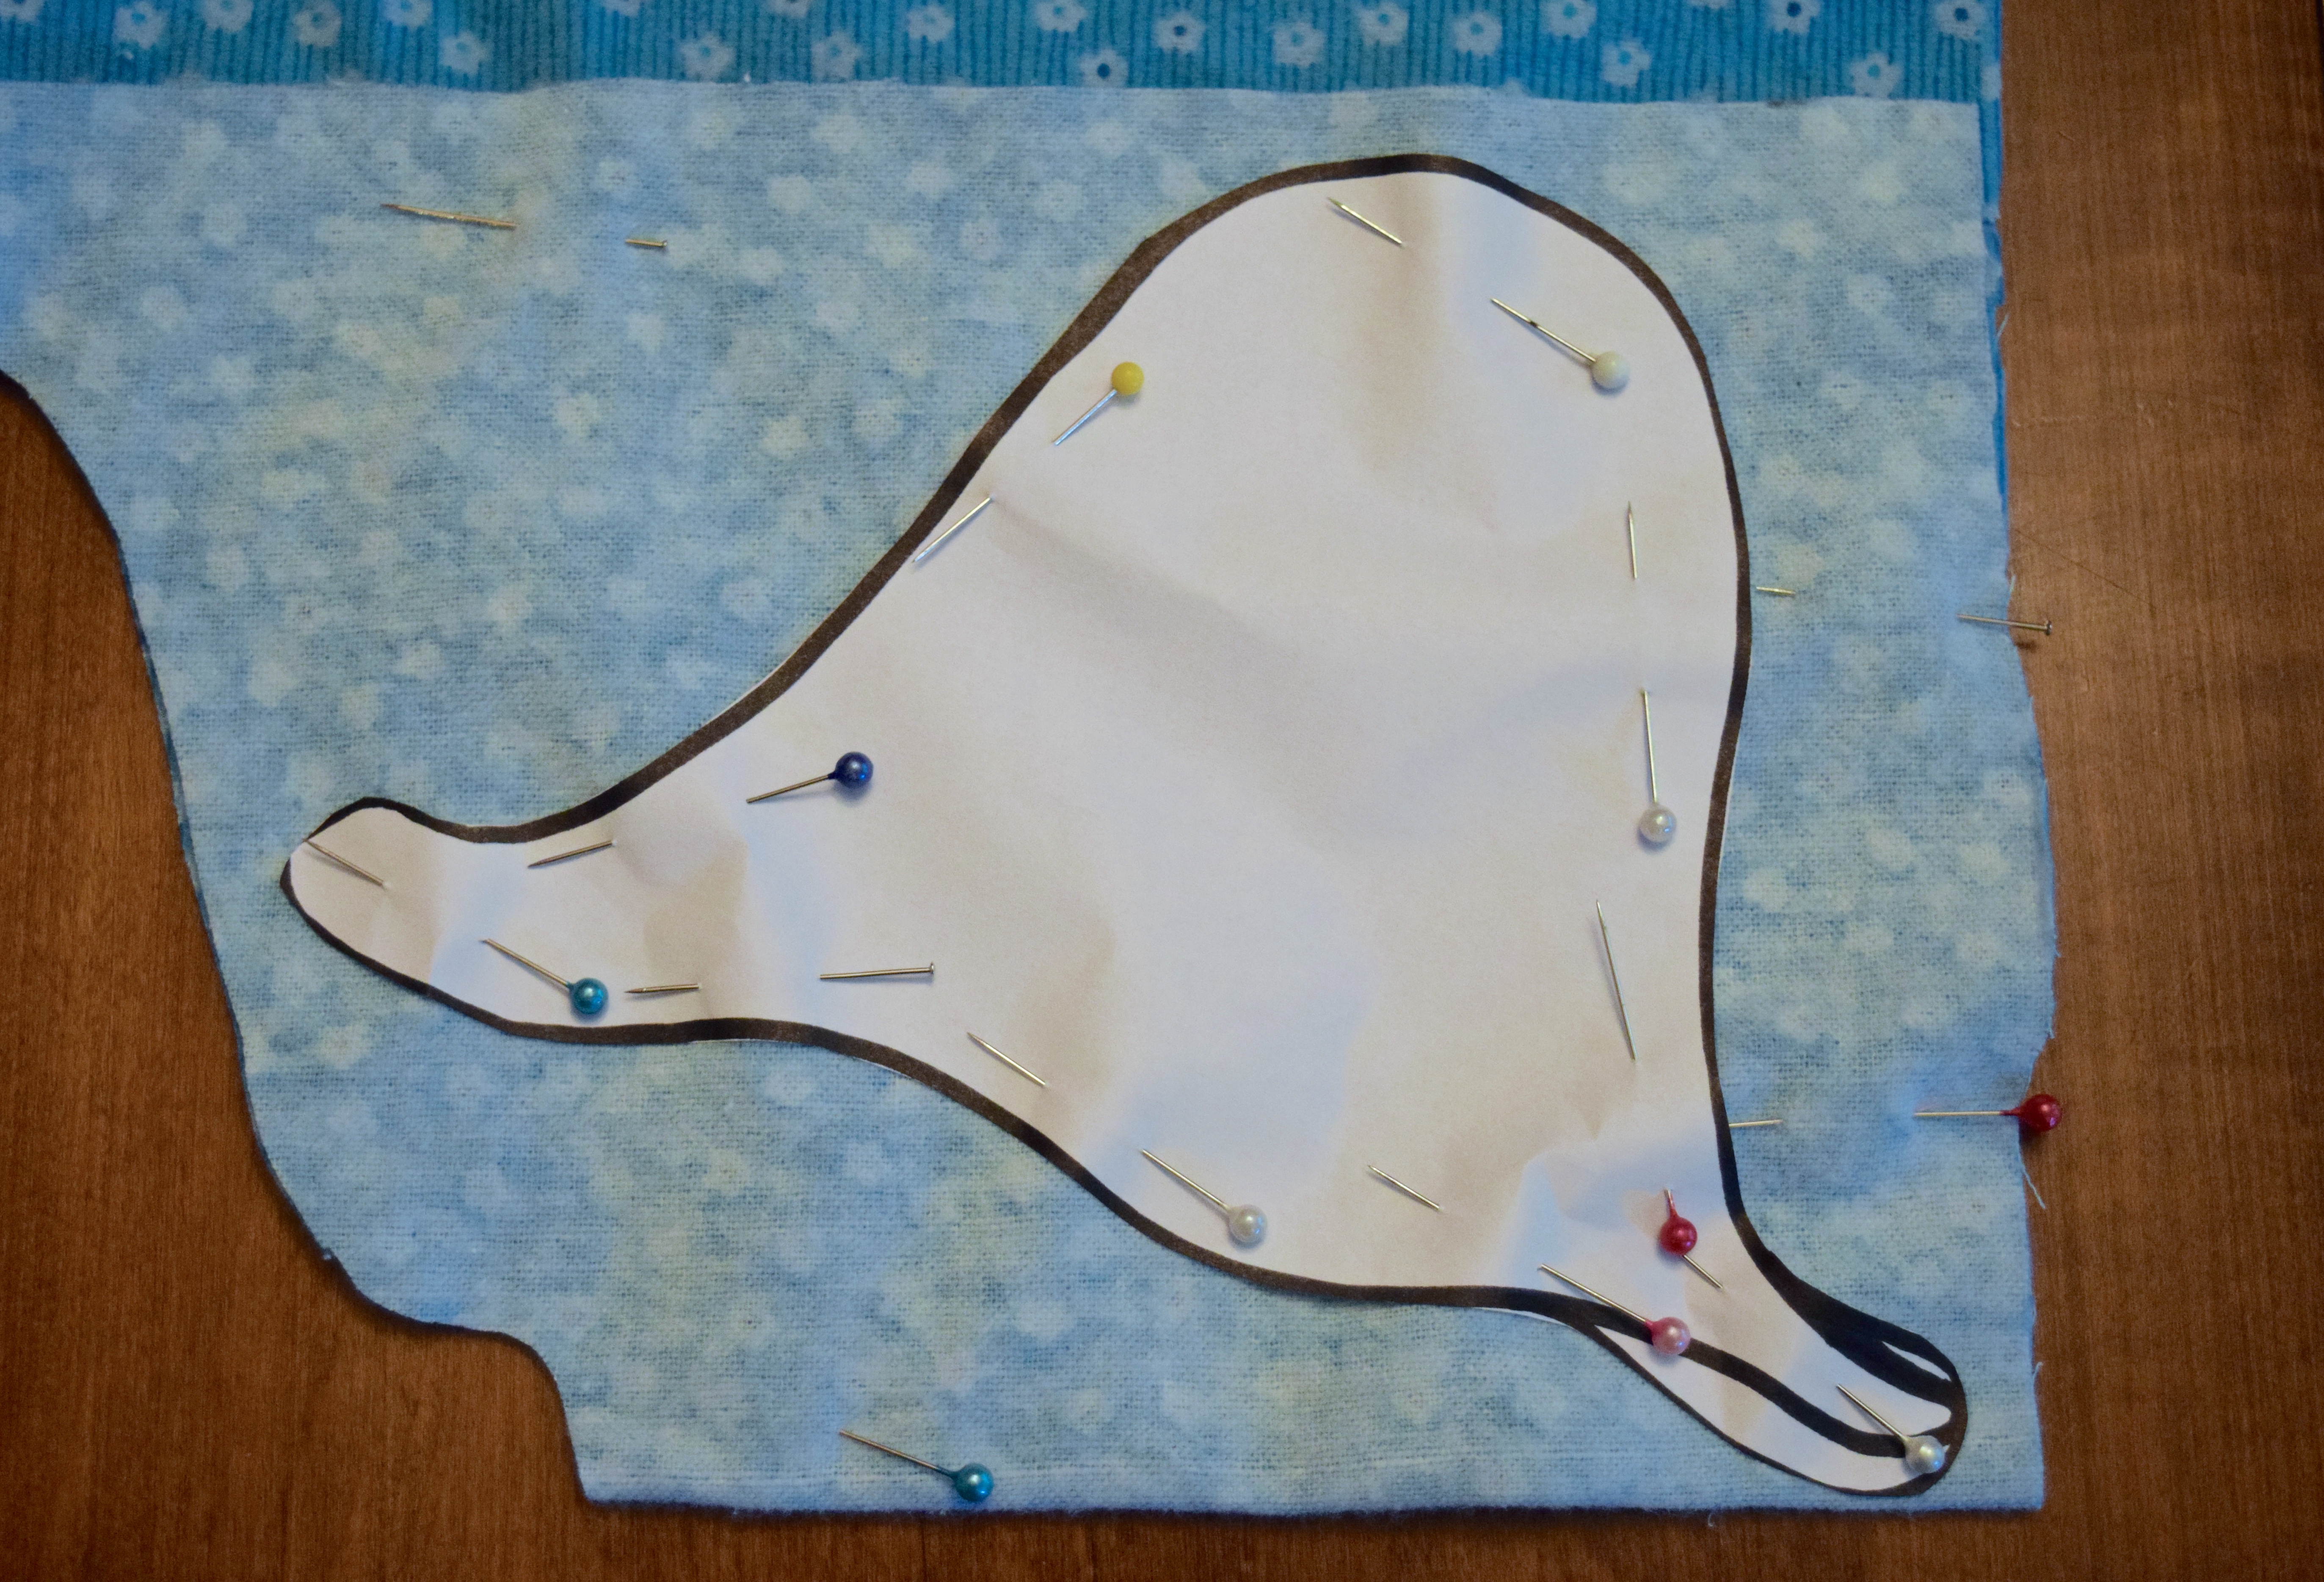
- Fold your fabric in half, right sides together. Pin your pattern to the folded fabric and cut out.
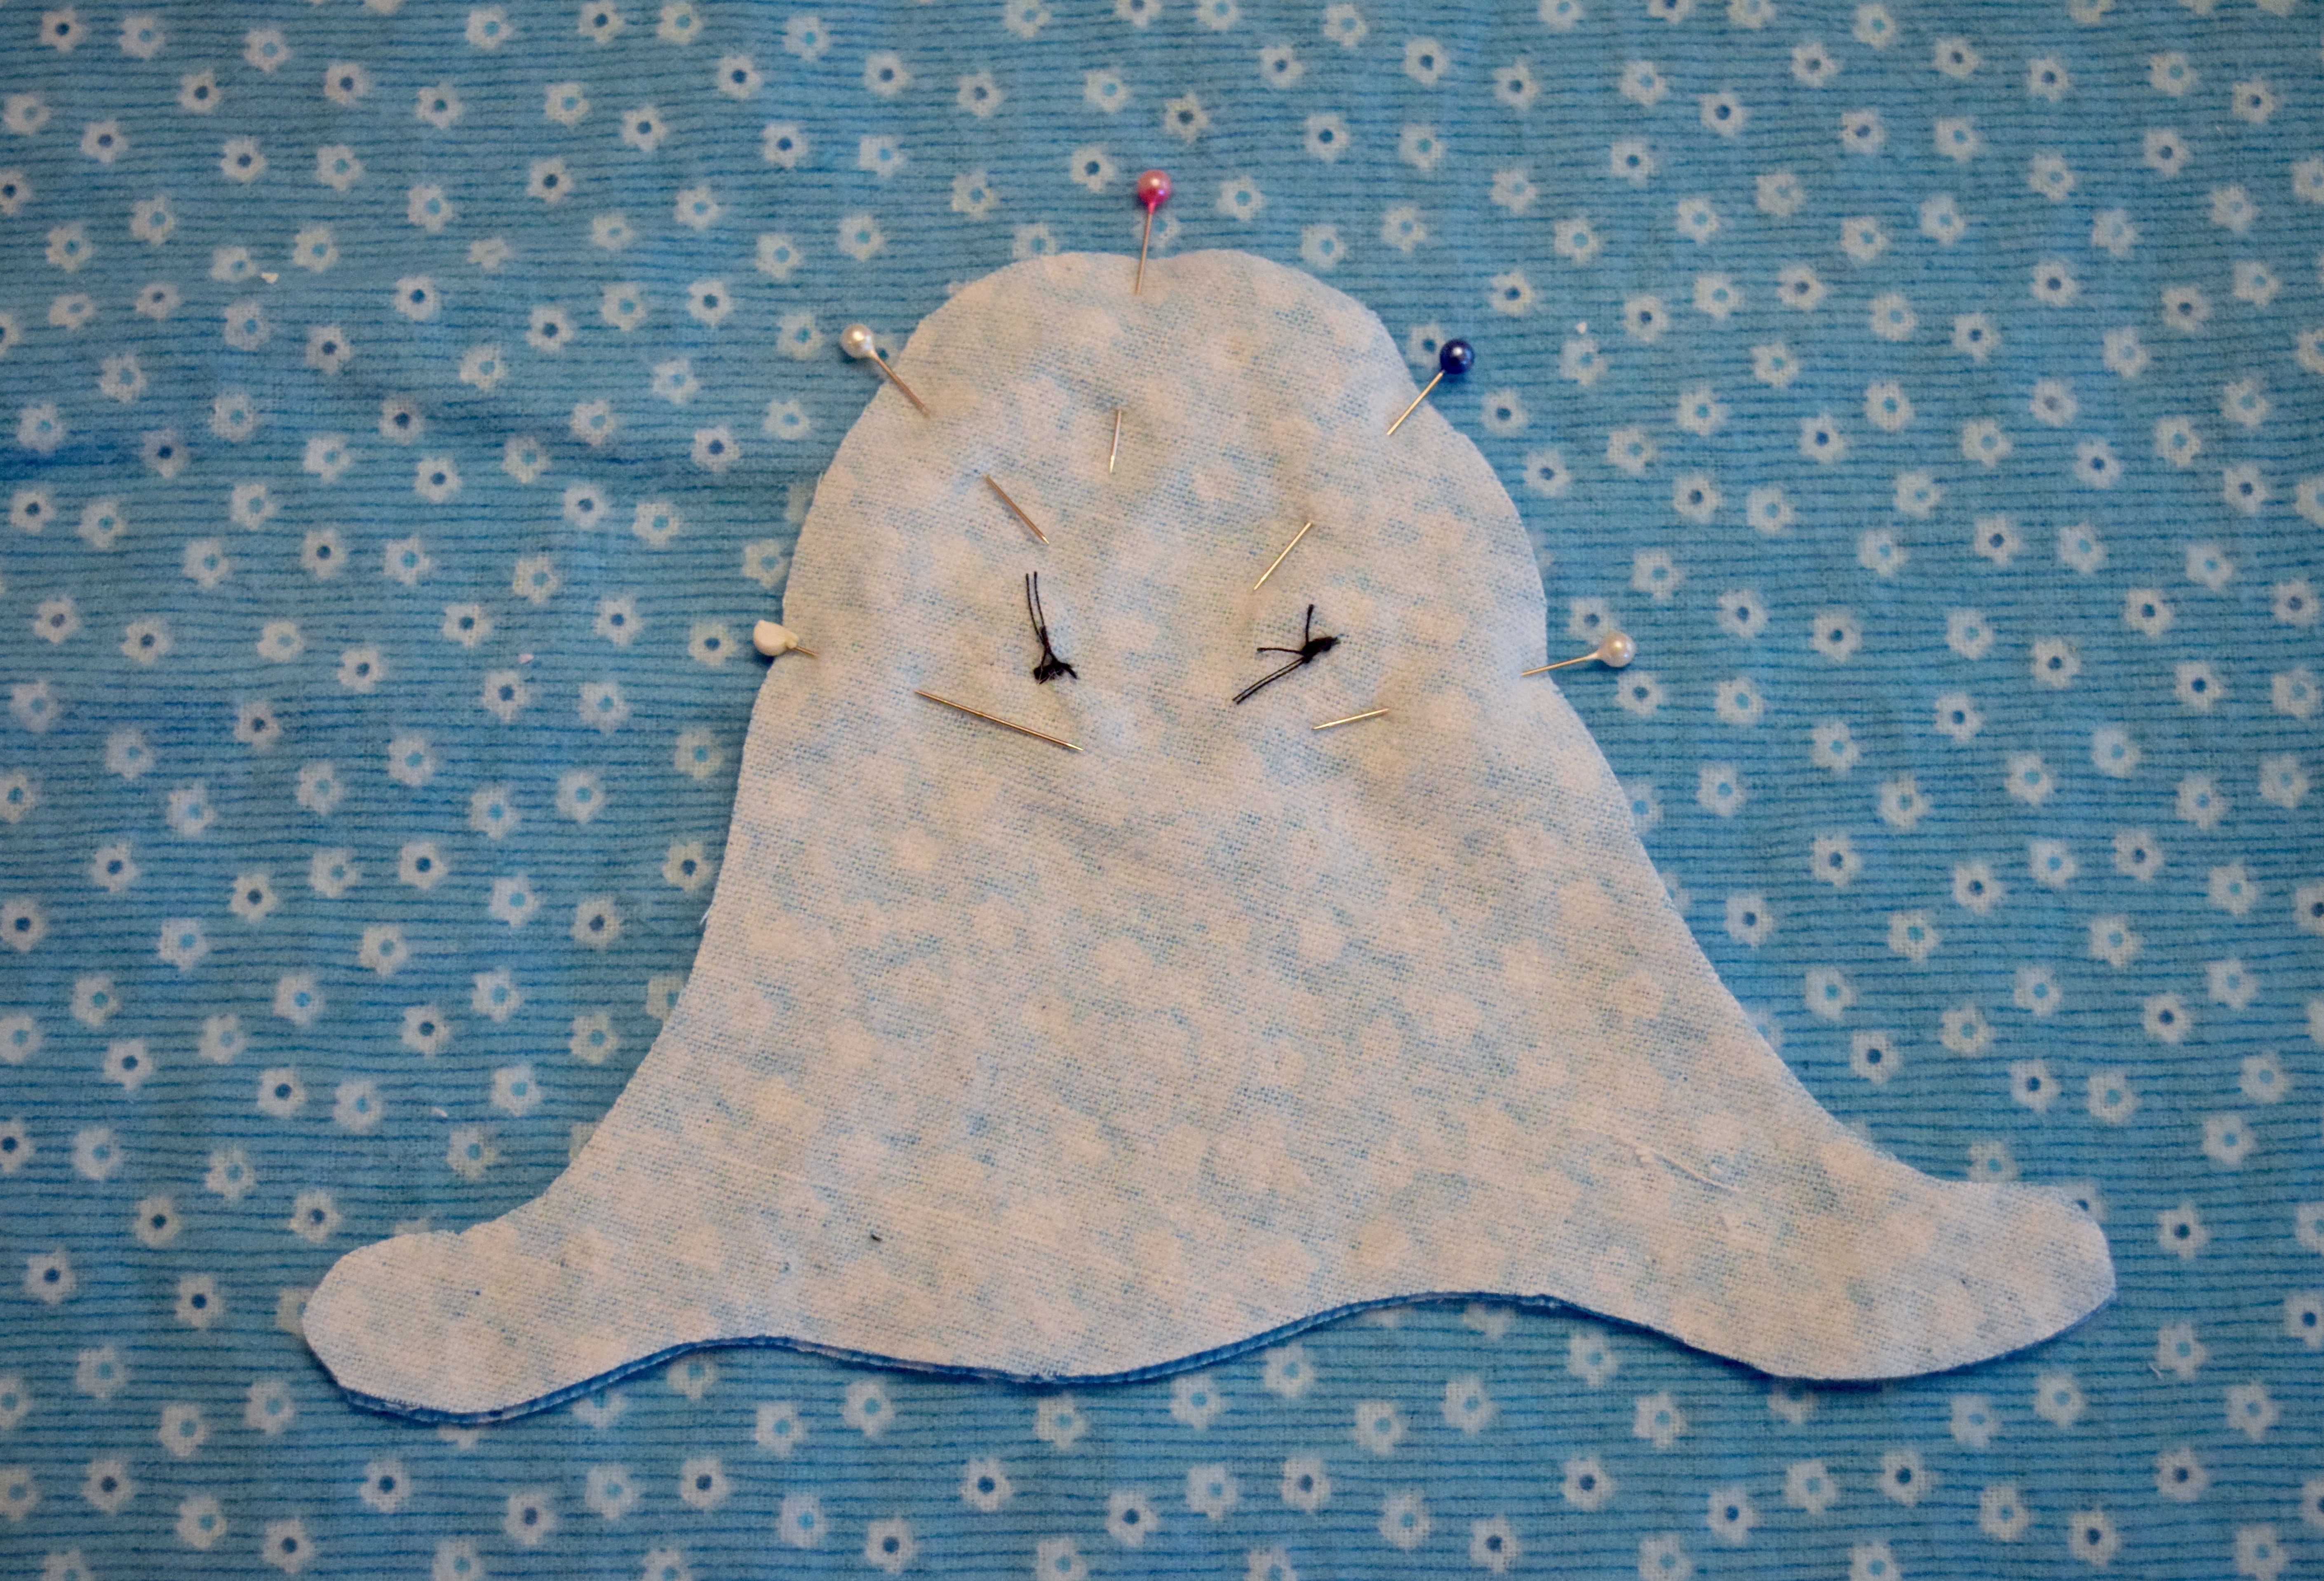
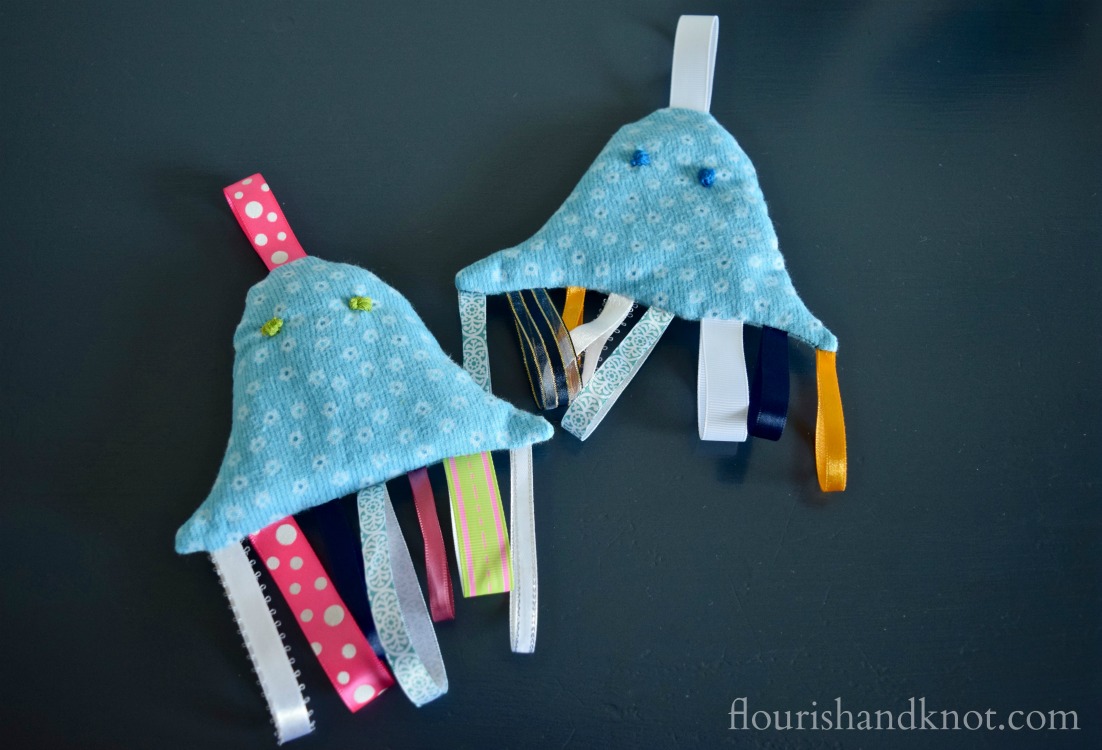
- On the side you decide is the front of your jellyfish, mark and embroider two eyes. Because I have zero – ZERO – embroidery skills, I just made thick knots. You could do a “french knot”, but I certainly couldn’t. 🙂 (You’ll see in the photos that I originally sewed on buttons for the eyes, but I later decided that they might get bitten off by baby, so I replaced them with the embroidery.)
- Pin the top of your jellyfish to keep the pieces neatly assembled while you insert the ribbons.
- To insert the ribbon “tentacles”, open the bottom of the jellyfish. Fold your ribbons and place them inside the body of the jellyfish, with the loops in the centre and the ends of the ribbons hanging out of the bottom. (In know, it sounds counter-intuitive. Please trust me.) Pin the ribbons in place.
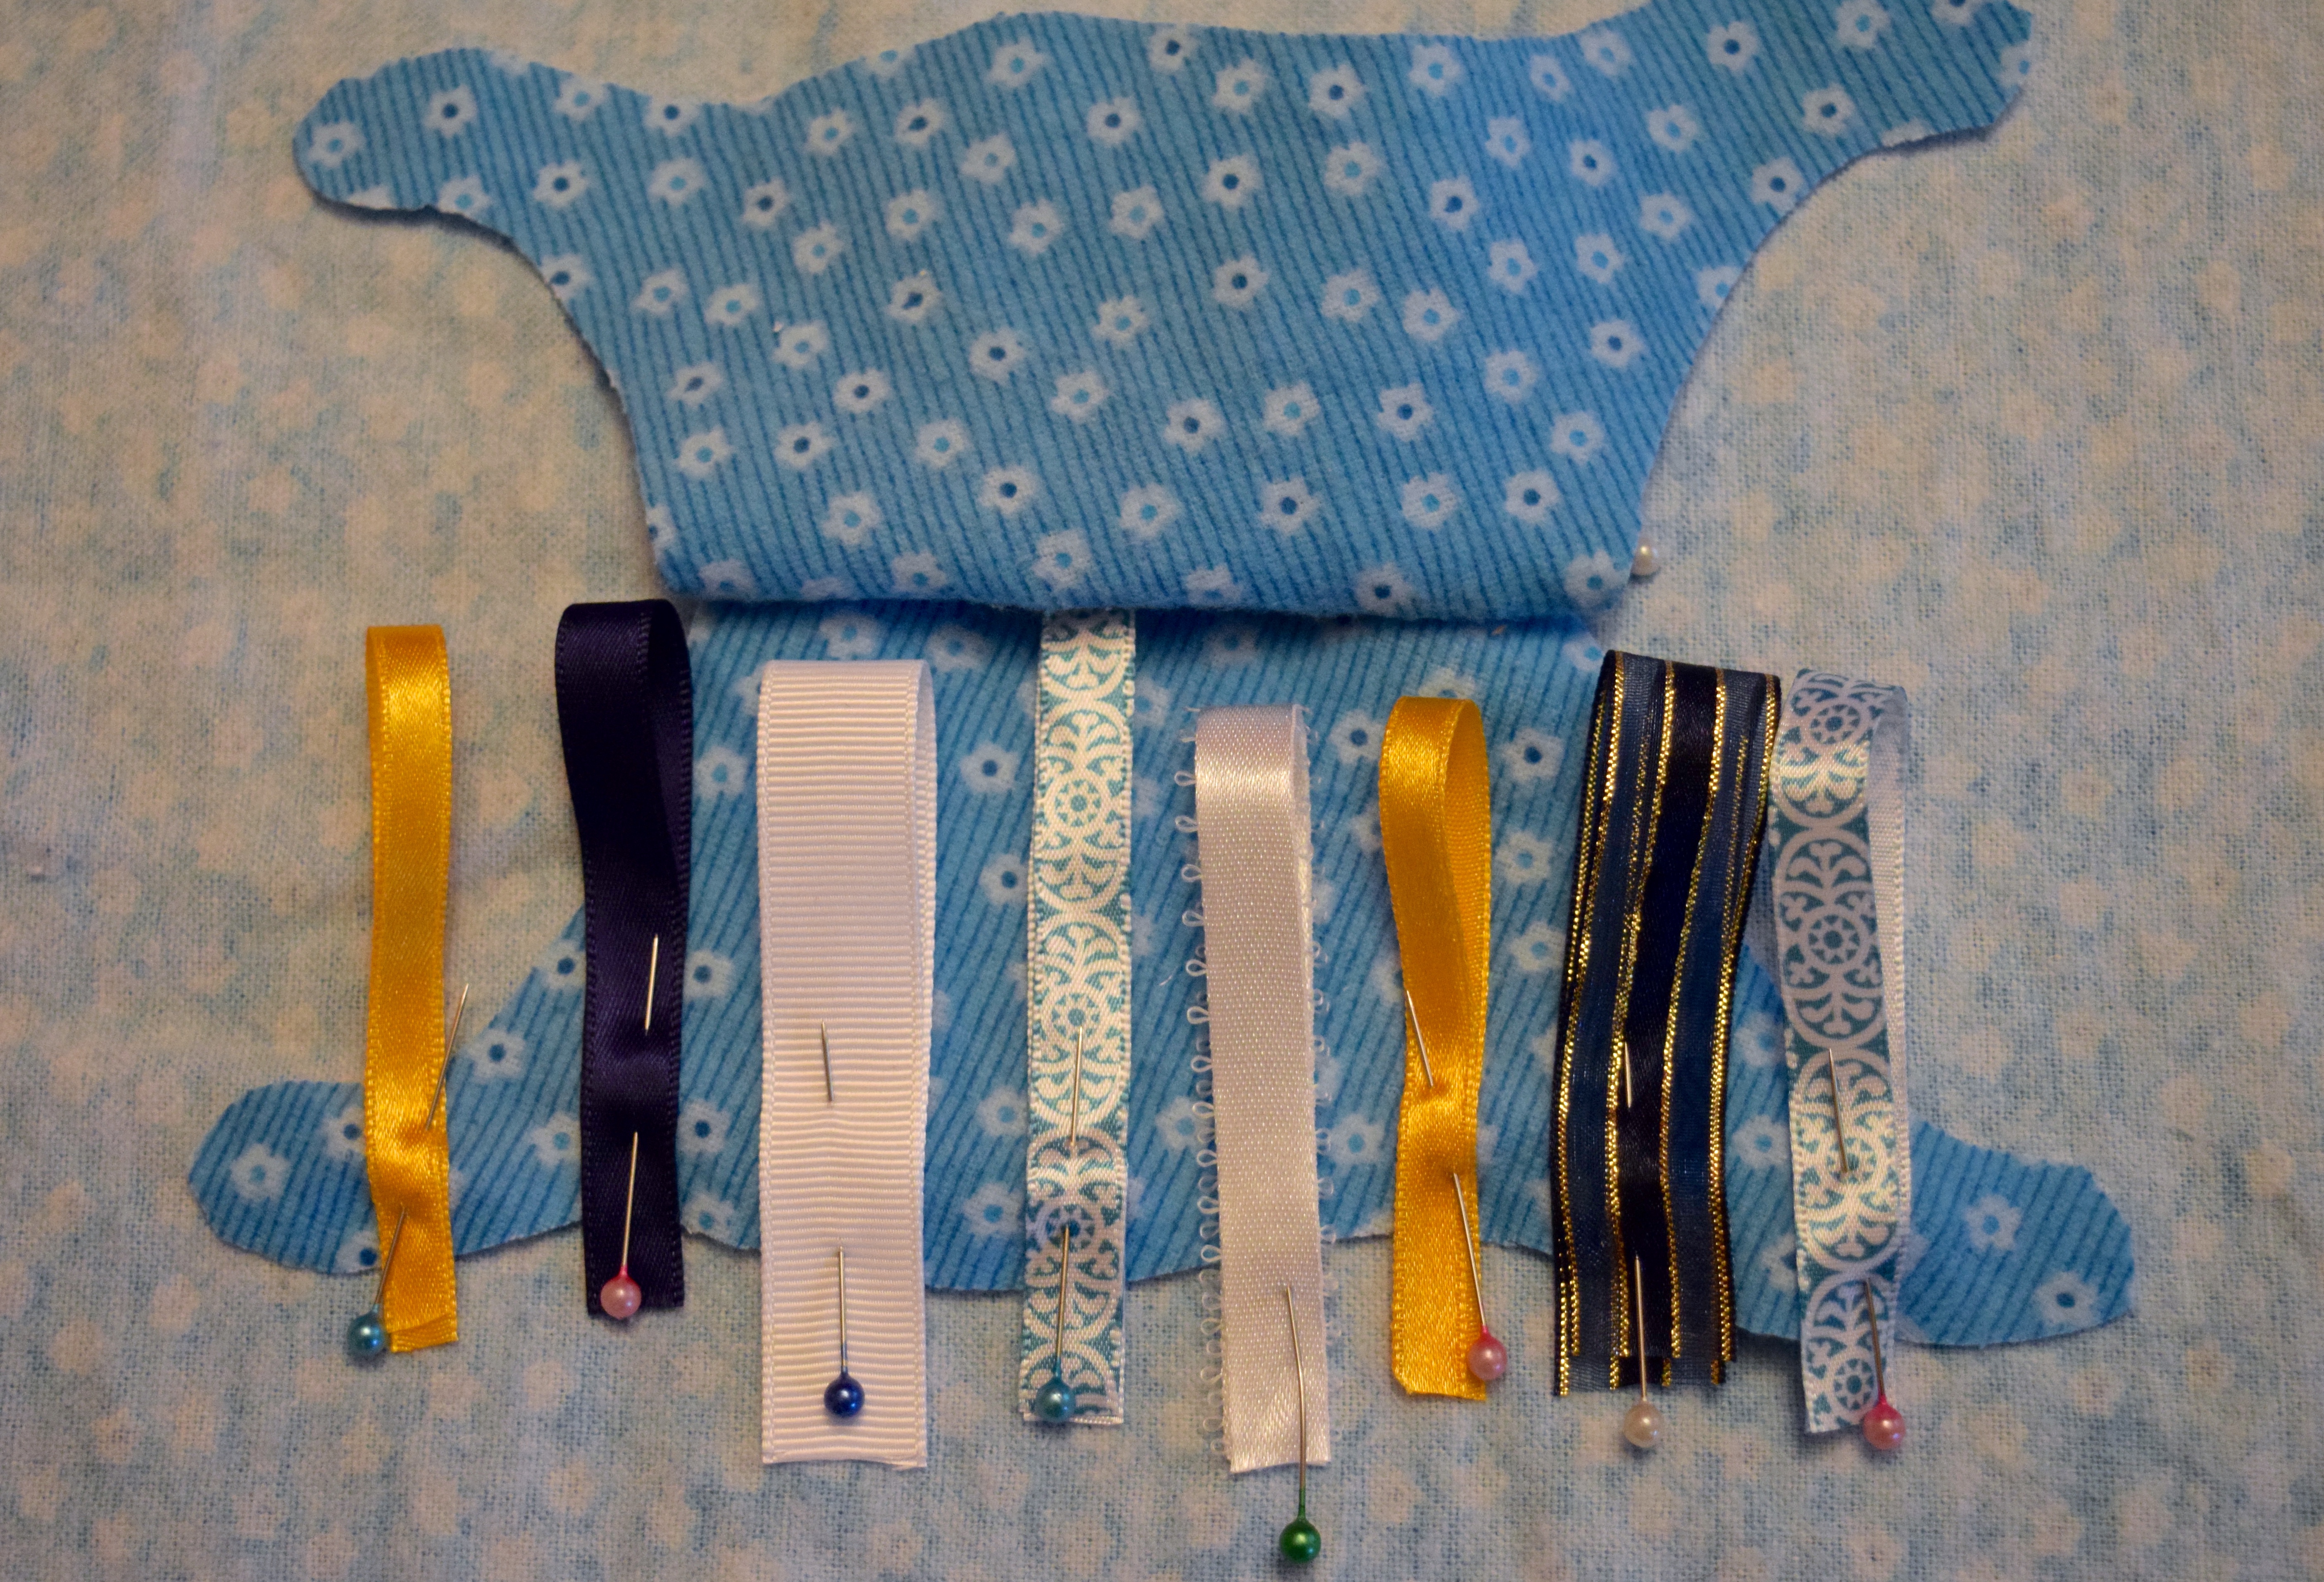
- Fold down the other side of the jellyfish and sew the ribbons in place. I double-sewed this seam, so that the ribbons would withstand extra tugging! My seam allowance was 1/4″.
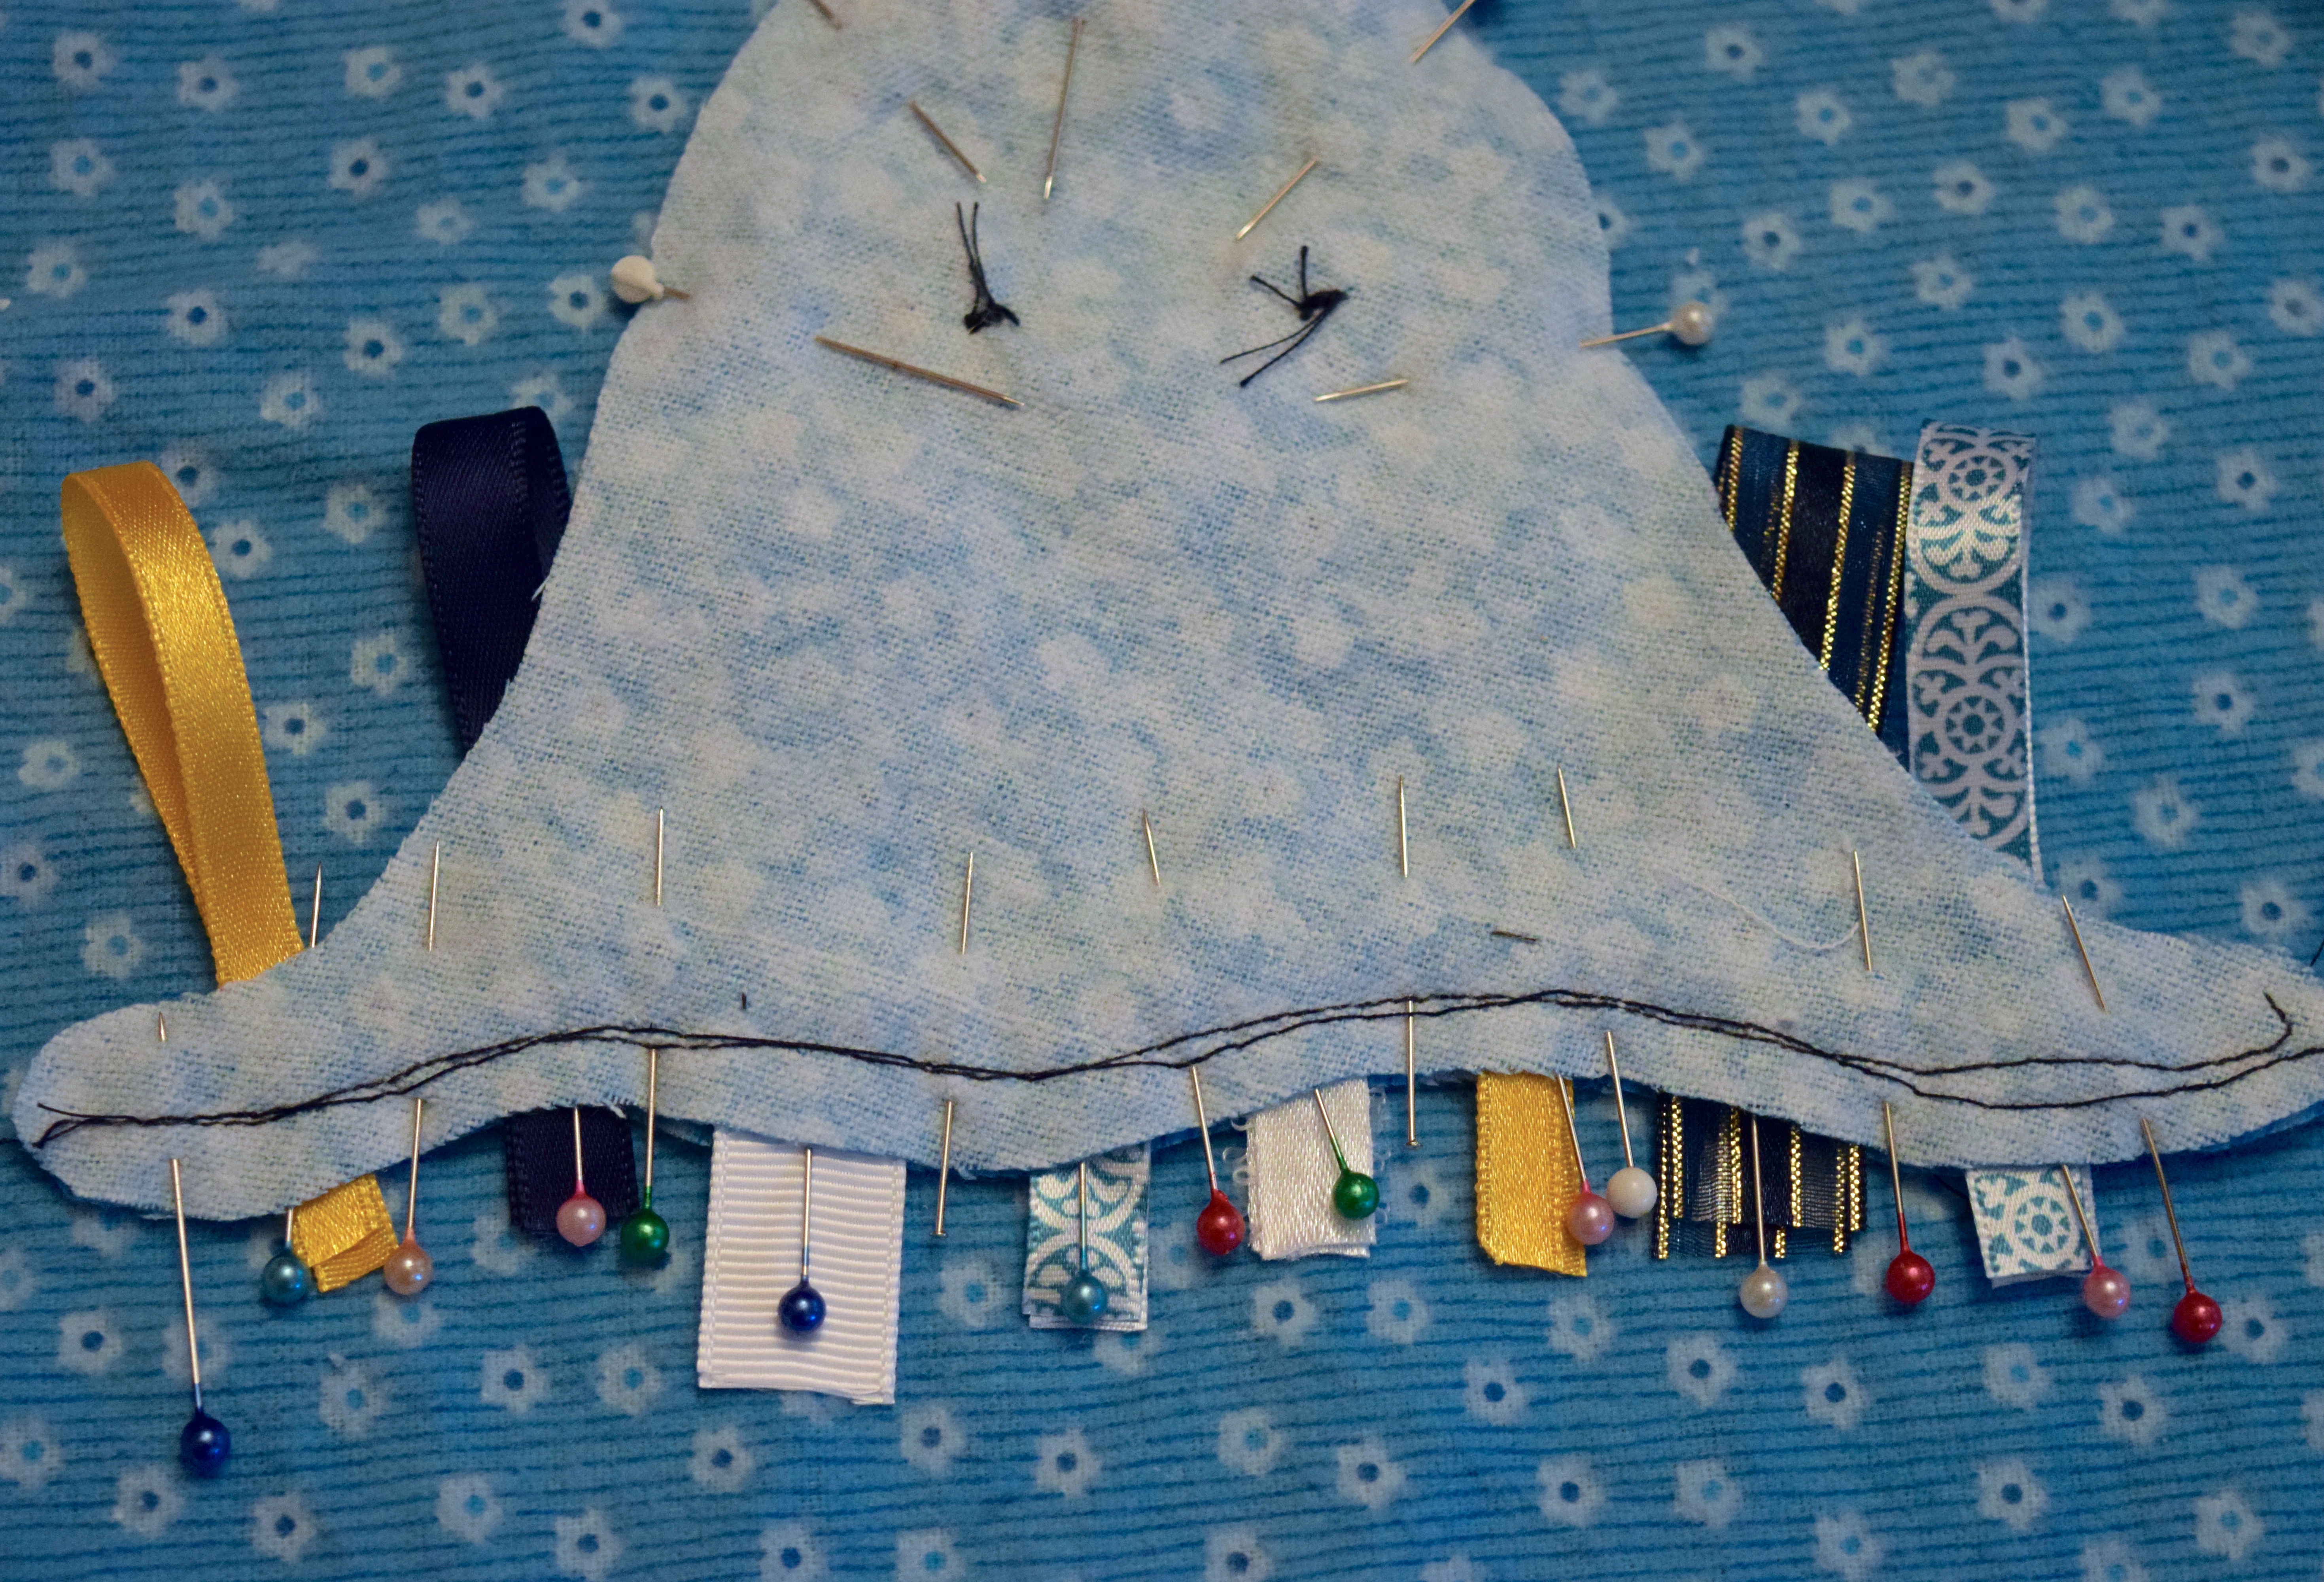
- Repeat step 5 at the top of the jellyfish, to add the loop for attaching the toy to a stroller or gym.
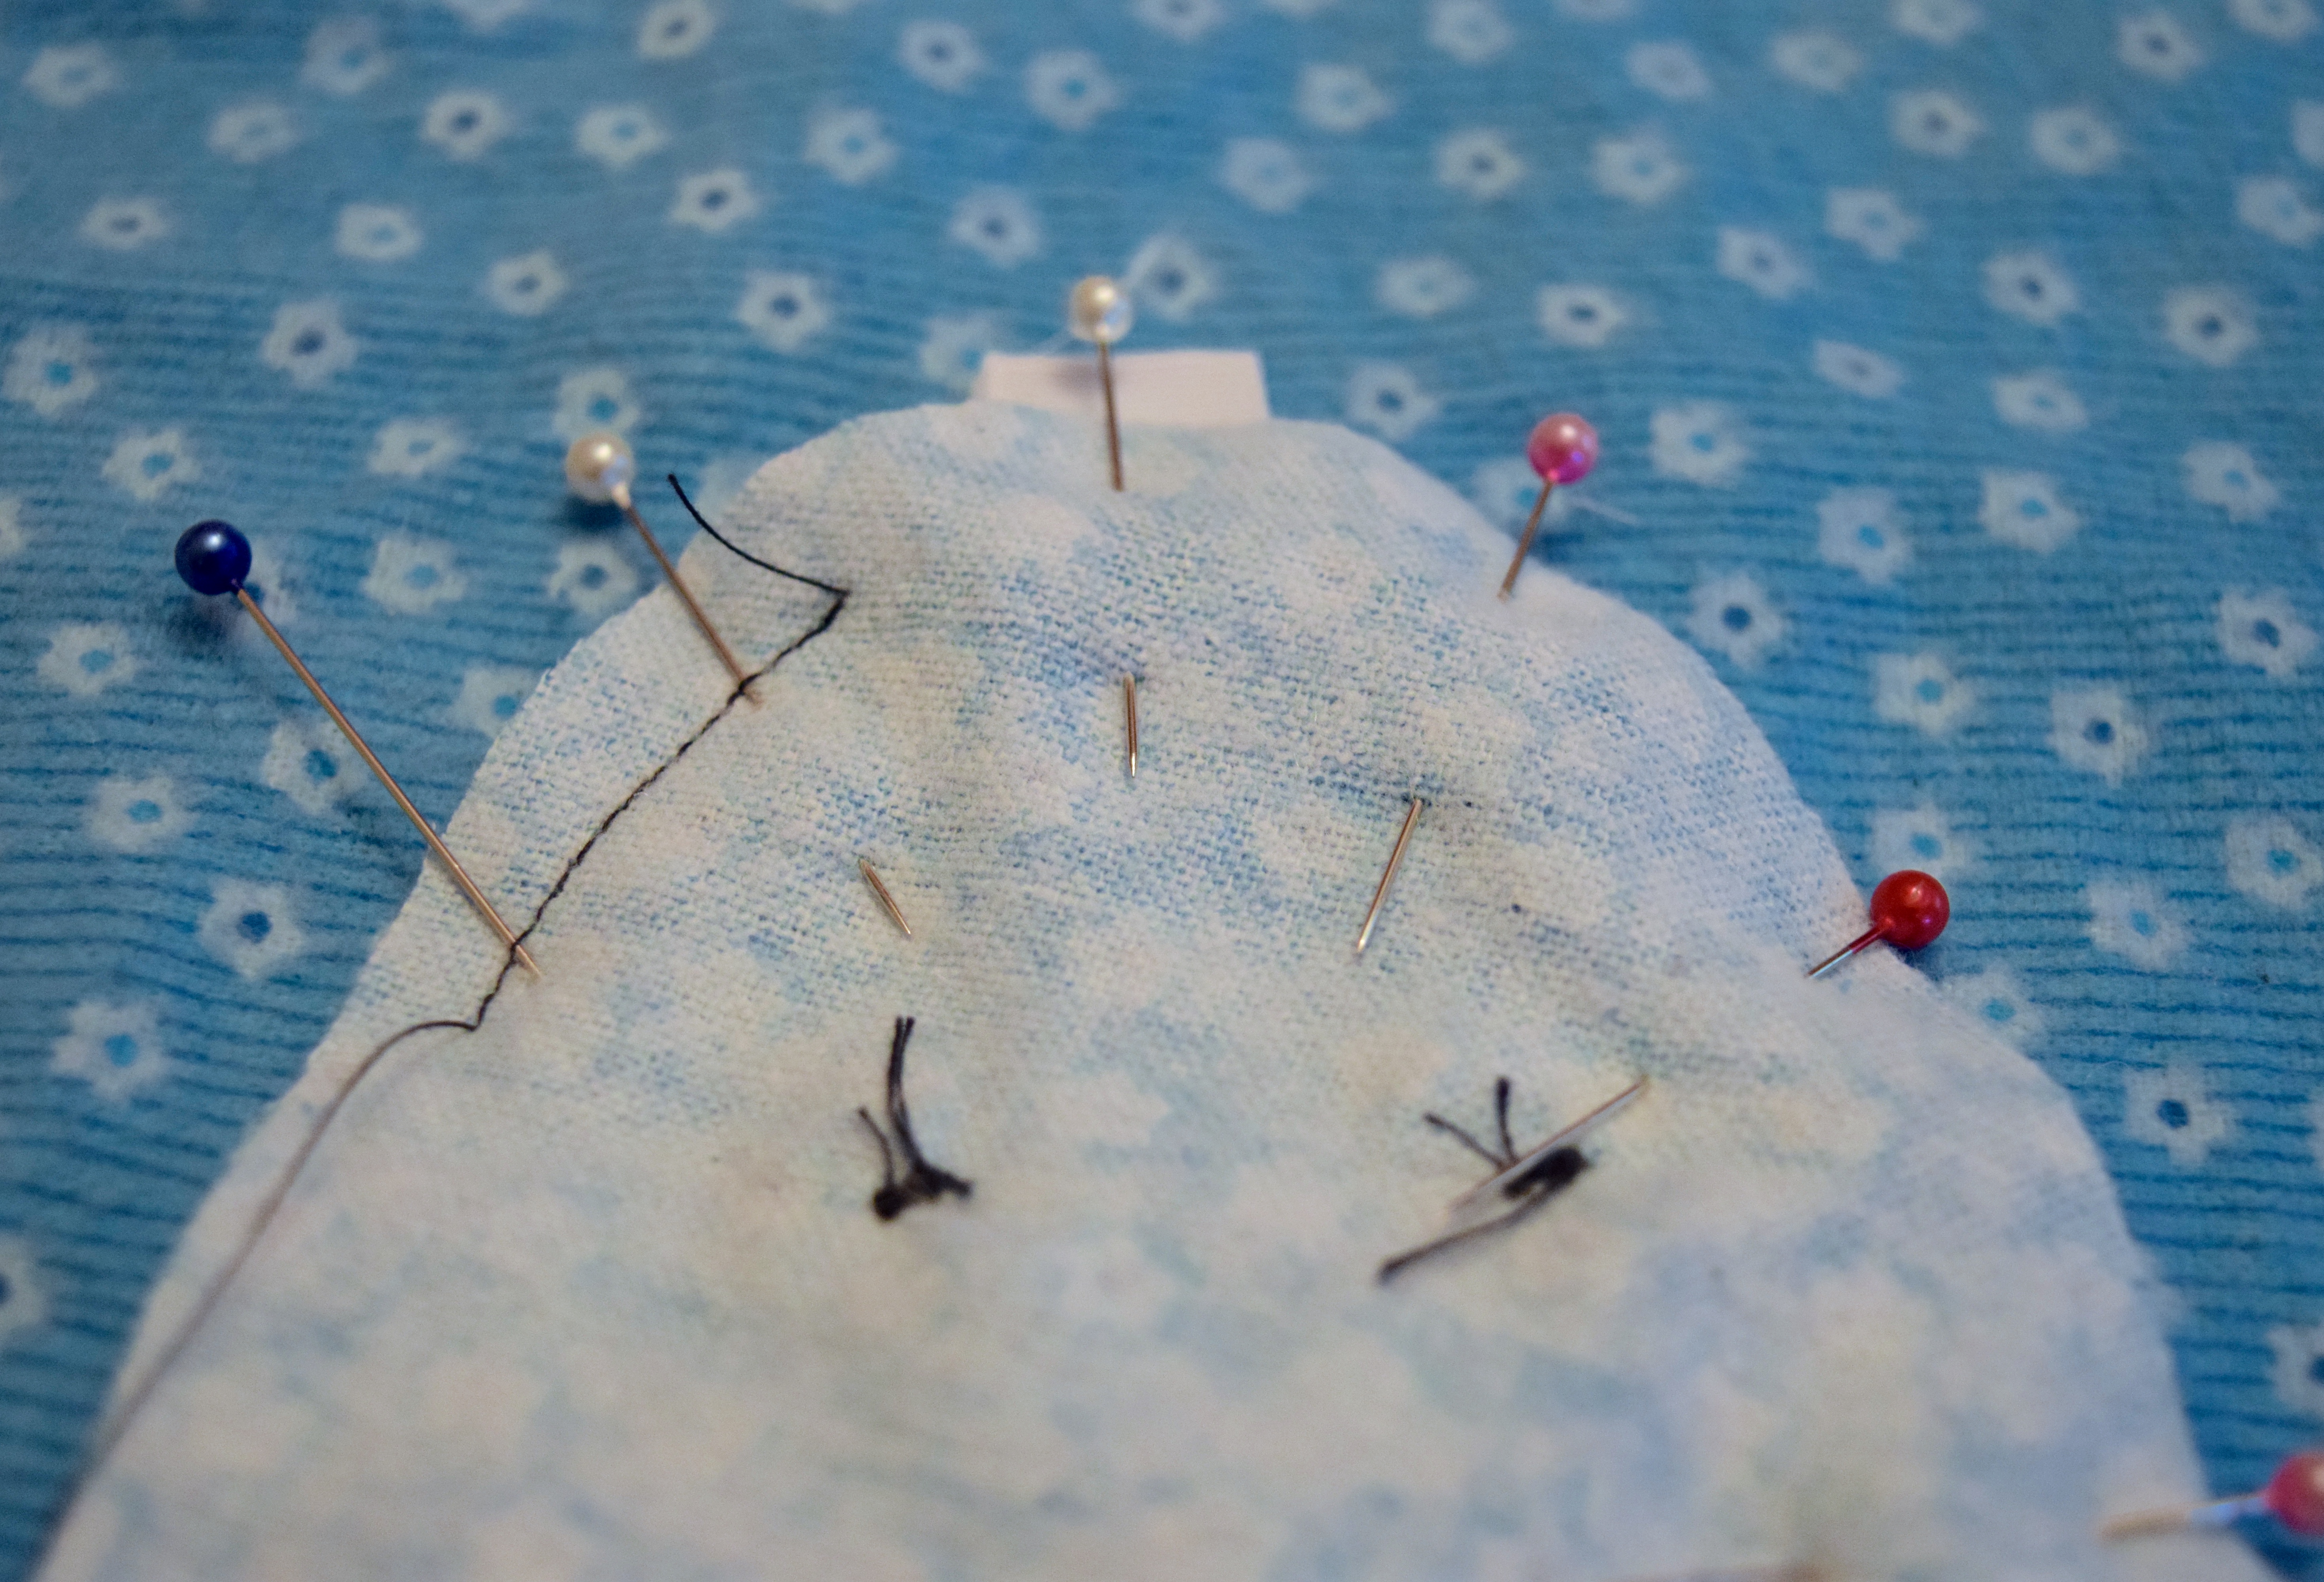
- Gather all of the ribbons into the centre of the jellyfish, and pin around the edge. Sew a seam all the way around the body of the jellyfish, leaving an opening of about 2″. I recommend cutting small notches in your sewn seam, about every 3 inches, to reduce the bulk and make it lie flatter. Press open your seams for a more finished look. Turn the toy right-side-out by pulling it through the 2″ opening. Stitch closed the opening using a ladder stitch.
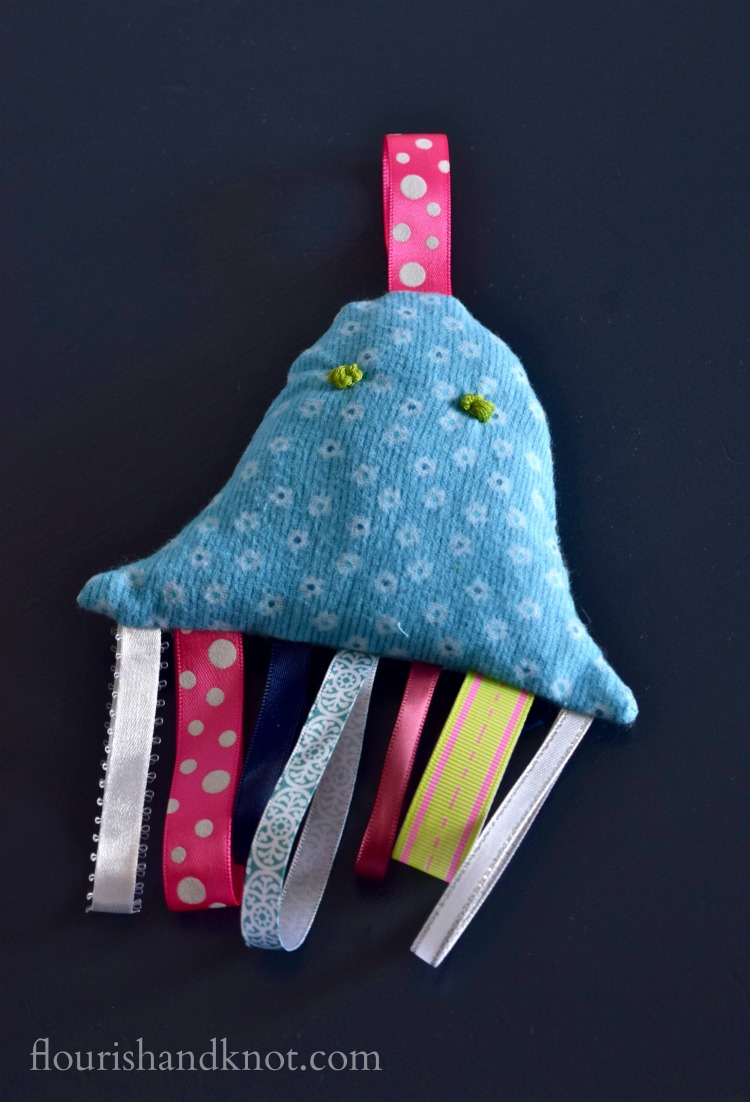
There you have it! A simple, colourful addition to a baby shower gift.
I would love it if you’d take a moment to hop around to the other participants’ posts! Everyone put their own spin on our baby shower theme, and it makes for great reading.
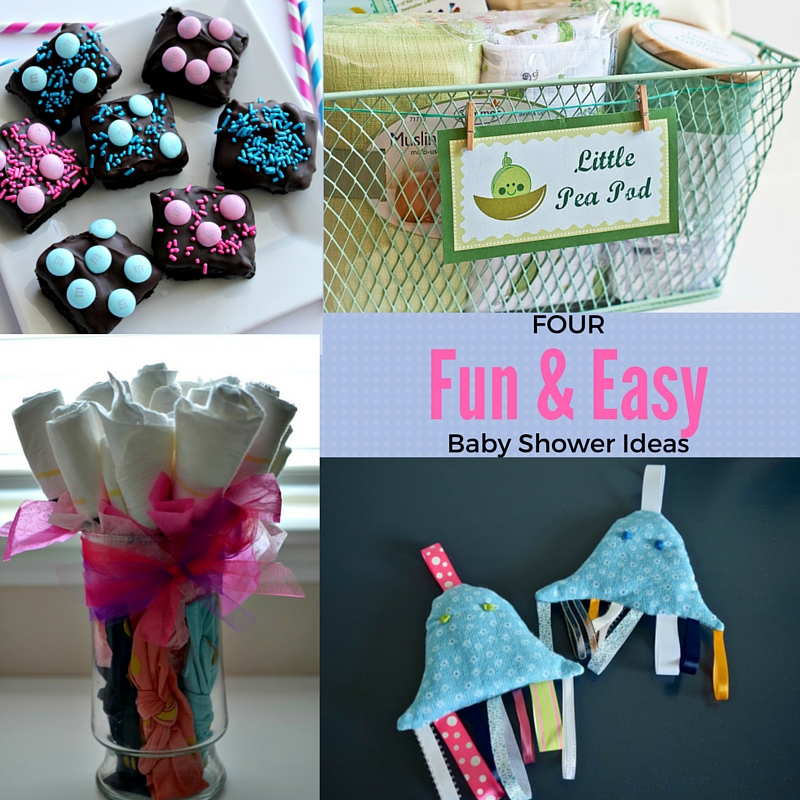
Diaper Bouquet from Tastefully Frugal
Chocolate Dipped Brownies from Love To Be In The Kitchen
DIY Jellyfish Tag Toy from Flourish and Knot
New Baby Gift Basket from Melly Moments
*****
Get the low-down on Baby K!
Our pregnancy announcement | K’s Harry Potter-inspired nursery | 5 Ways I’m Prepping for Baby | DIY Infinity Nursing Scarf

This is such a cute idea! My babies always love tag toys.
Thanks, Becky! Glad to hear they are popular, as I am a first-time mom. 🙂
This is so cute Sarah! My boys are loving the ocean theme and I think they would have just as much fun with these as our little girl will! Thanks for the great idea!
Thanks, Sydney! The one I actually used in the how-to photos is for a friend’s little boy (due in September). 🙂
I love this, it is so cute! This would be a great gift!
Thanks, Emily!
Awww that is so cute! Love hope you are feeling better1
Maria
Thanks so much, Maria!
Such a great idea and so cute!
Thank you!