Week four of the One Room Challenge has come and gone, and I can honestly say that it was not as harrowing as I thought it would be! In case you’ve missed the first three weeks of this home decor adventure, the ORC is an event hosted by Calling it Home, wherein bloggers are invited to make over a room in just six short weeks. In the first week, I revealed our plans for our little girl’s Harry Potter-inspired nursery.
Having participated in the ORC this fall, I knew that week four is a make-it-or-break-it situation. In week four of the fall edition, I was struggling with decor and hardware decisions, and thoroughly regretting my decision to participate in the first place. I also know week four to be a turning point, though, so I’m glad to show you the progress (slow as it has been) that we’ve made.
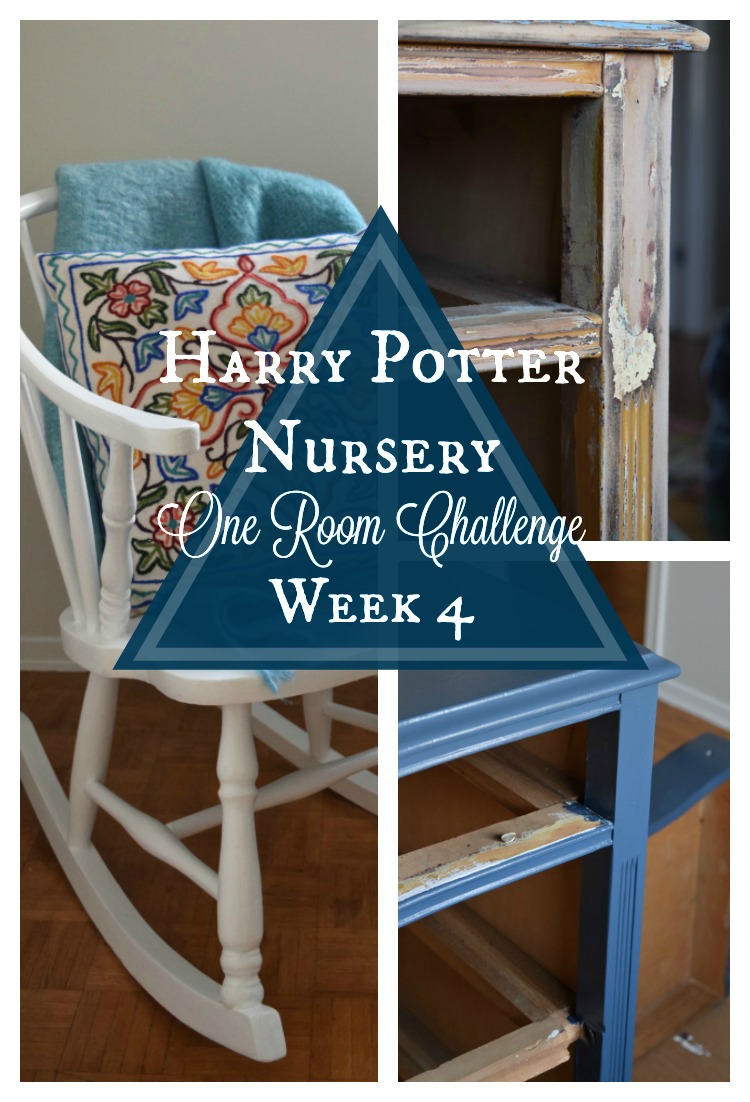
Today, I’m sharing the Saga of the Dresser: an epic tale of re-glueing, sanding, prepping, and watching paint dry!
Thrilling stuff, I assure you. 😉
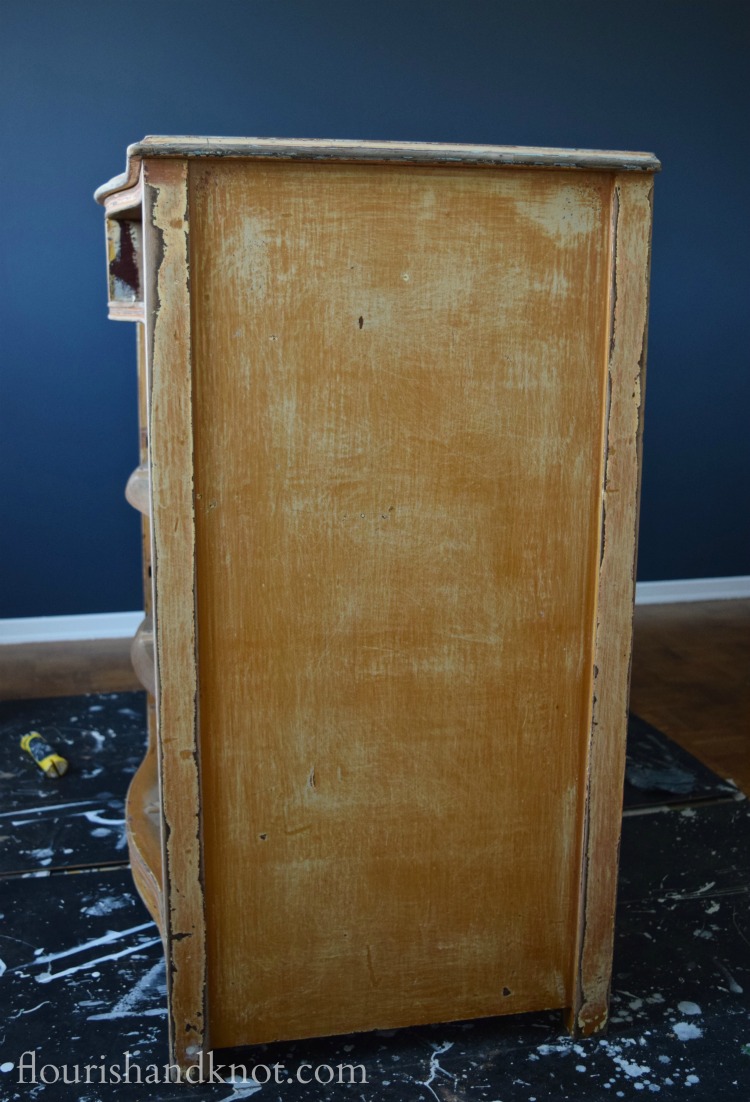
This dresser was actually MY dresser as a baby and small child, so we’re pretty pleased that it is making its re-appearance in our baby’s nursery. But its refurbishment has not been without challenges and setbacks.
The first problem we encountered was a tonne of necessary re-glueing. Erick had already sanded down the finish (which was in horribly rough shape), but having to stop and re-glue a whole lot of pieces was a real downer. Worth it in the long run (always do DIY projects the right way the first time!) but not ideal.
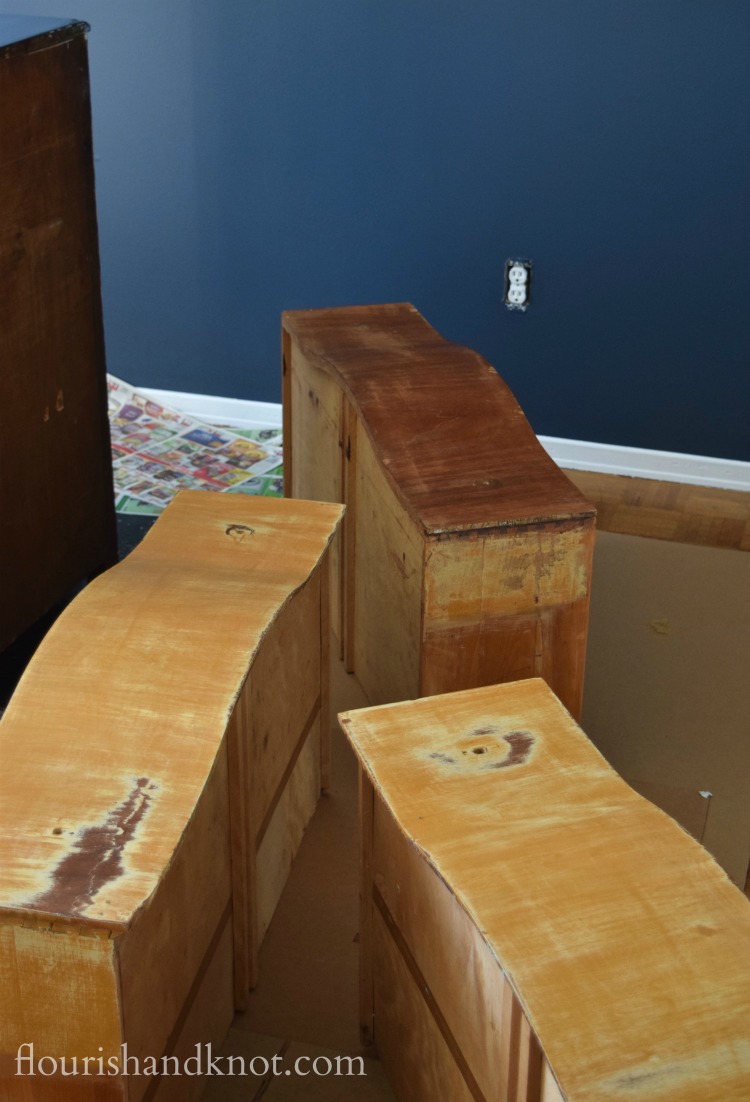
The drawers were in particularly bad shape. Just look at that finish! One of them was completely missing its veneer.
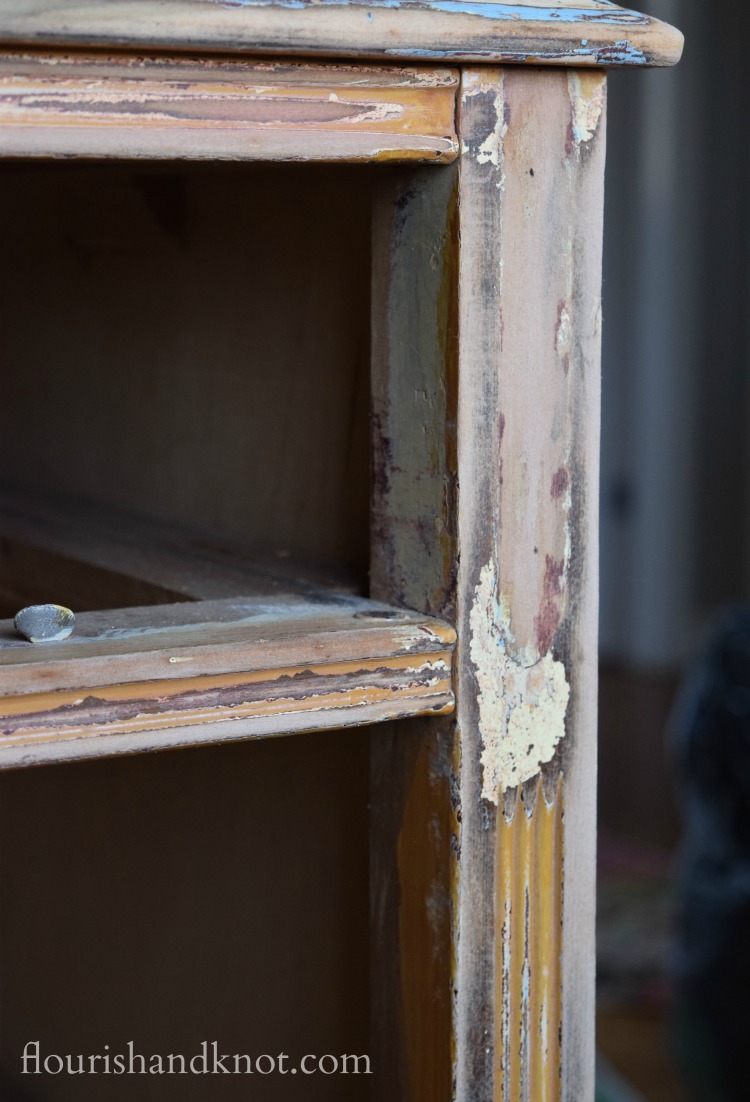
Erick removed some little decorations from the sides. I didn’t mind them so much, but I agree with him that they didn’t add a whole lot. And they probably would have required re-carving, which is honestly more work than we were prepared to do.
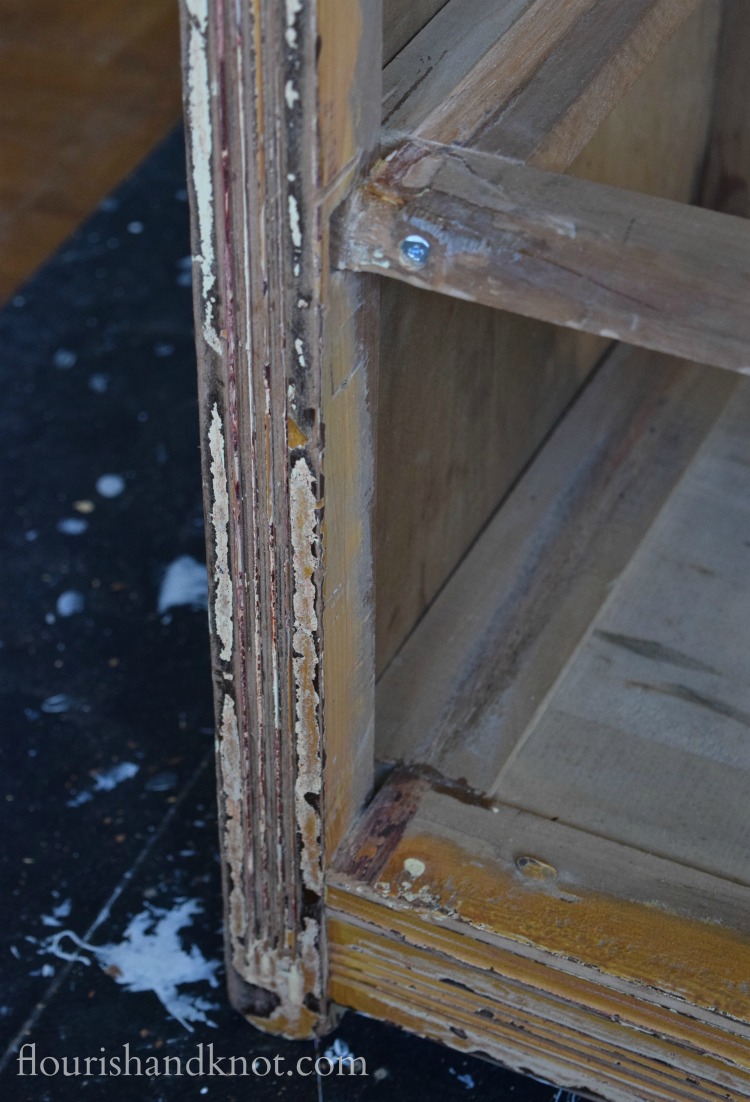
As you can see, there were at least four different layers of finish/paint on this piece. It was blue at some point, and also a dark burgundy. History!
Once we’d re-glued the wobbly bits, I primed the entire piece with a primer-sealer paint. I decided to prime because I thought that I would get a more even finish when I got to the actual painting stage. Yes, it took longer, but I’m glad I did it.
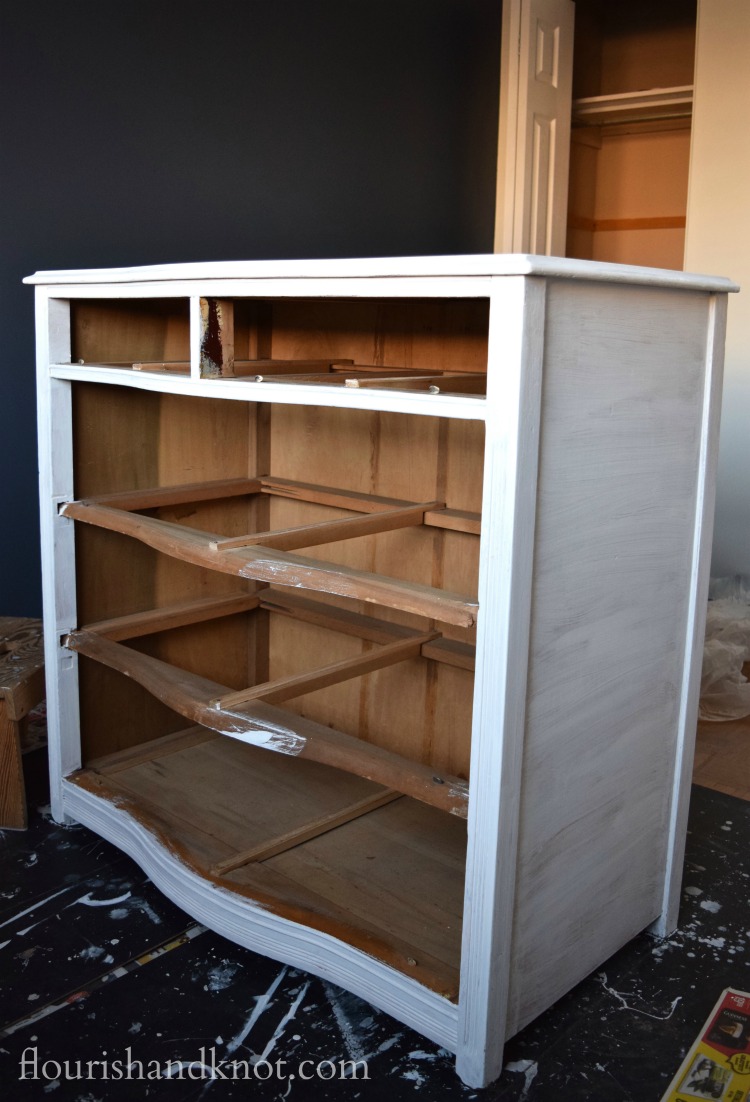
Once it was primed, I got to start painting it. We went with the same colour as for the accent wall, Newburyport Blue by Benjamin Moore. It’s coming up a bit lighter than the wall, which I’m actually pretty pleased about. I wouldn’t want it to be too exact a match.
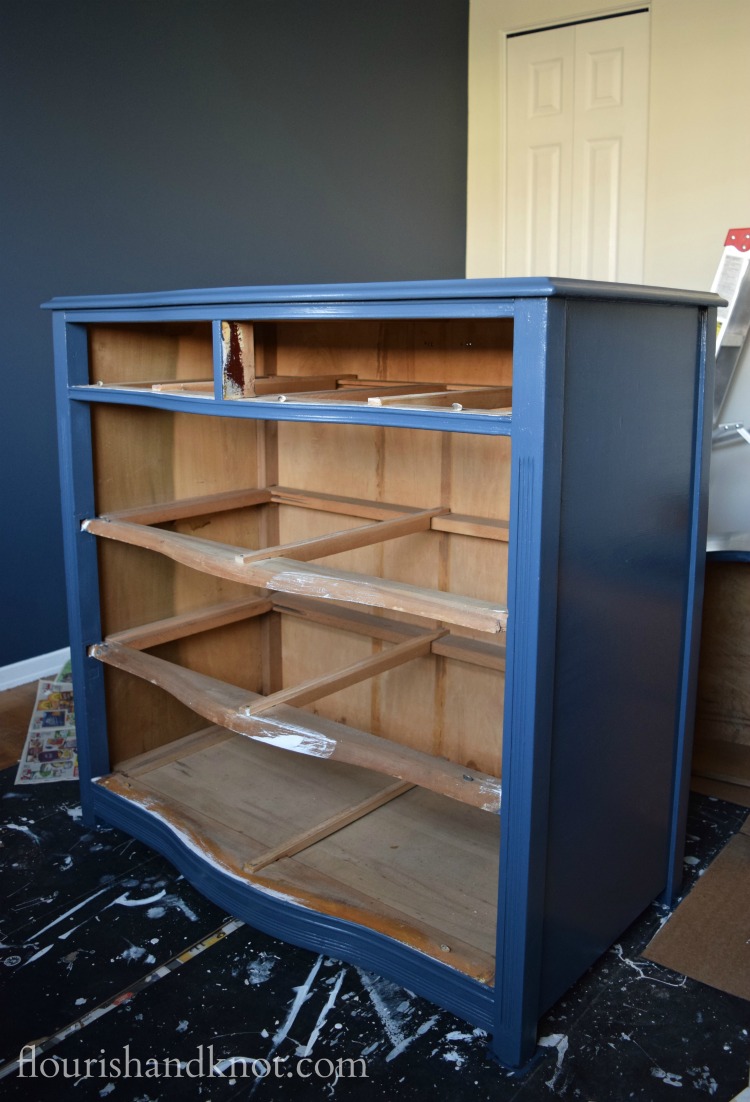
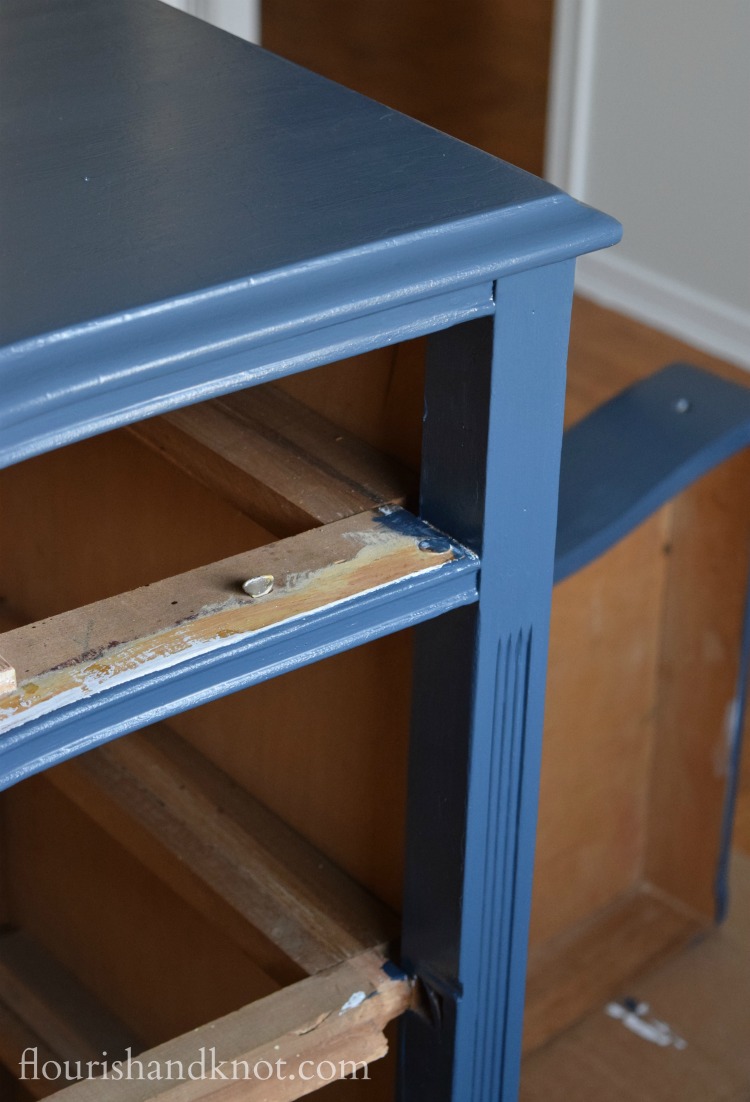
I love how rich the colour is turning out! Getting an even finish has required four coats of paint, but again, the time and effort are worth it in the long run. I’m so glad that we are breathing some new life into an heirloom piece!
I still have two coats to do on the drawers (the drying time on this paint is quite long), so I’ll try to knock that out by the weekend. I wish I had more to show you in the way of furniture, but since the dresser is currently taking up the entire room…
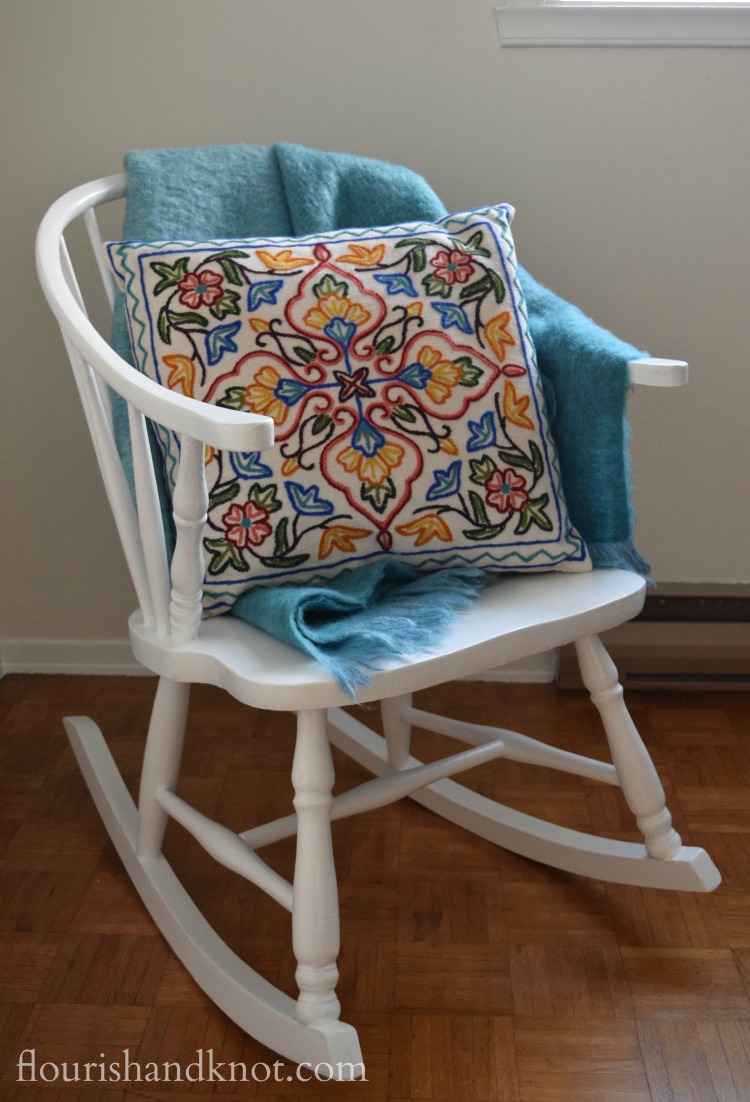
I’ll leave you with this made-over gem:
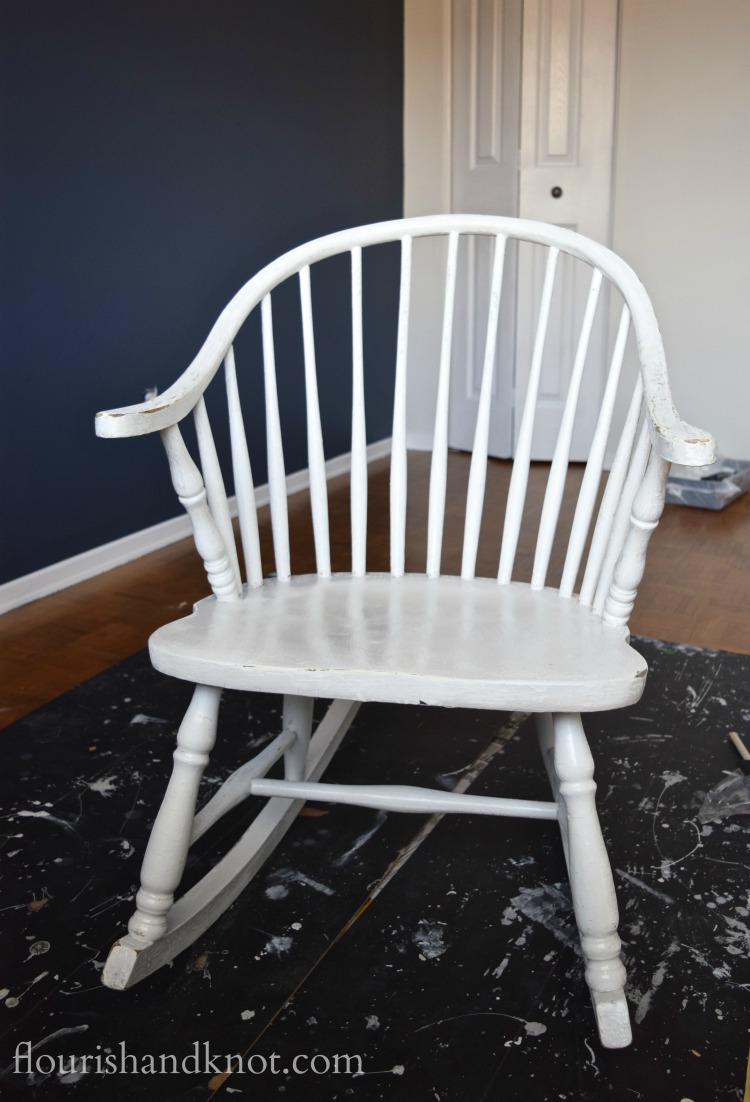
As a reminder, it looked like this last week:
That’s not the final cushion that will be on it, but it gives you an idea of how cheerful a spot it will soon be!
Slowly but surely, things are getting crossed of our massive to-do list. I think this weekend will be a real game-changer.
Nursery To-Do List
Prep the room (including filling holes and an old cable outlet)Prime the roomPaint three walls “Snowfall White”Paint the focal wall- Decorate the focal wall
Paint the ceilingPaint the closetPaint the trim and doorsShop for a crib and mattressShop for an area rugBuy or make curtains (bought them)Prep and sand the dresserPaint the dresserHardware for the dresser(using the original hardware)Repaint the rocking chair- Throws and cushions for the rocking chair (started!)
- Make Dumbledore quotation throw cushion?
Buy frames for artBuy shelves or ledges for books- Hang shelves/ledges
- Assemble crib
- Install curtain rod and hang curtains
- Artwork (started!)
- Side table?
- Paint rocking horse
Sand bookcase- Paint bookcase
- Accessories (started!)
- Organize the closet
- And about a million things I have forgotten due to baby brain
I have one more piece of furniture (the bookcase) to paint, but that’s going to be a quick job. With luck, we can also assemble the crib and start moving things a bit more into place before next week’s post. You know, in between rehearsals, children’s choir festivals, school concerts, and work.
Wish us luck!
_____________
Spring 2016 One Room Challenge | Week 1 | Week 2 | Week 3 | Week 4 | Week 5 | Week 6
_____________
Fall 2015 One Room Challenge | Reveal
