If you’ve been reading Flourish & Knot for a while, you may remember that I’ve visited India twice as part of the James Connection. You can read about my experiences here and here. Since travelling in that part of the world, I’ve had a fascination with some of the traditional handicrafts of the area, including block printing. I recently purchased a gorgeous block-printed tablecloth and thought I’d try my hand at the technique by making some block-printed napkins!
On my first visit to India, I bought three block printing stamps at the Delhi airport (truly the best airport shopping, BTW) and they’ve pretty much been gathering dust ever since. I just hadn’t come up with the right project for them. Well, it was time. So I made some napkins! (‘Cause that’s also what you do when you’re 9 months pregnant and waiting impatiently for your baby to arrive.)
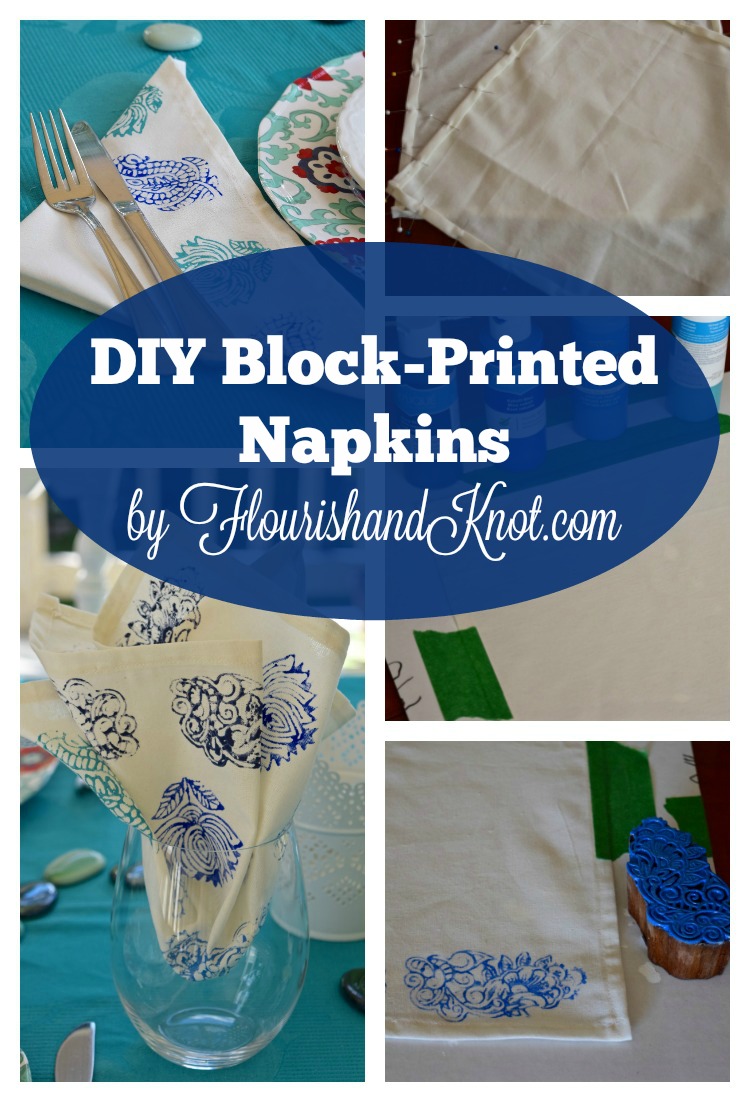
I had a lot of fun with this project and they turned out much better than I originally expected (since it was my first time block printing anything). I picked up a couple of tricks along the way that I think will be useful if you want to try doing any kind of stamped fabric project.
The first thing I did was sew the four napkins themselves. I had a nice remnant of off-white cotton/linen blend, so I used that. Of course, you could easily just purchase a set of plain napkins and use those. Admittedly, it would have been a lot less time-consuming than sewing them myself… But again, I really have nothing better to do while I wait for baby K to make her entrance! 🙂
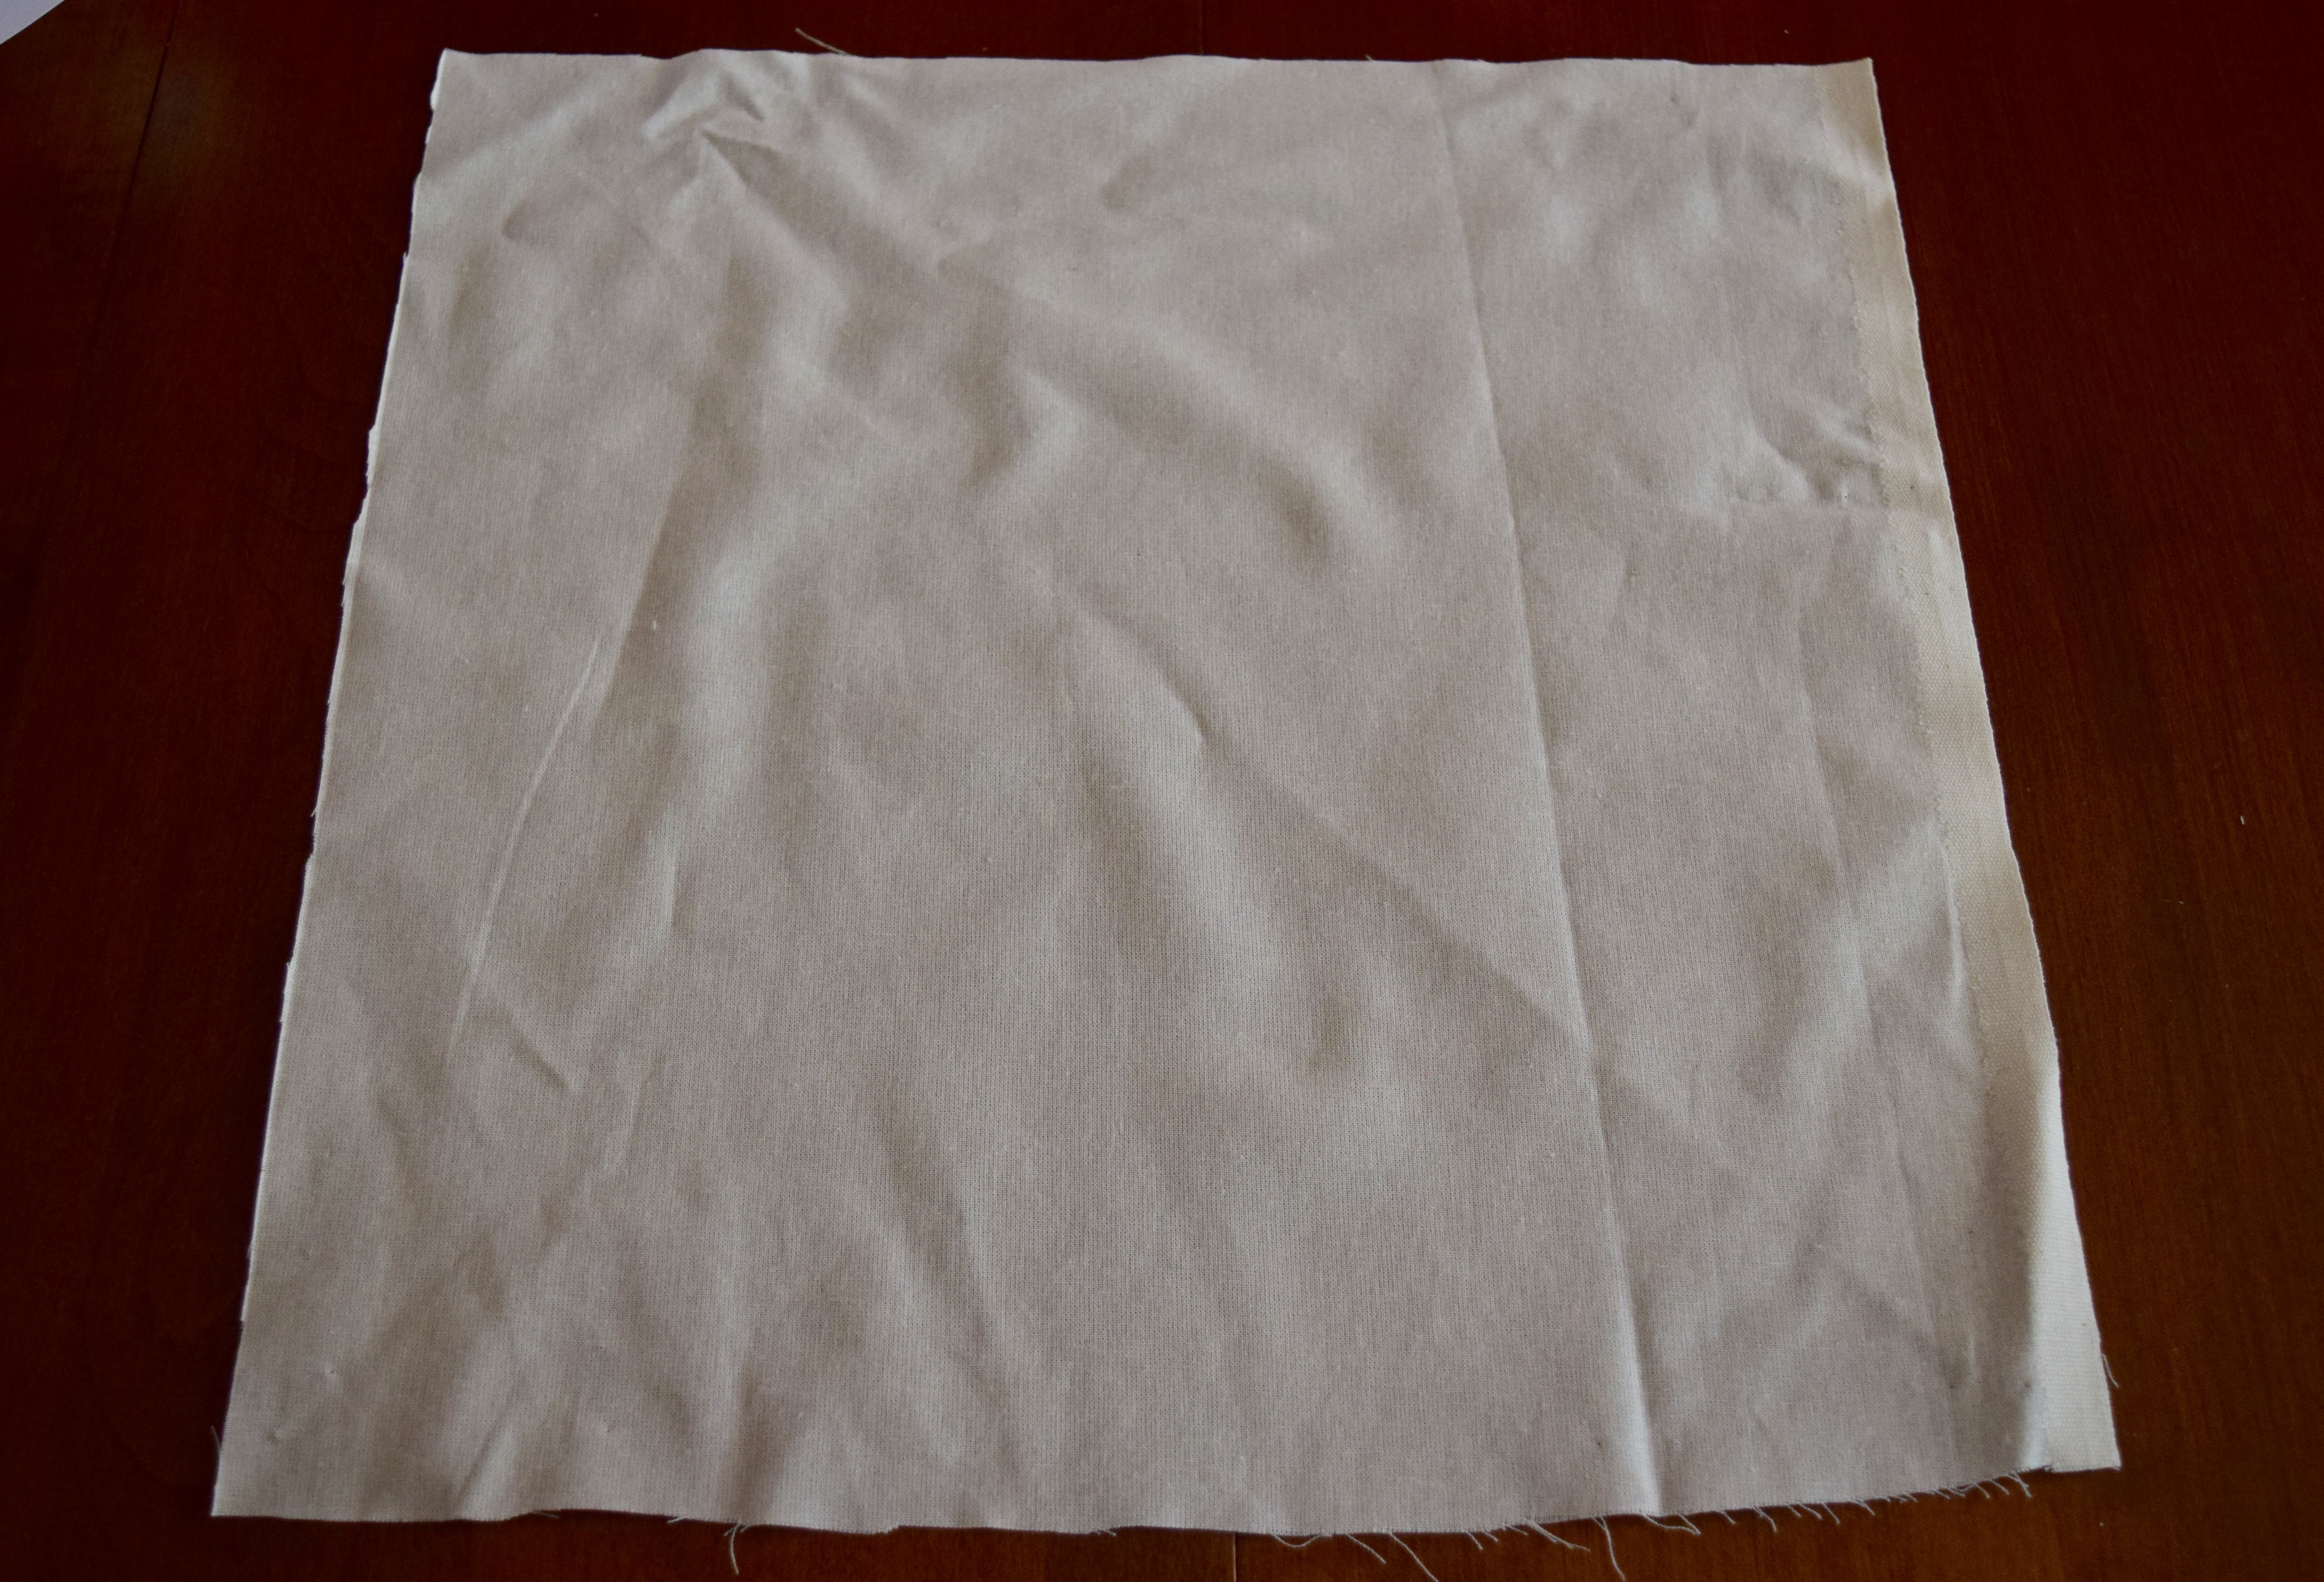
I began by cutting my fabric into four (mostly straight) squares. I wasn’t overly concerned about them being perfectly perfectly square: for the record, the ones you buy in a store never are. But I did straighten them out when I hemmed them.
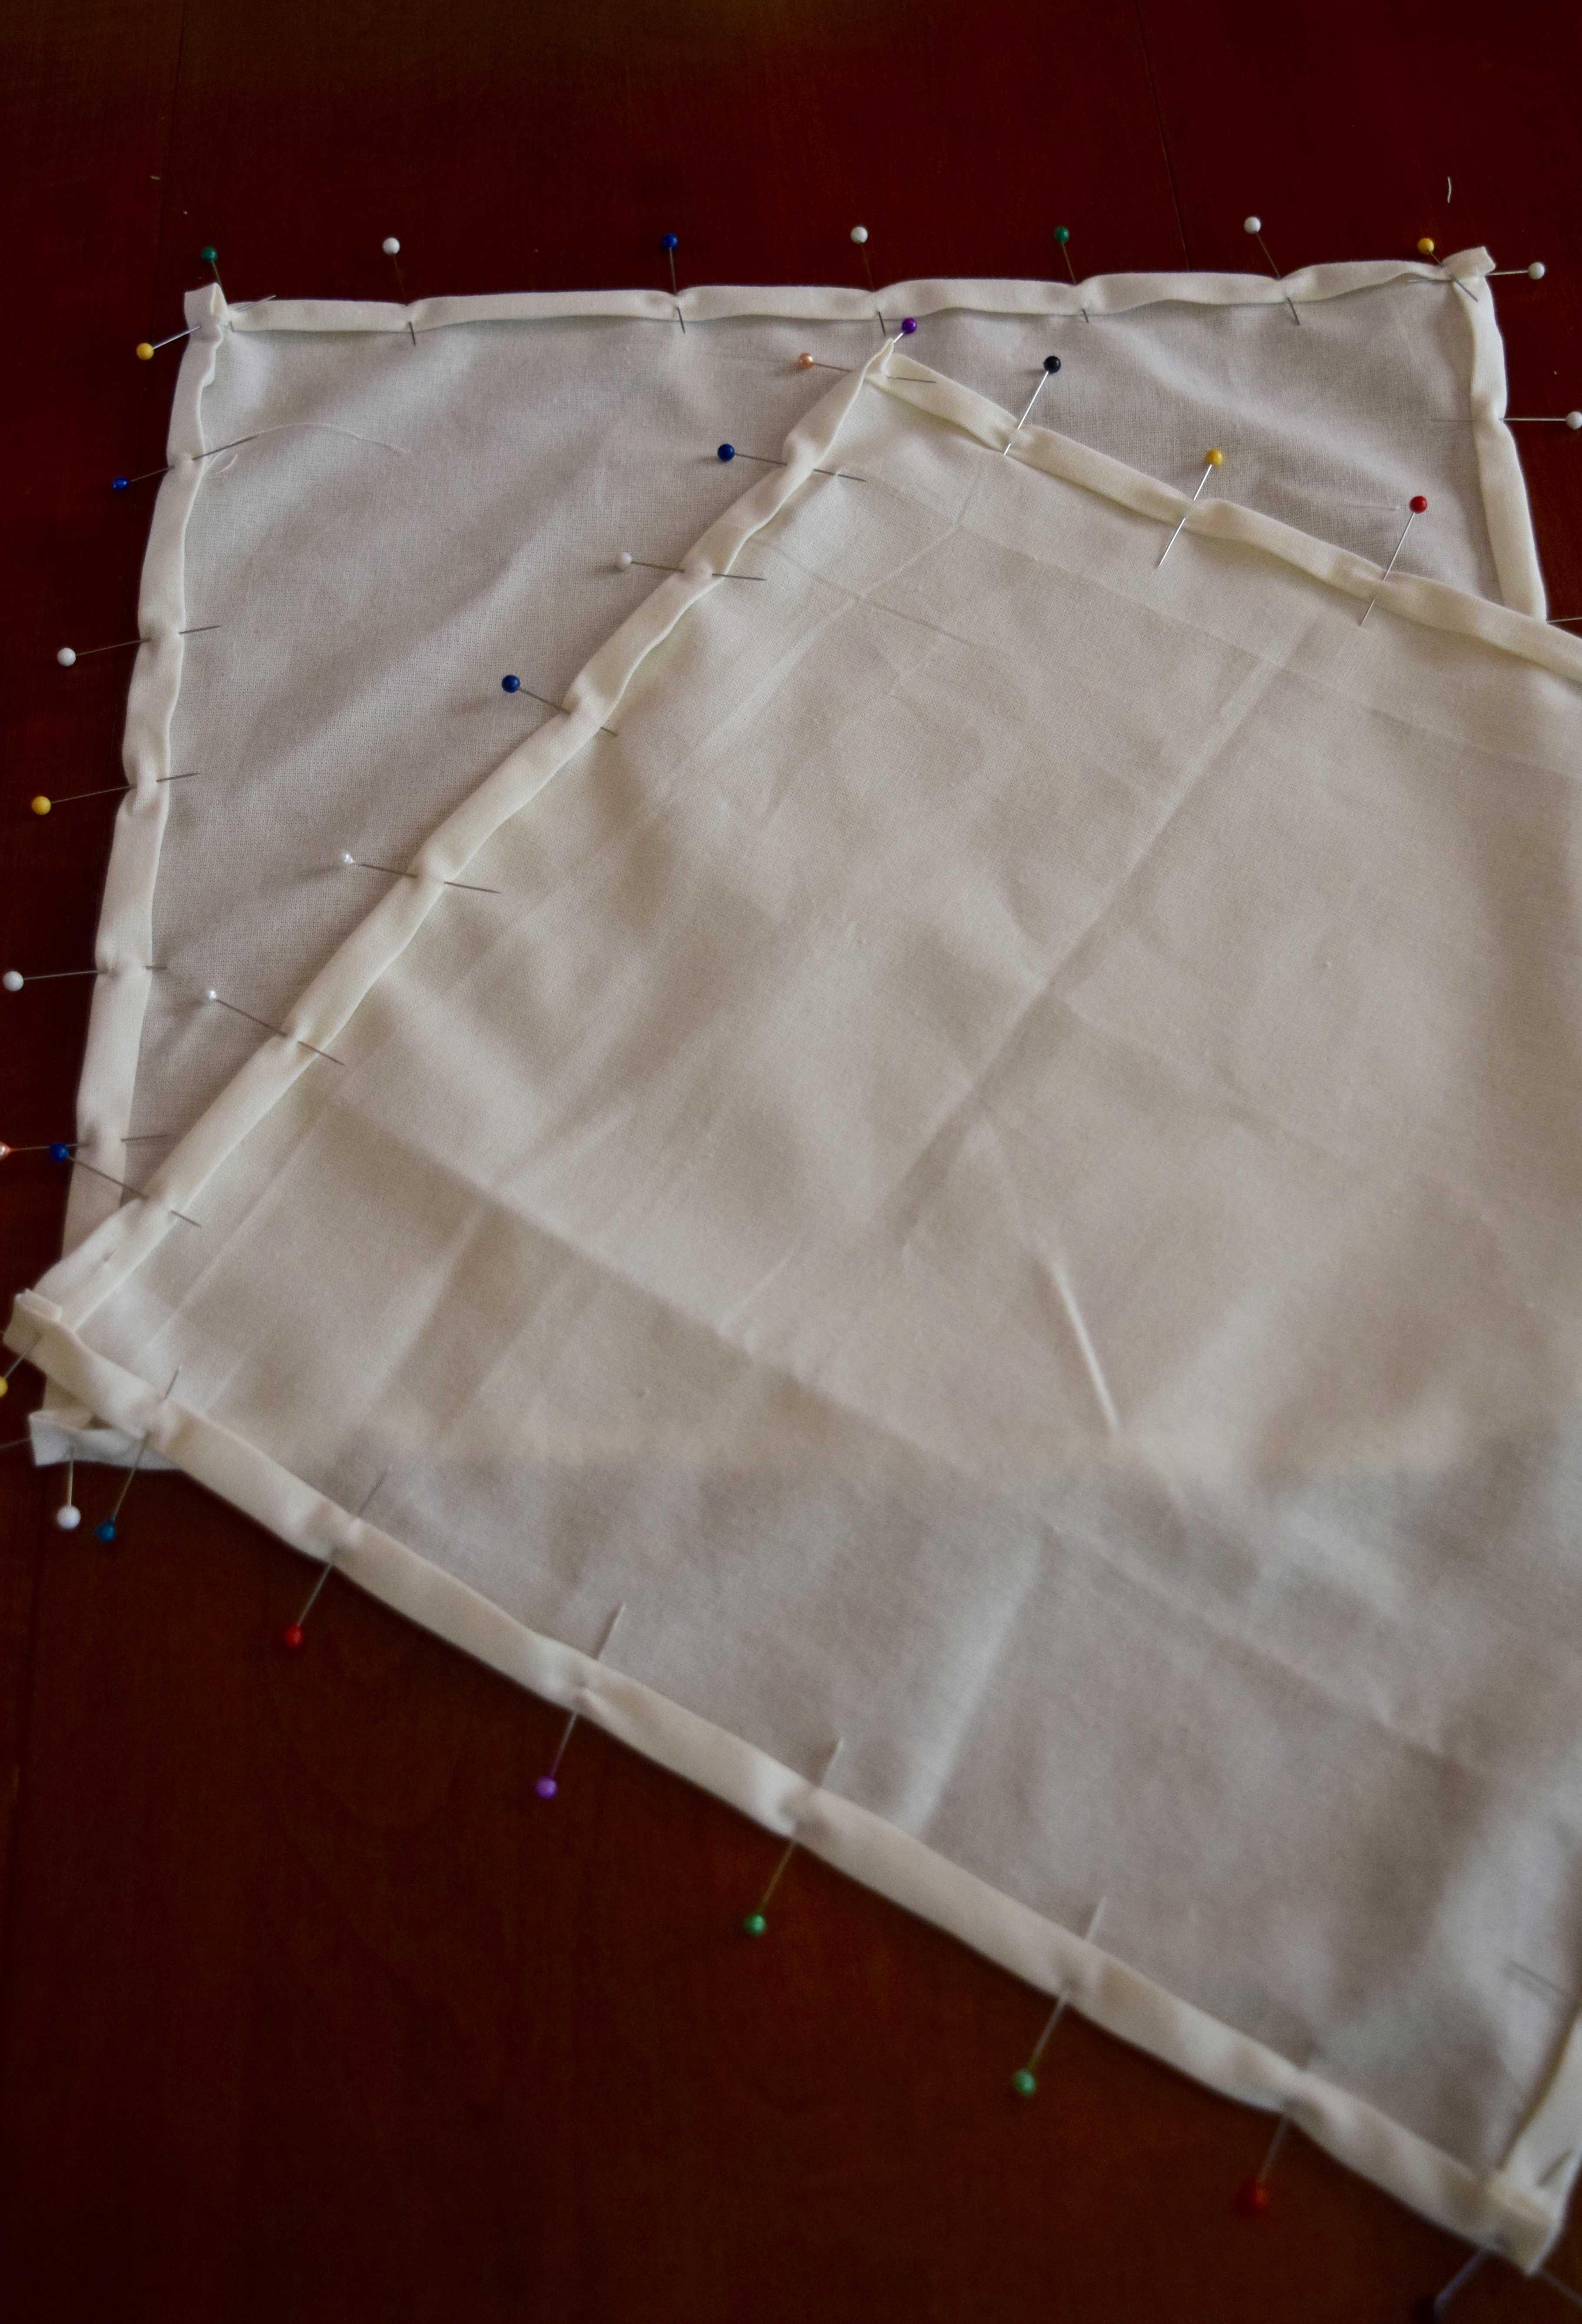
I just did a simple hem on all sides: pressed down 1/2 cm then folded the hem over on itself by 1 cm to get a nice clean edge. Pinned down my hem and sewed all the way around the square. Pressed them well and done. Easy-peasy.
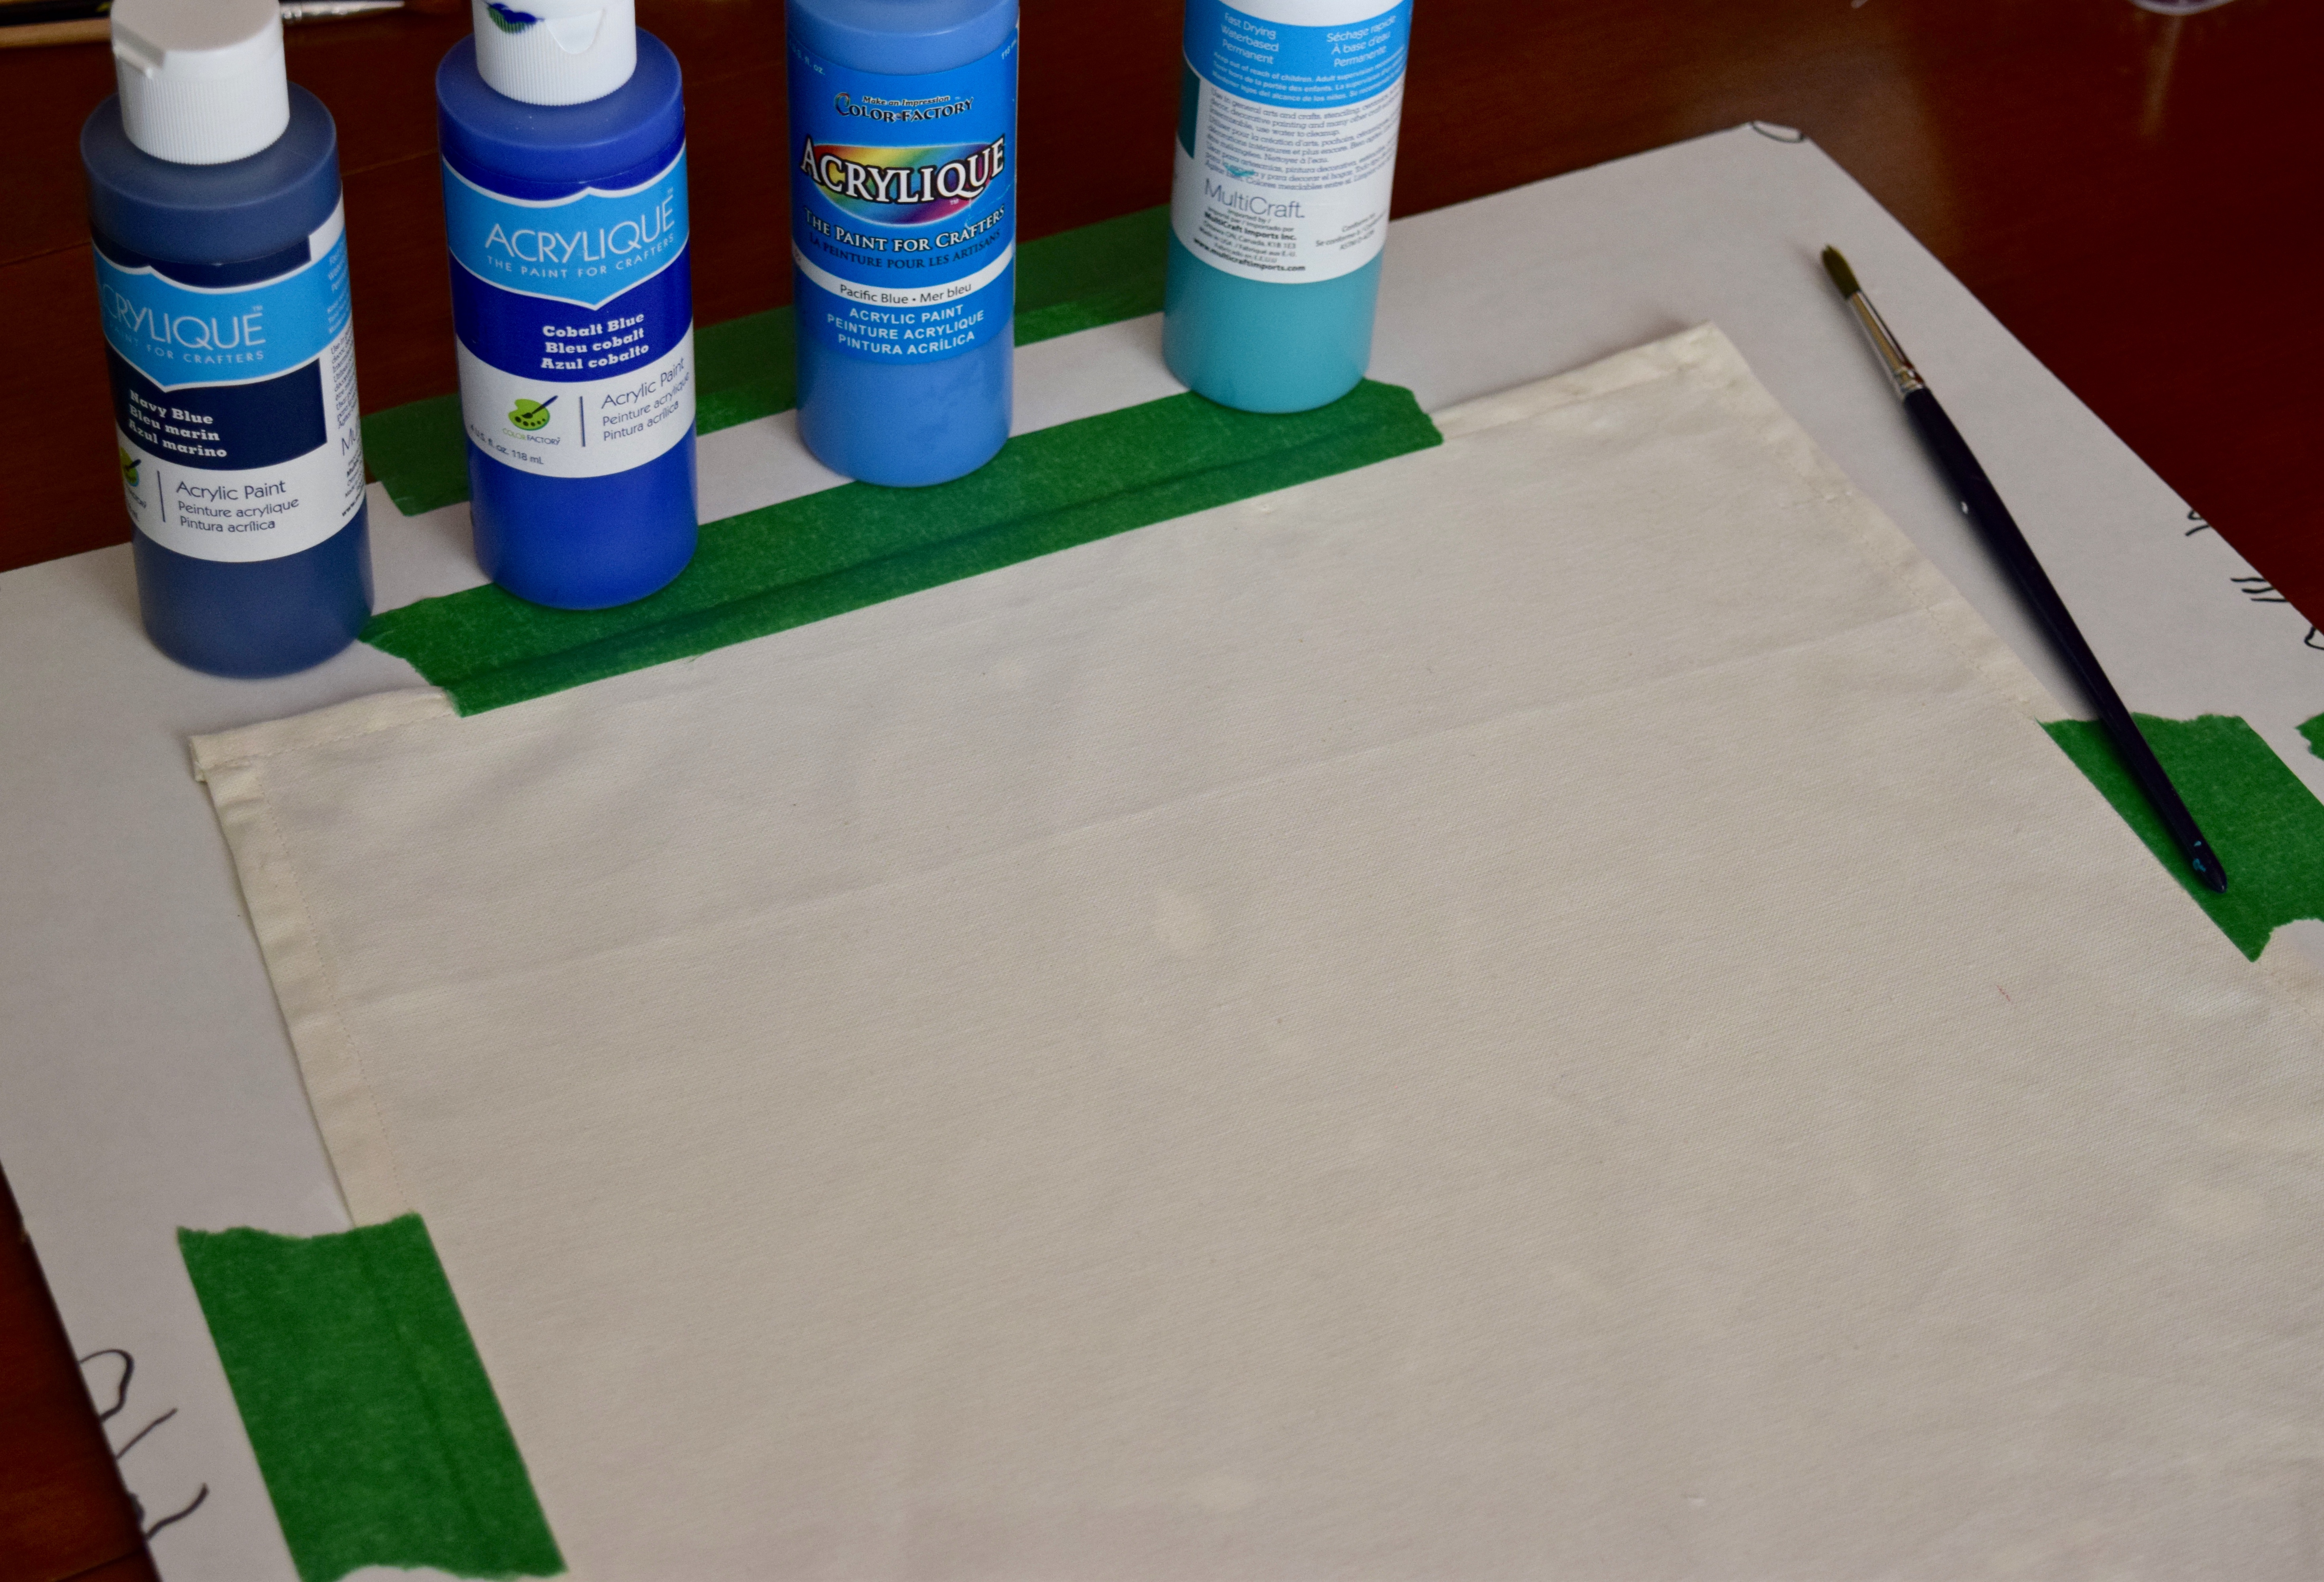
I taped my napkins to a piece of cardboard so that they would be flat and secure. I then used my block stamps, acrylic paint, and paintbrushes to block print them.
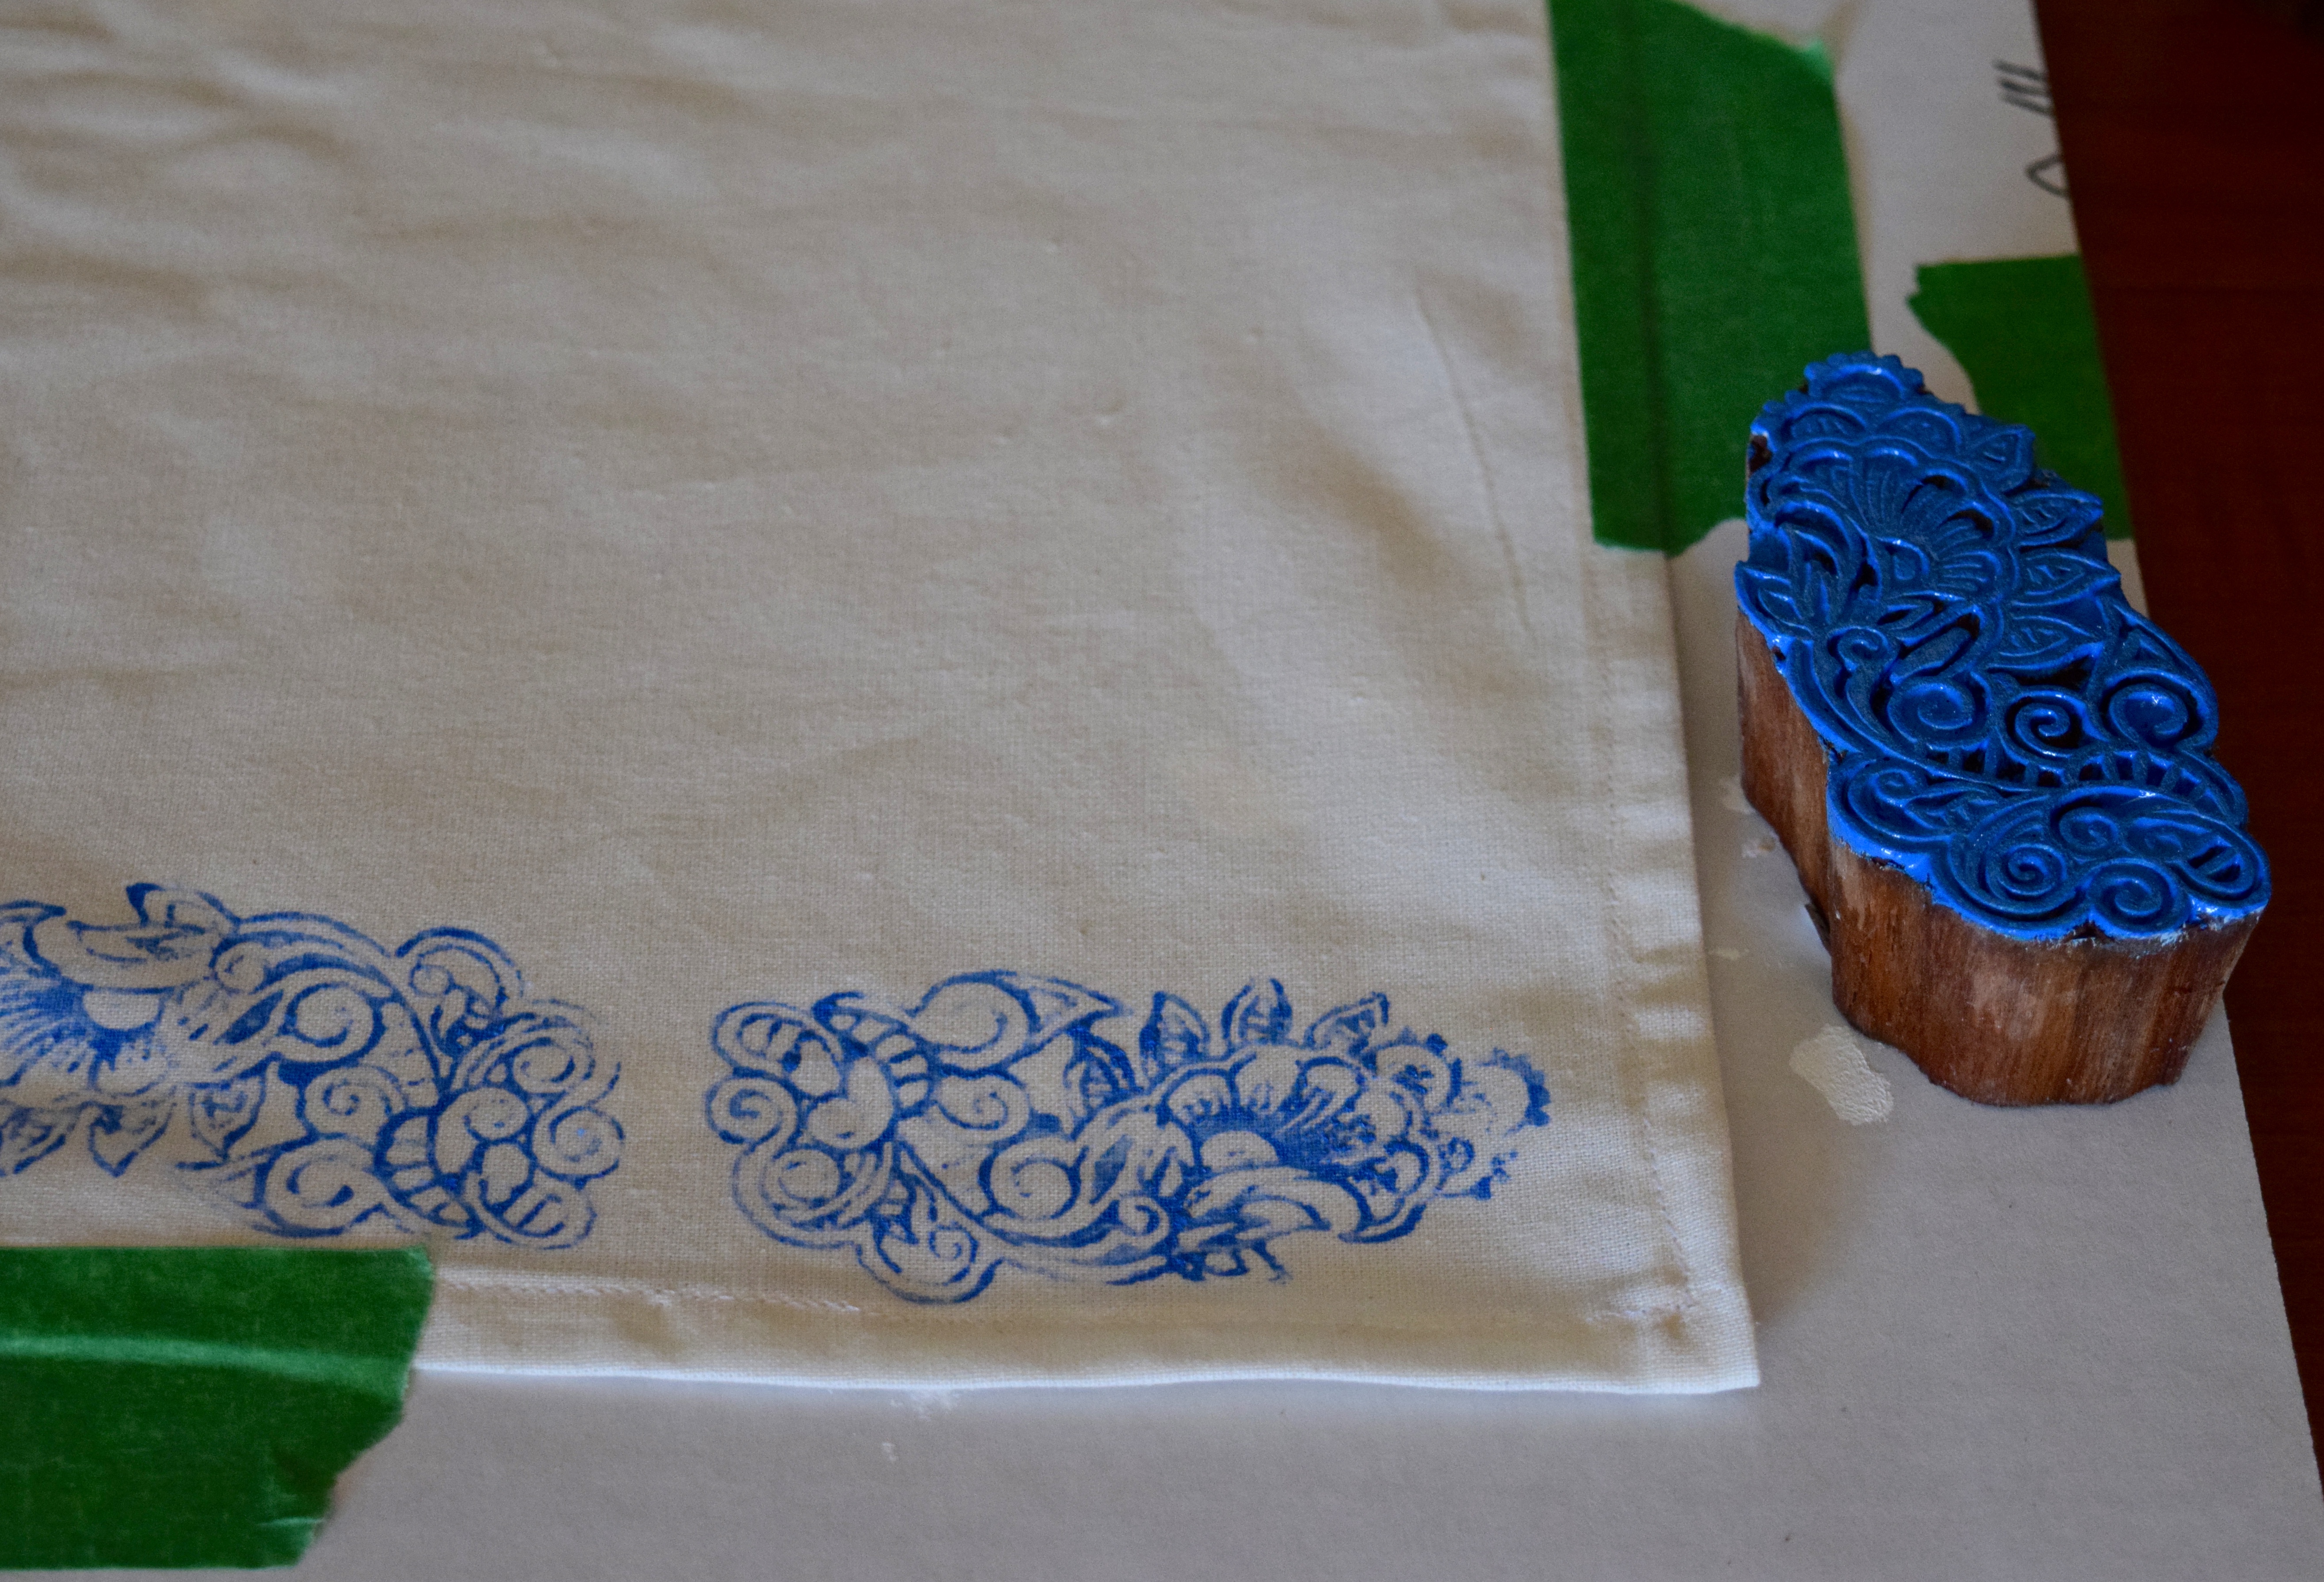
The trick was to make sure that the paint was applied evenly, but thickly enough to get a good impression on the fabric. Applying the paint to the block with a paintbrush worked very well! I could get all the little nooks and crannies, and make sure the paint was spread neatly. (No big globs or anything!)
Once my block was loaded with paint, I pressed it firmly and squarely down onto the fabric, and then carefully lifted it off. You can see from the pics that not every attempt was totally perfect, but we’ll just call that the « handmade charm ».
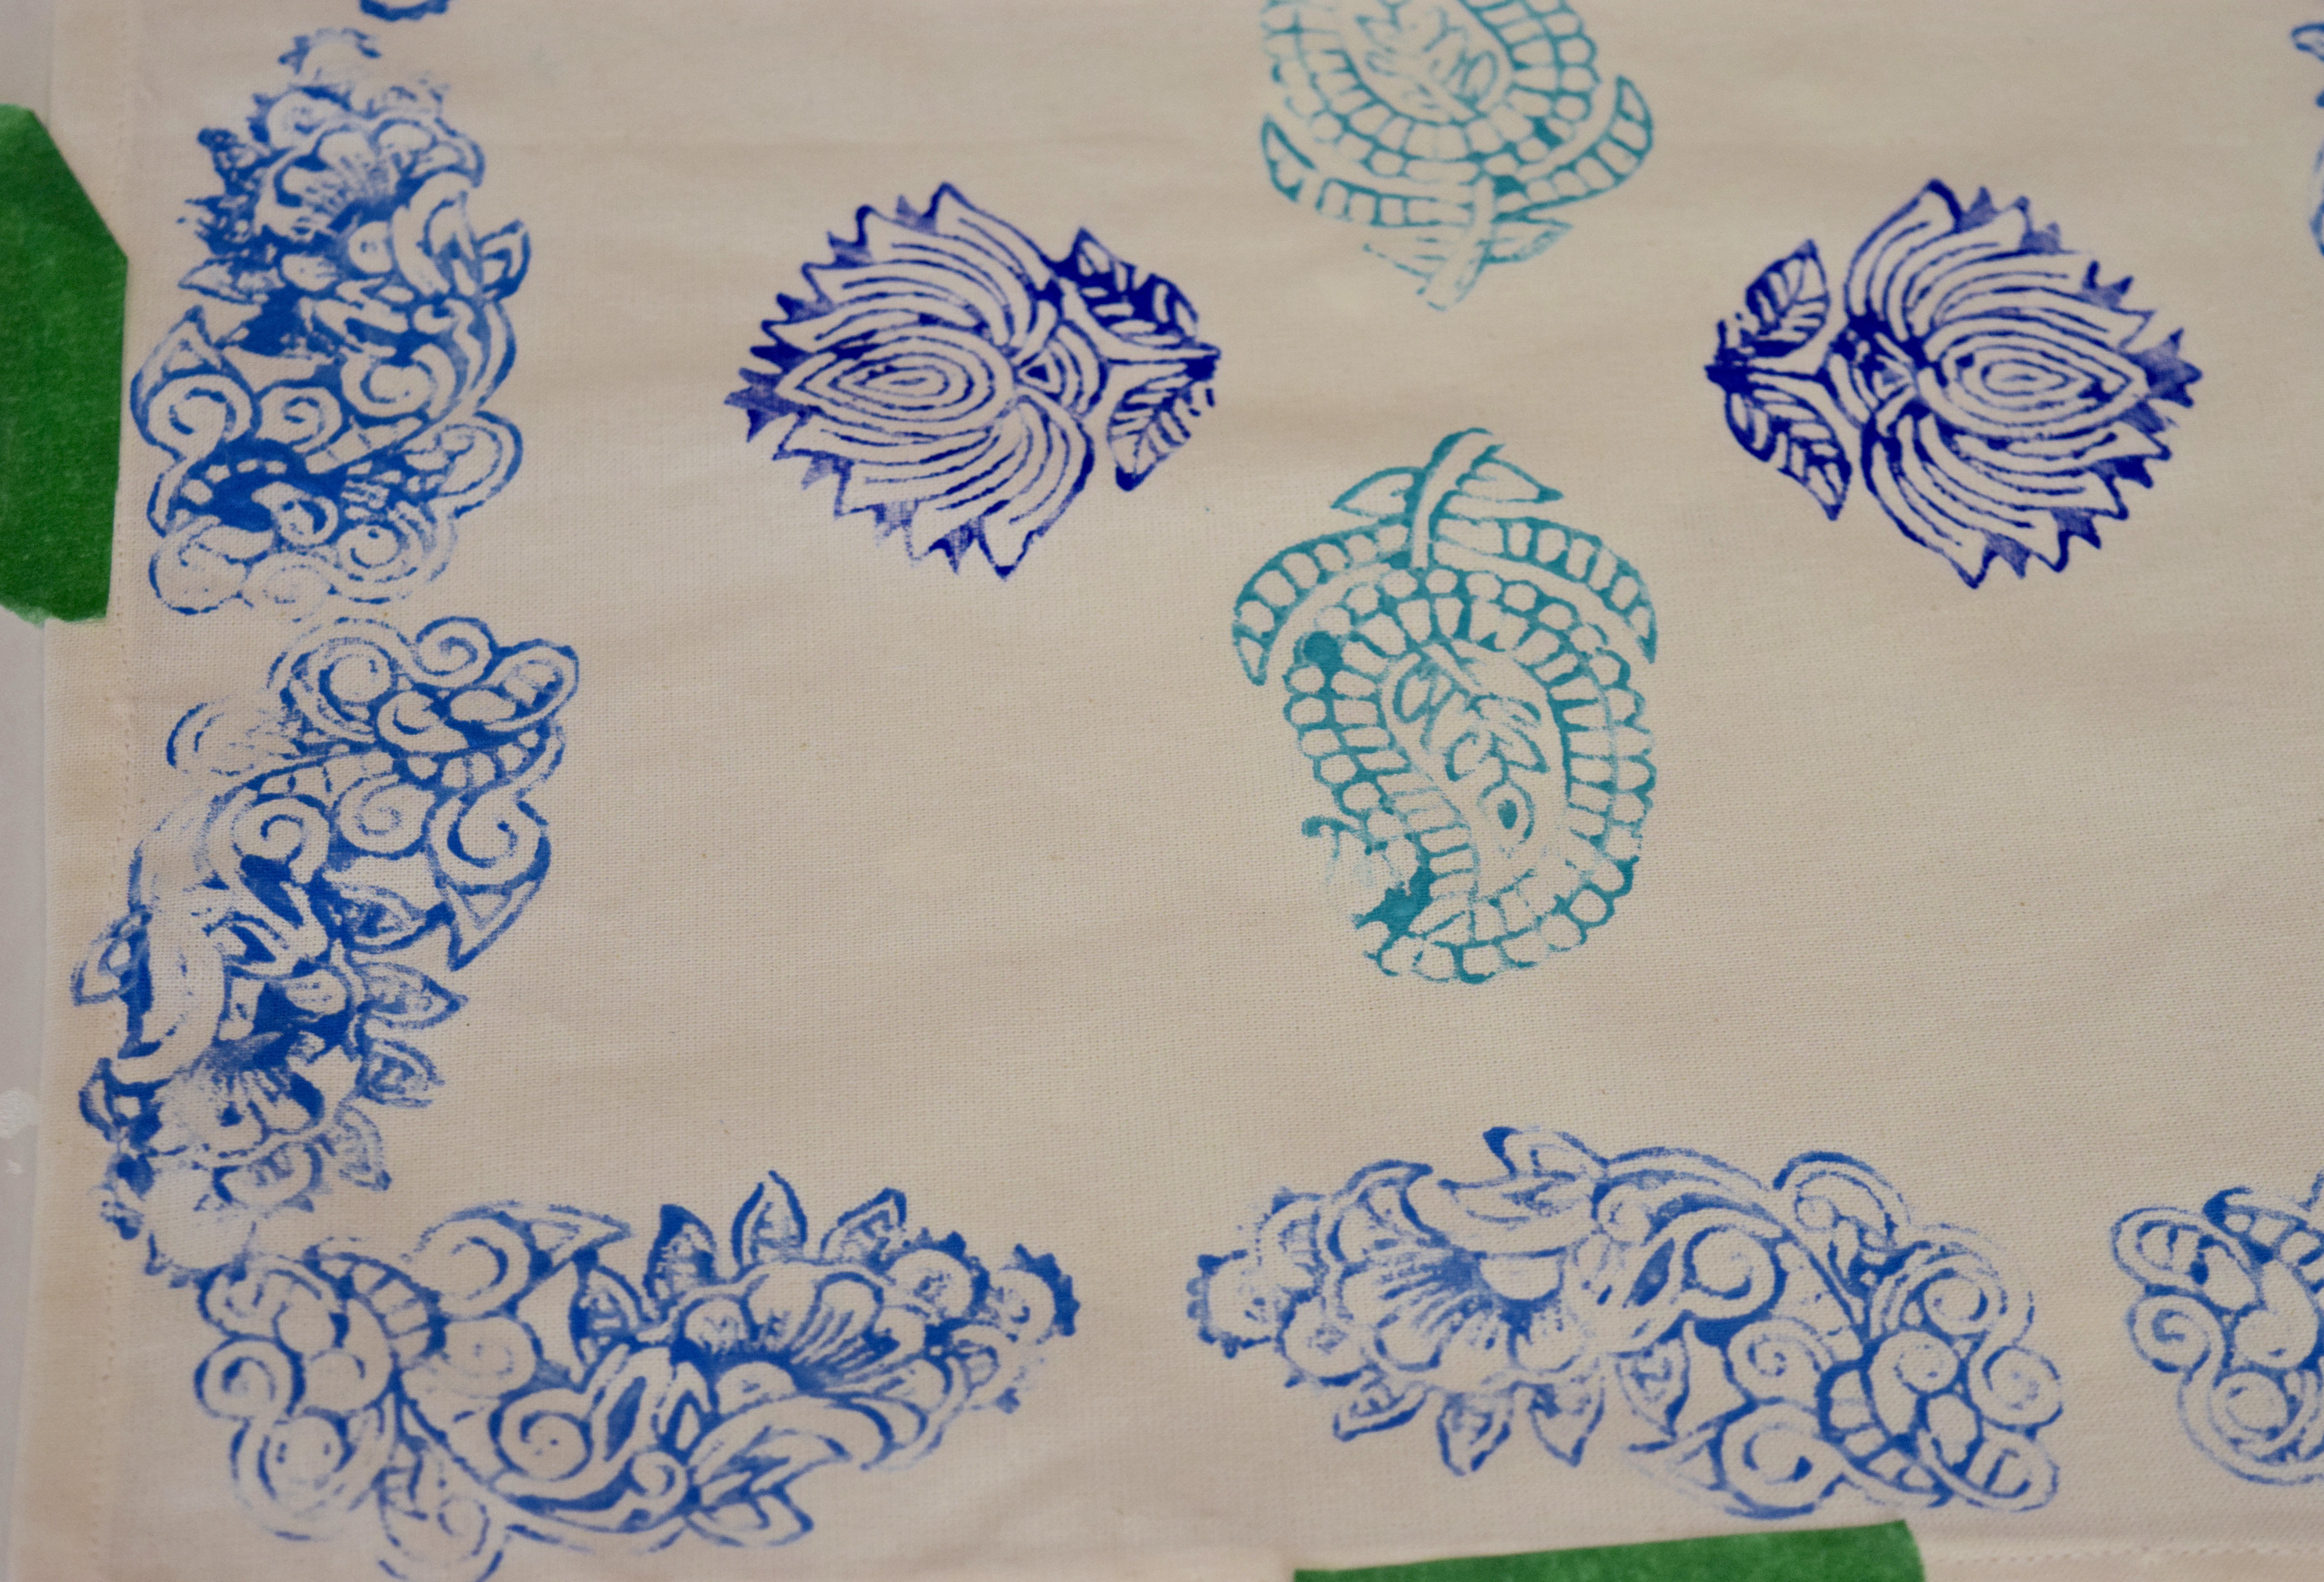
Once I had my four napkins printed, I hung them to dry completely for 24 hours before heat-setting them for an hour in the dryer (on the hottest setting). I haven’t tried washing them (I did wet one corner of one napkin and rubbed at the paint a bit – it didn’t come off), but I think these will be hand-wash only. This method of heat-setting worked on a table runner I stencilled back at Christmas, so I have high hopes for it.
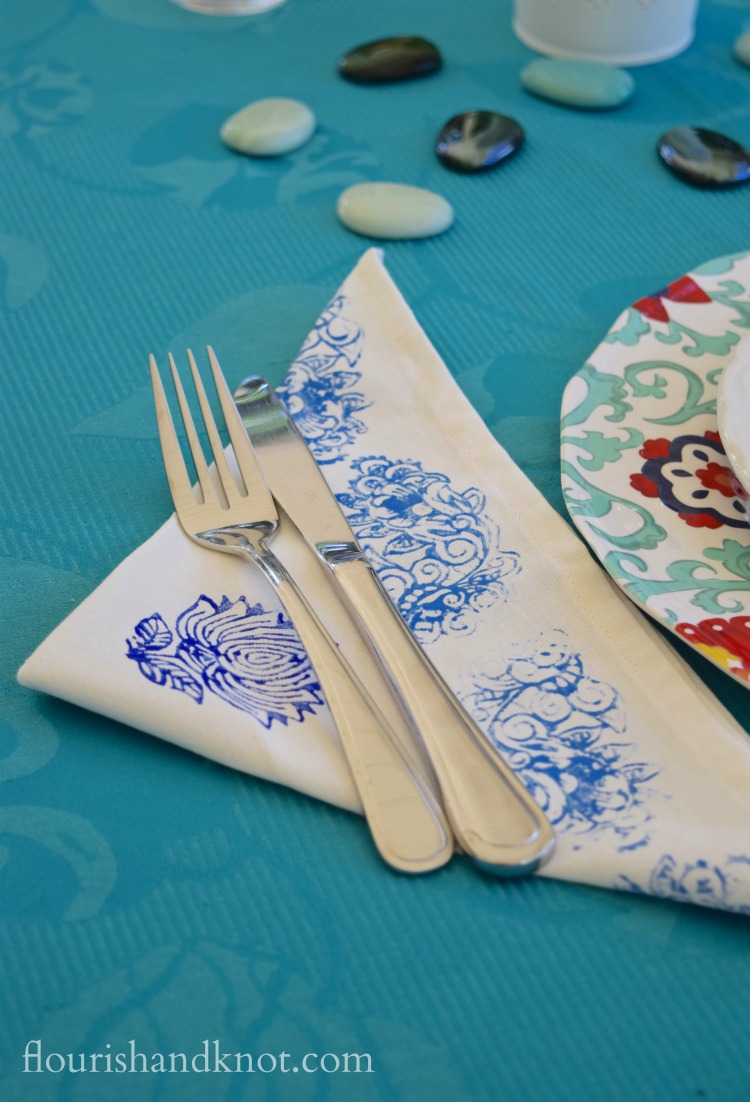
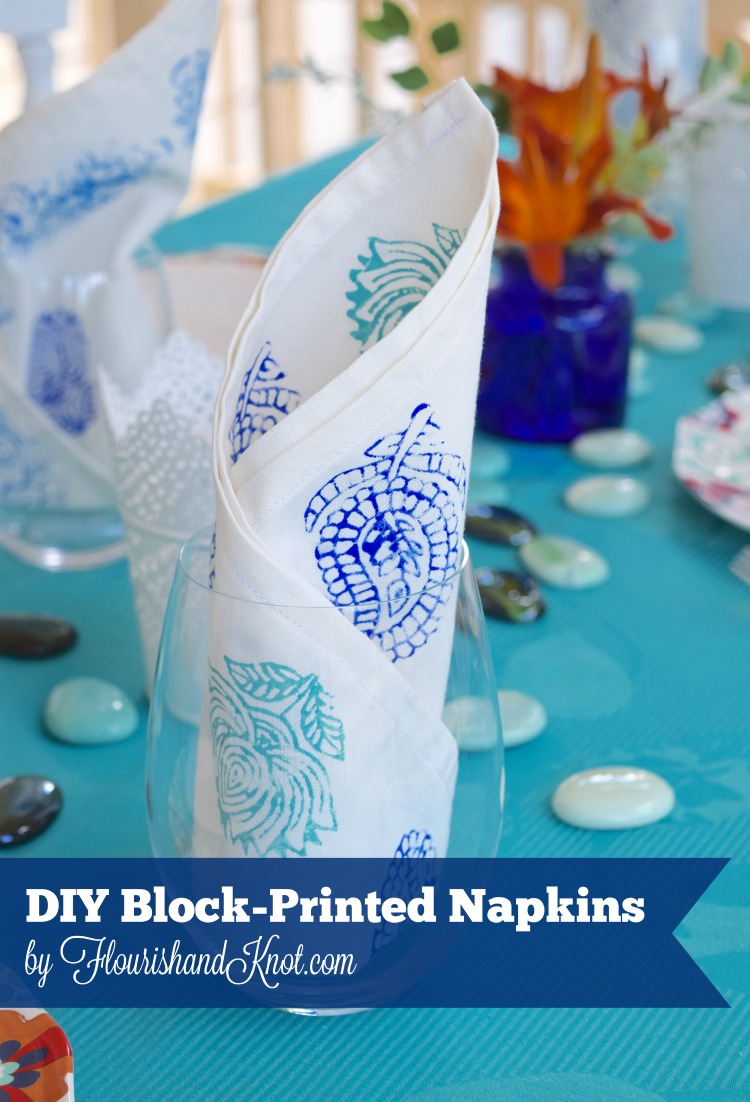
The finished napkins are pretty gorgeous, if I do say so myself!
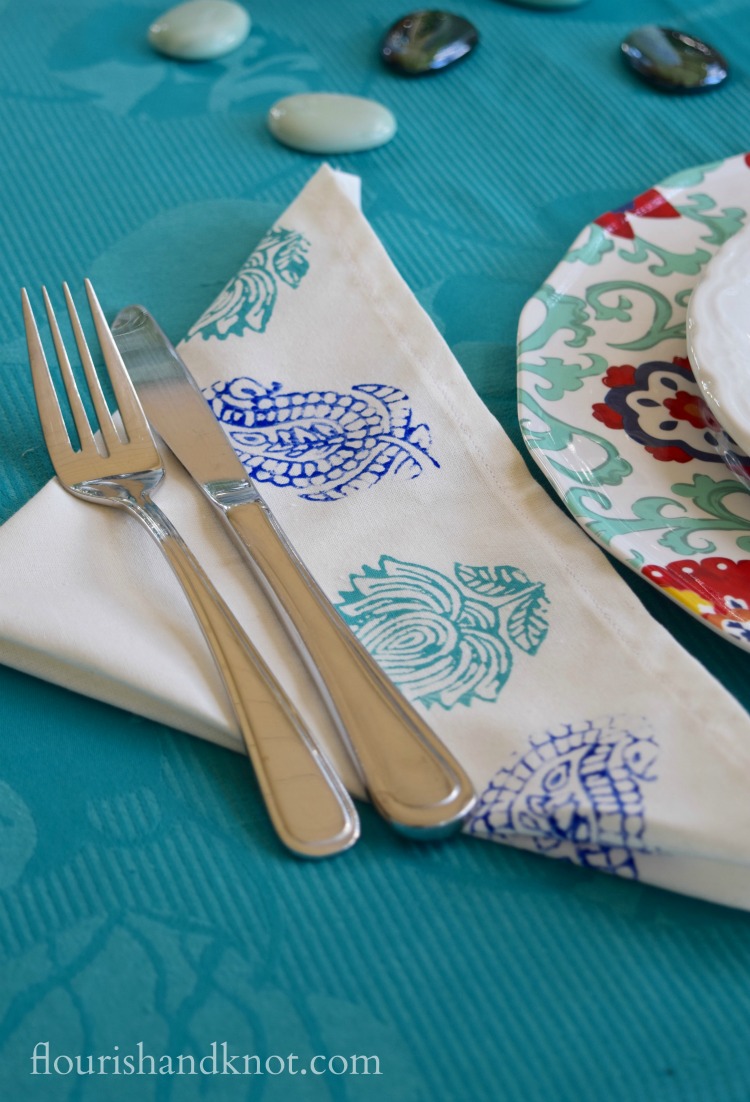
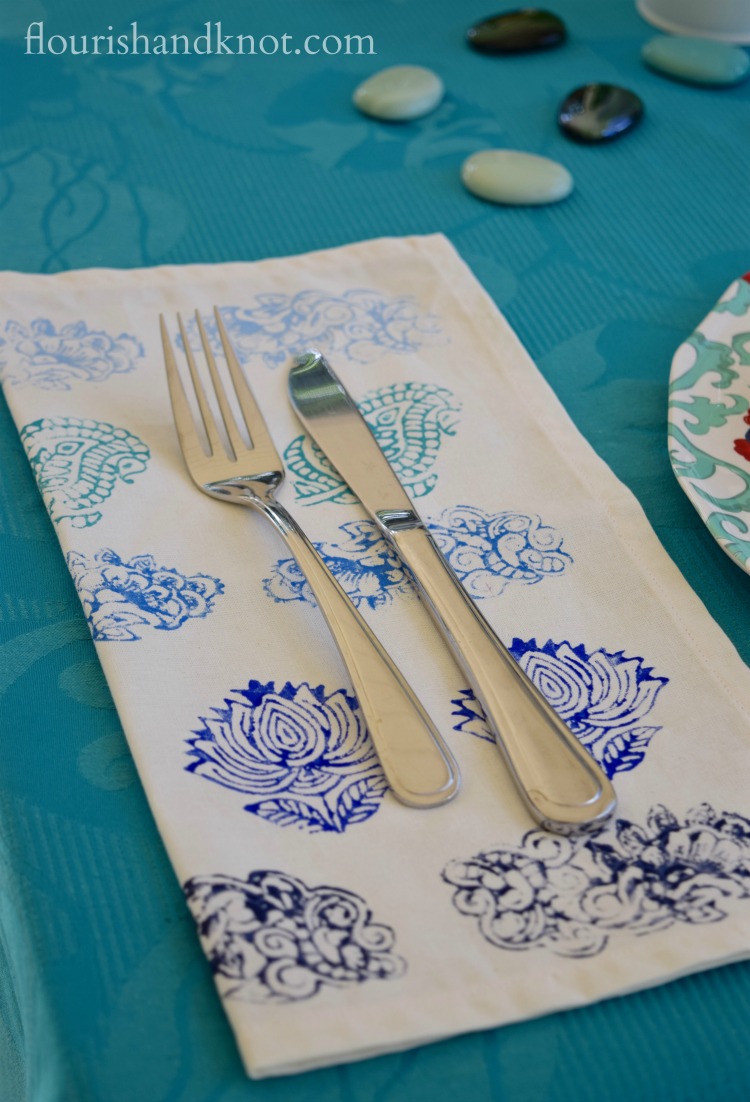
I love that one, which I did using an ombré effect with all my different blues.
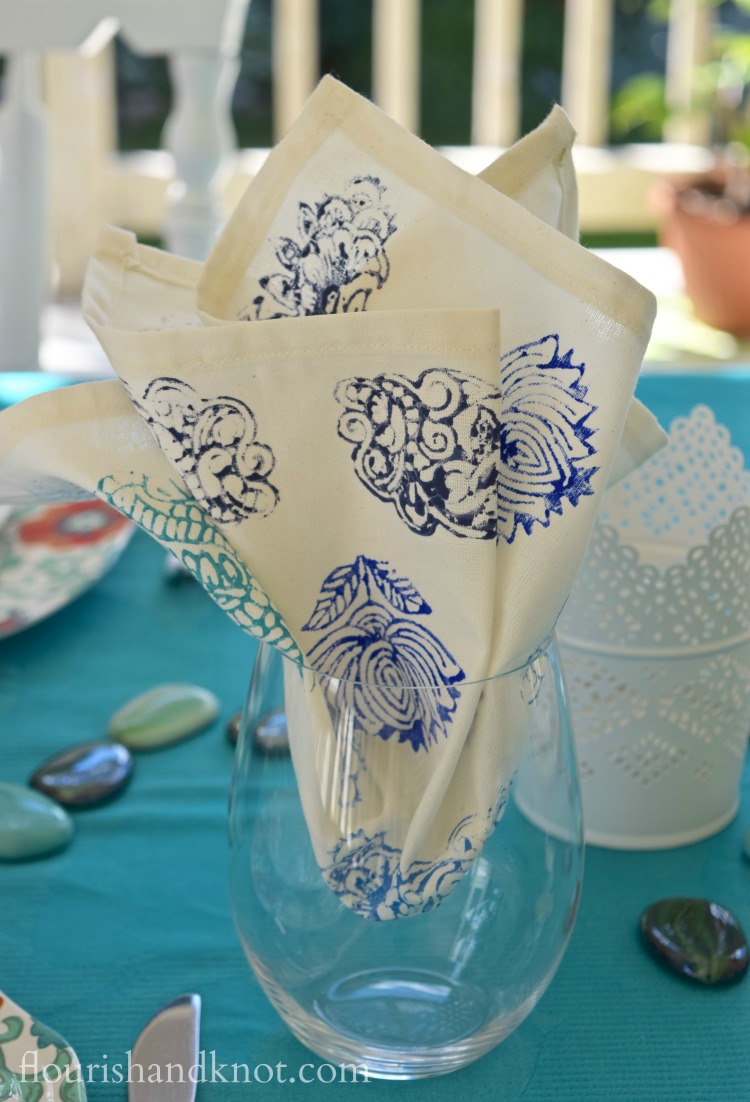
And they look pretty delightful when you artfully display them in the wine glasses. The designs really come across well, I find. Eat your heart out, Martha Stewart. 🙂
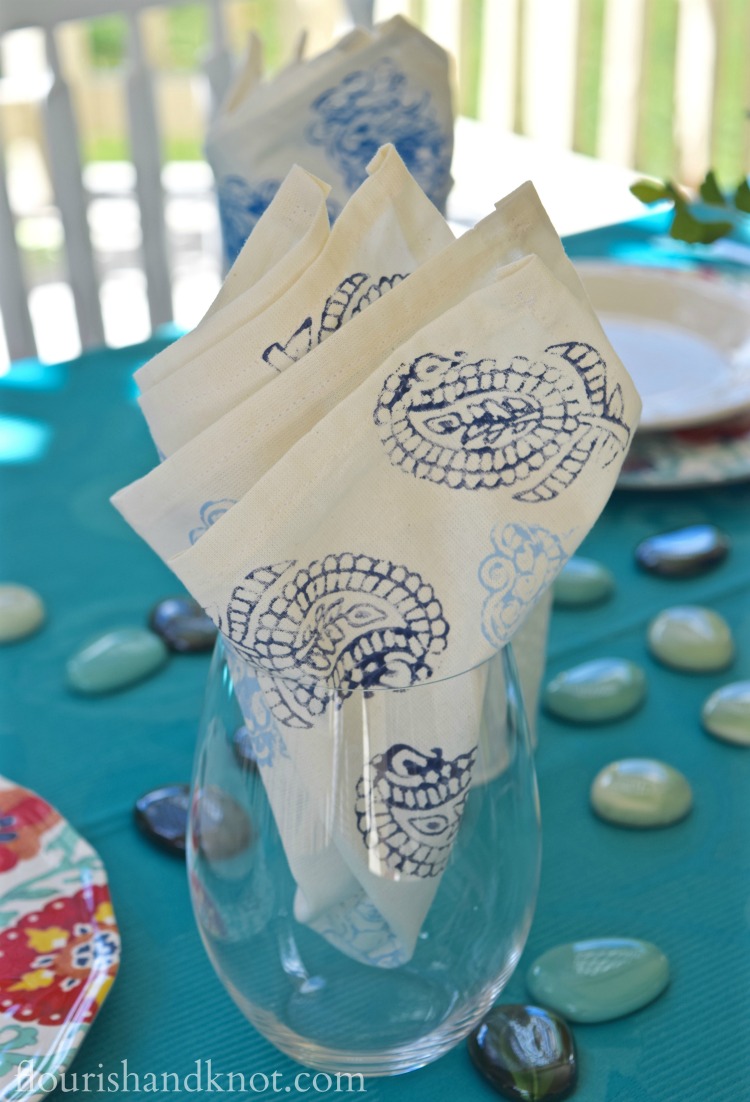
As an aside, you’re actually getting a sneak peek at my outdoor table setting, which I’ll be posting about soon as part of the Al Fresco Tablescape Hop! Can’t wait to be part of it: I think there’s going to be some fabulous summery inspiration for every kind of outdoor dining.
Please feel free to share my block printing tutorial by pinning the pic below! Of course I’d love to hear from you if you’ve ever done a similar project, or if you try your hand at block printing. Leave me a comment – they make my day!
This will (with luck and much hope) be my last blog post until August. Baby is due tomorrow! So until we next catch up, I wish you a wonderful week or two, filled with beautiful summery weather and maybe even the occasional DIY project. 🙂
