« …Friendly candles glow in windows, strangers greet you as you pass! » That line from one of my favourite Christmas songs, Christmas in Carrick, really sums up the warmth and spirit of the season. I think Christmas is my favourite time of the year, because it brings people together like no other. Getting my home ready for gatherings is something I really love to do! I am so excited to share my Christmas home tour with you today, as part of the Simply Seasonal Holiday blog hop. Our host, Caroline of Organize Nashville, has corralled 29 bloggers for this wonderful event, full of gorgeous holiday eye-candy.
If you are joining me at Flourish & Knot for the first time, welcome! I also want to say a special welcome to those who landed here from Organize & Decorate Everything: thank you so much for following along on our Simply Seasonal tour.

Rather than give you a generic tour of my home all decorated for Christmas, (« And on your left, ladies and gentlemen, you’ll find the kitchen ») I’m going to let you in on my top five tips for getting ready for the holidays. So this tour will jump around a bit. Don’t worry: if you get lost, meet at the eggnog! 😉
This post contains affiliate links. When you click the link and make a purchase, I will receive a small commission (at no extra cost to you).
Tip #1: Keep a tin of baked goodies ready for unexpected guests!
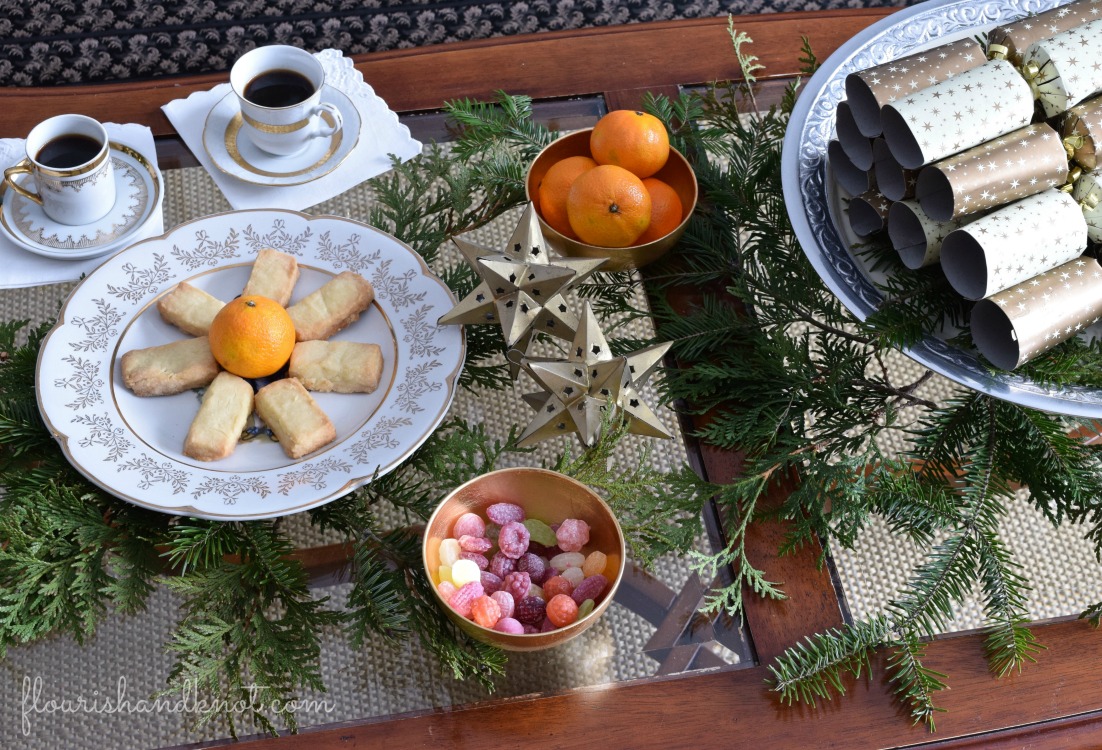
Extra credit: have a good bottle of wine and some nice cheese and crackers to hand!
I like to have some nice baking (my favourite in my grandmother’s recipe for Scottish shortbread), some fine cheeses, some charcuterie, and a good bottle of wine in the house AT ALL TIMES during the holidays. Spontaneous gatherings are just part of this time of year and having the kitchen stocked with some yummy goodies makes visitors feel special.
Tip #2: Take time to enjoy the season!
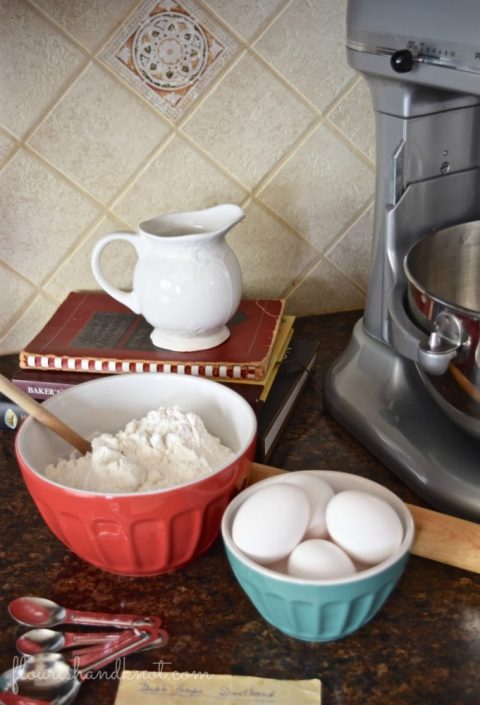
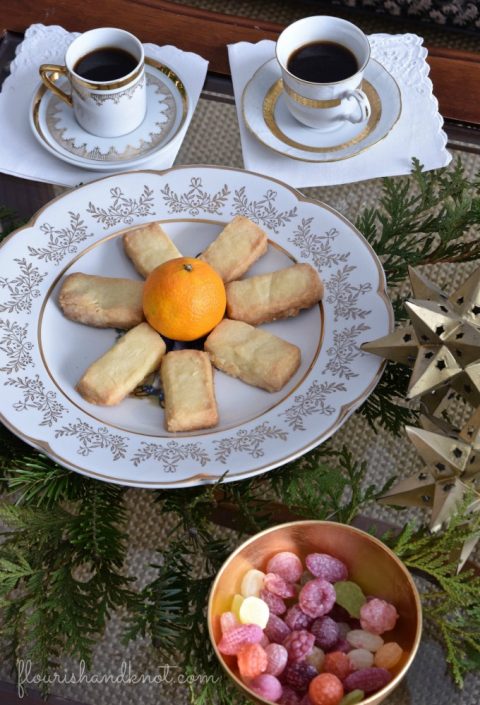
Extra credit: make a couple of batches of cookies while you forget about the pressures of your « Christmas List »!
This is the most important tip, I think: take some time for you and your family to enjoy the season. What’s the point of that perfectly-posed, co-ordinated Christmas photo if it’s the only time you spend with the people you love during this season?? Twenty years from now, your family won’t remember how perfectly decorated the house was or how many gifts were under the tree, but they will remember having that giant snowball fight that ended with Uncle Billy getting snow down his pants. 🙂
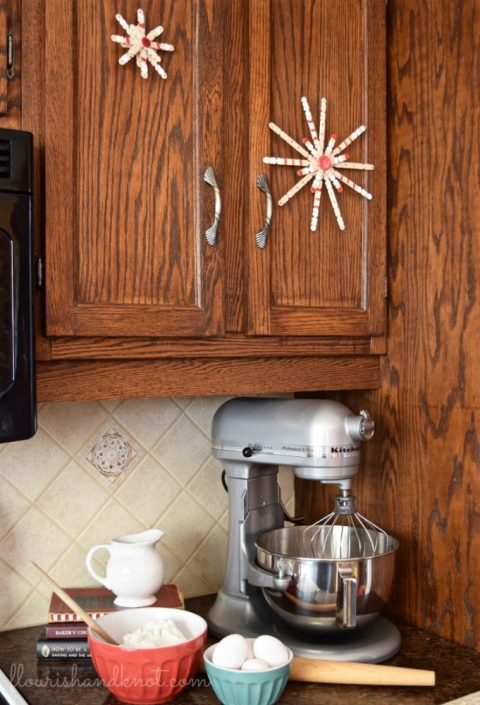
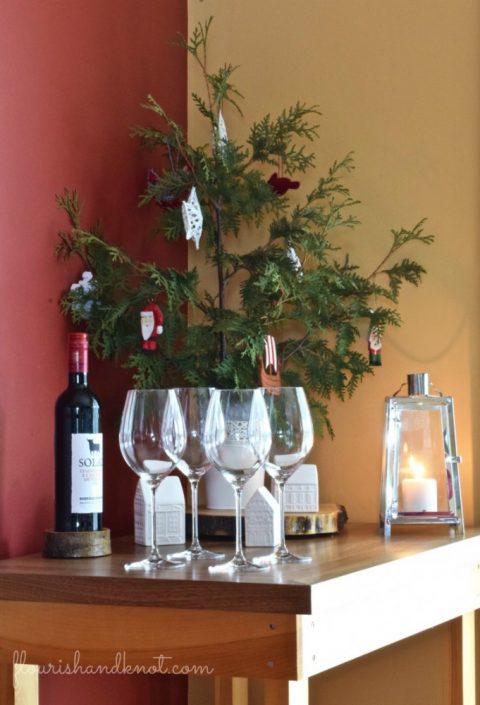
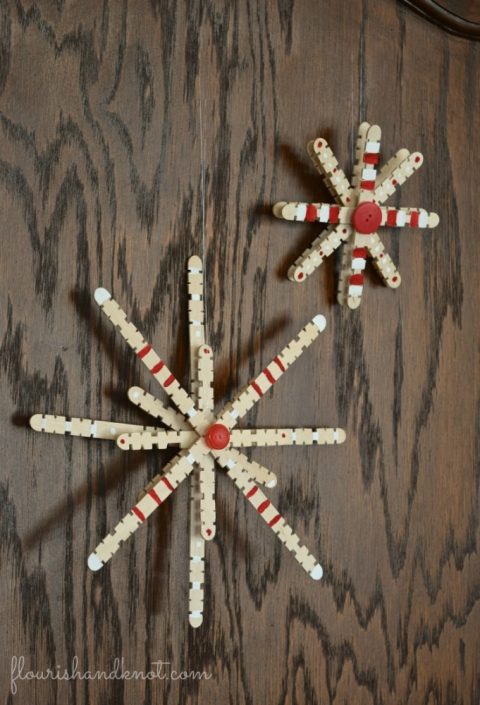
By the way, you can find the tutorial for those Scandinavian-inspired snowflakes HERE. They are the perfect 10-minute craft to do with adults and kids alike! I inherited my love of Christmas crafts from my grandmother and mother, who always filled our house with creativity during the holidays. Even though our family of musicians was always incredibly busy during December, we found time to bake and craft together. I’m so grateful for those memories!
Tip #3: The sparkle is in the details!
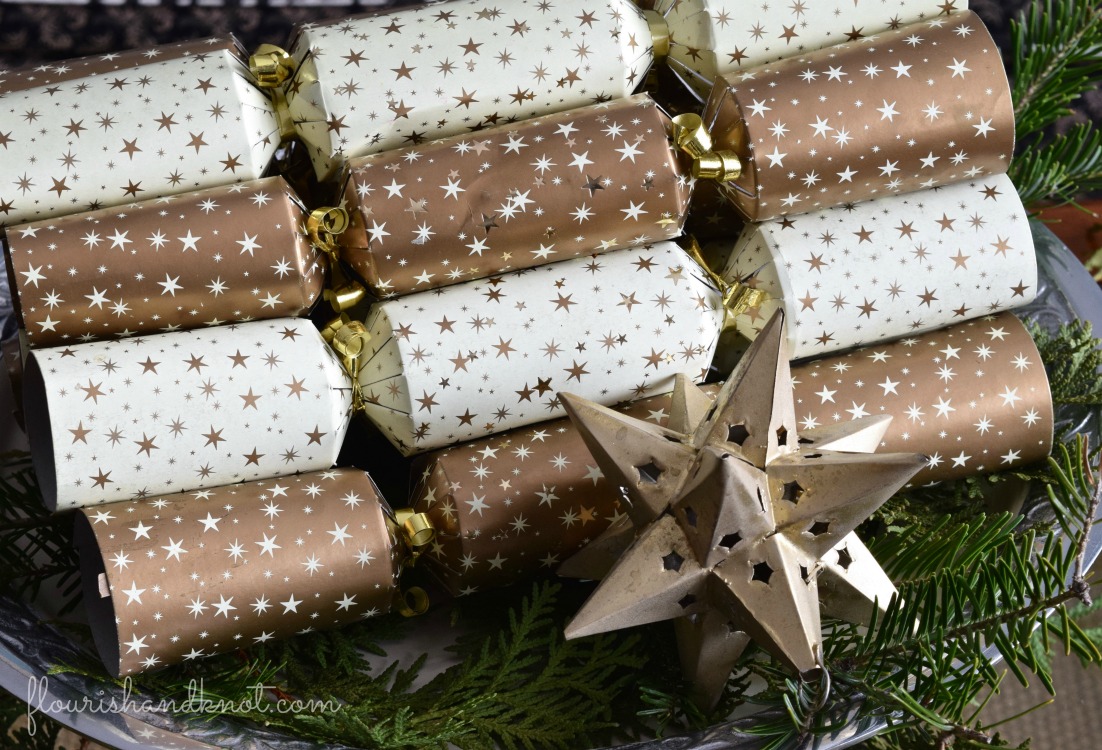
Extra credit: actually WEAR the paper crowns from the crackers!
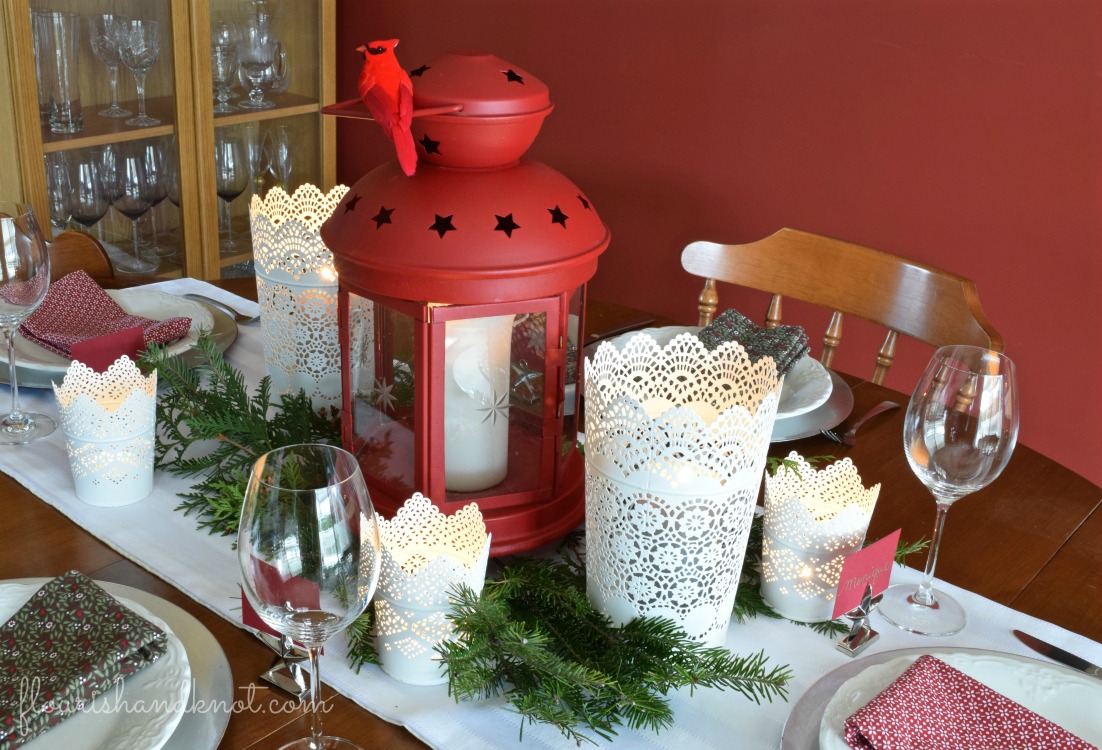
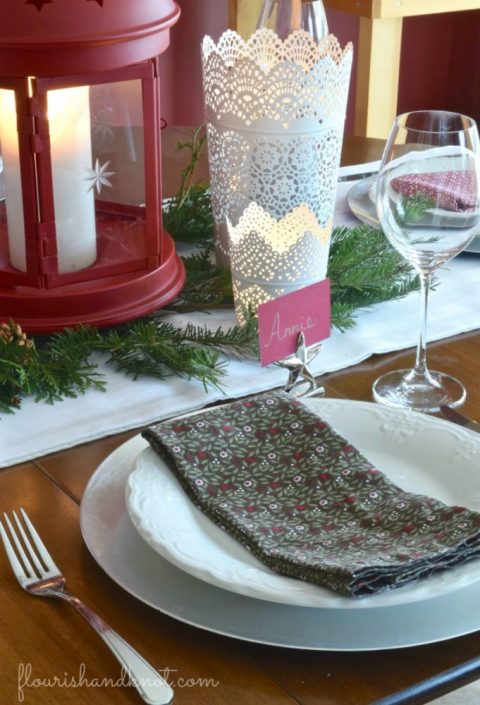
A big pile of Christmas crackers, a special centrepiece, little place cards for your guests… Just because it’s a small touch doesn’t mean it goes unnoticed. For our dining room and kitchen, I went with a simple red and white colour scheme, with lots of Scandinavian-inspired details. My table setting isn’t at all complicated: some greenery left over from cutting our cedar hedges and the extra branches from the Christmas tree, some white and red Ikea lanterns, silver chargers, printed napkins, and everyday white dishes. But when you add some little details, like the cardinal or the star place card holders, it becomes extra-special!
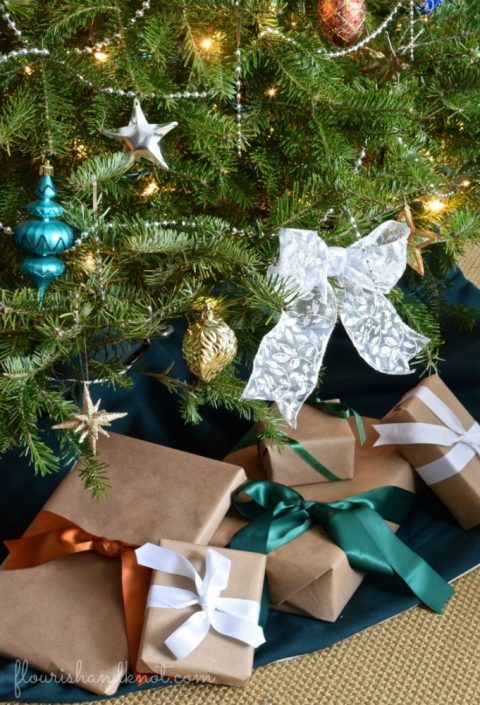
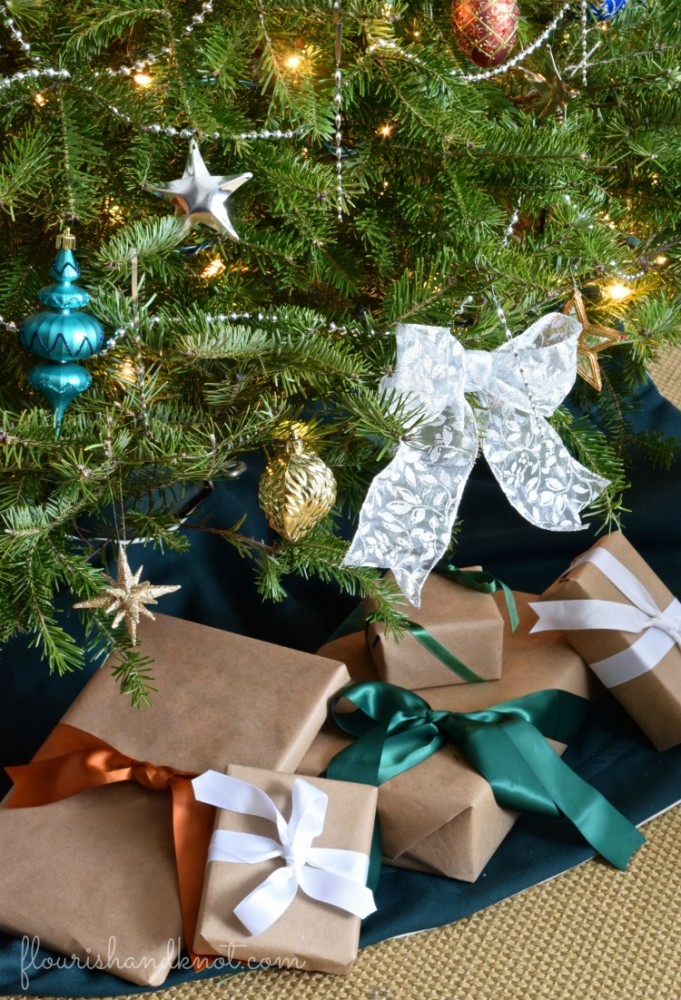
A pretty ribbon makes a simply-wrapped gift look elegant. I used plain old craft paper to wrap these boxes, but embellished them with different pieces of ribbon from my craft stash. By the way, that’s just a sneak peek of the pièce-de-résistance: my Christmas tree! For the full reveal, you’ll have to stop by TOMORROW.
Tip #4: Make your own decor!
Extra credit: don’t be afraid to bring out family heirloom pieces!
Not everything has to be fancy and store-bought! In fact, I’m just going to come right out and say it: I disagree wholeheartedly with buying all-new Christmas decor every year. I’m a firm believer in shopping your closet – or in this case, your storage bins – and I love pulling out pieces from years past. When you only use them for a month a year, they feel new again!
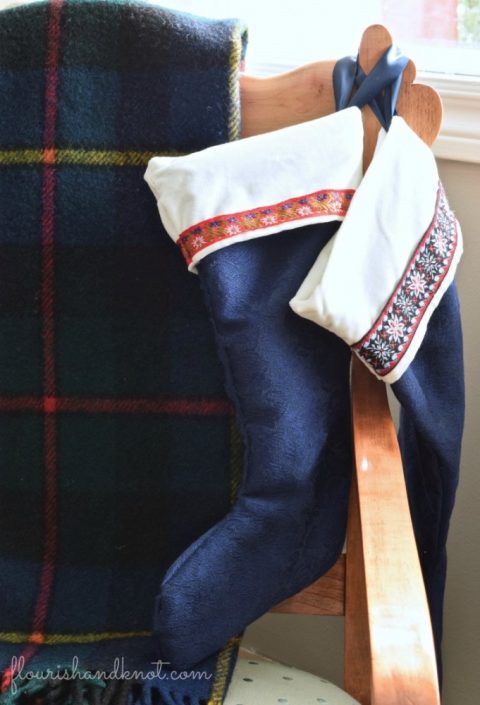
I made these stockings two years ago with remnants from the fabric we used for our wedding table runners. They remind me of such a beautiful day. This year I made one for our baby girl. It was a fun and easy DIY project.
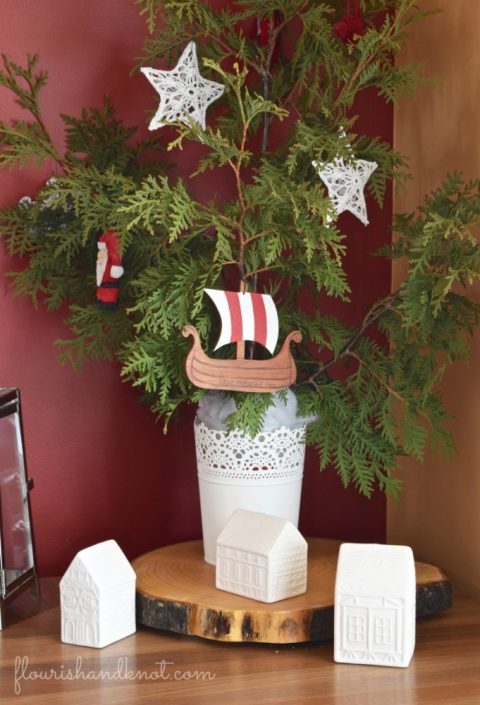
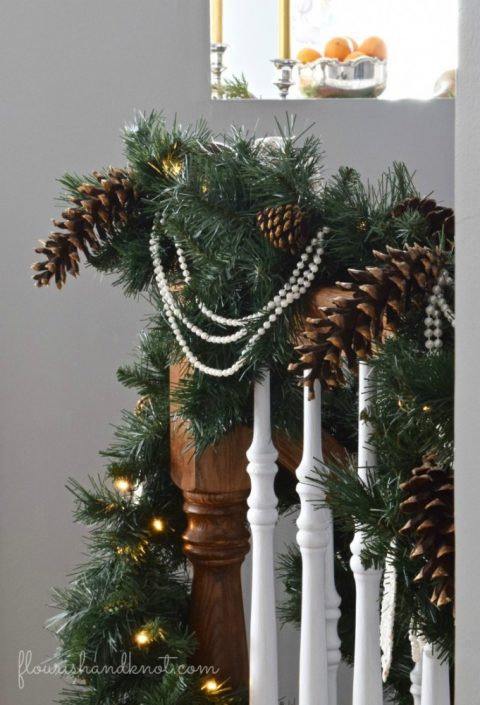
I bought some plain faux pine garland this year and decorated it with swags of beaded garland, LED lights, gilded pinecones (see how HERE!) ribbon, and snowflake ornaments. It took a few days to finish everything (did I mention I have a four-month-old?) but the result was totally worth it!
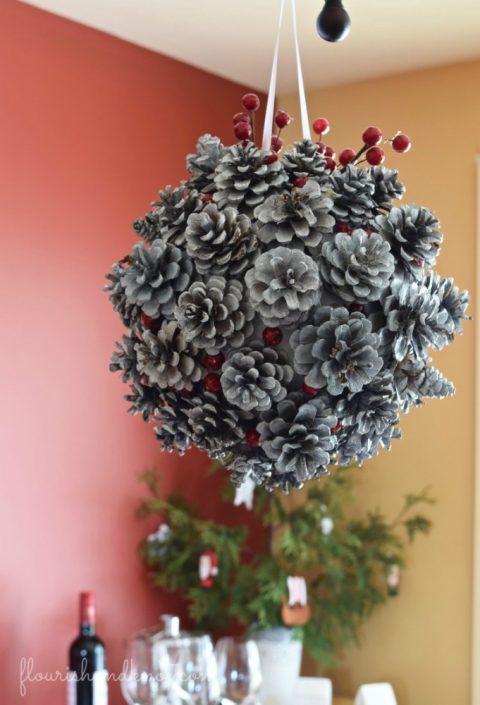
I made this pinecone pomander with painted pinecones, faux berries, ribbon, and a styrofoam ball. If you don’t have time to make your own, you can purchase one HERE or HERE.
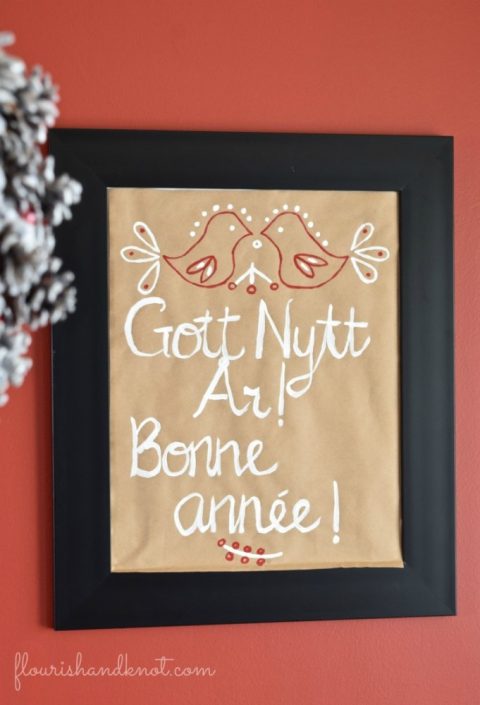
I made about 95% of the decor I used this year (the other 5% is family or vintage stuff!), and one of my favourite projects was the Swedish « Happy New Year » poster for the kitchen. I’m really working on improving my painting and lettering skills, so it was fun practice.
Tip #5: Go green!
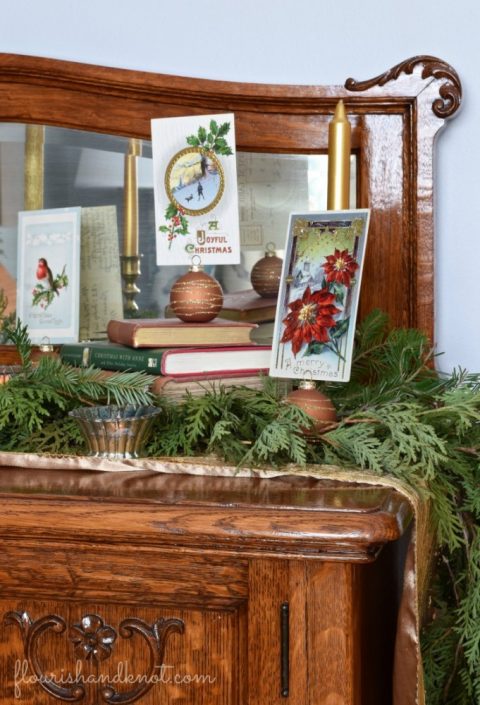
Extra credit: vintage postcards are pretty easy to find (on Etsy HERE and HERE), and it’s cool to see what people wrote to each other!
With real greenery, that is!
I love the look and smell of fresh pine and cedar. It’s a real tree for me or bust! But I also love the look of real greenery in garlands and swags. Now, it’s not always convenient to go real (my stair garland is faux because I like to put it up earlier, and my wreaths are both faux because I like to re-use them), but for some areas of your home it’s really nice to have that real-greenery touch.
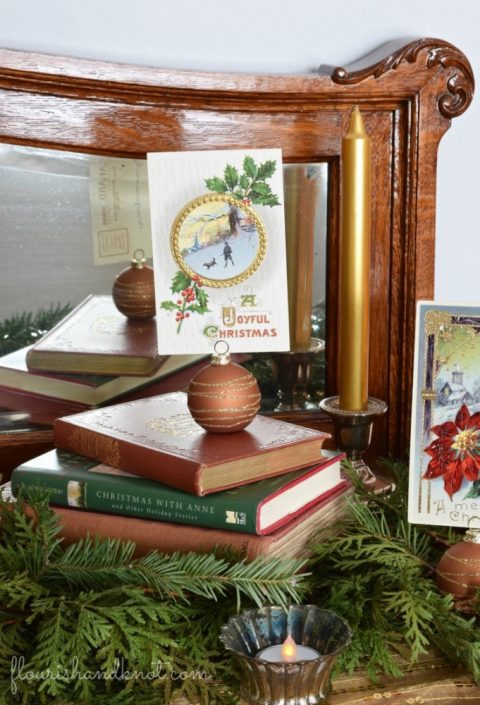
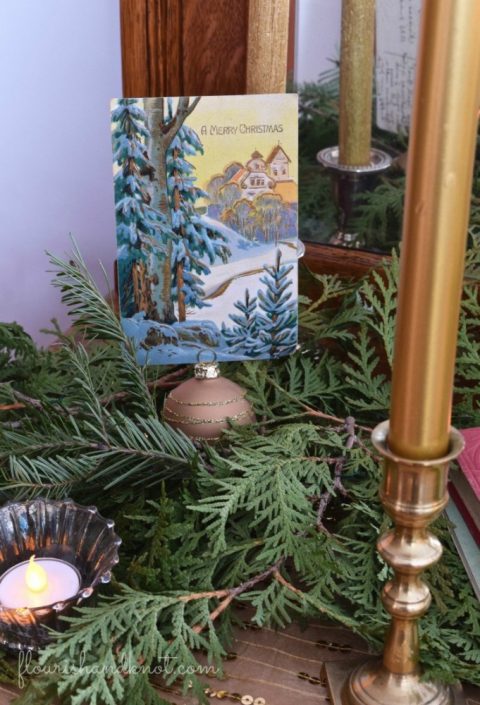
For my Christmas « mantle » (actually an antique buffet), I made a garland of cedar and pine. I then layered on some vintage carol books, tea lights (with LED candles – no fire hazards here!), gold taper candles in brass and silver candlesticks, and a collection of vintage postcards.
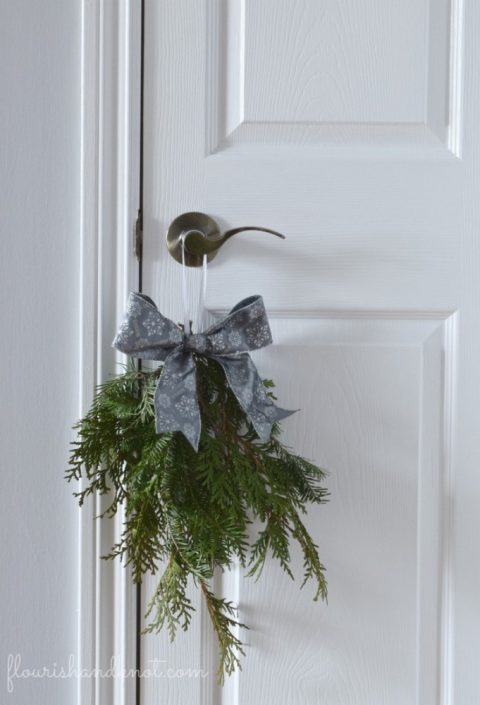
These door swags were incredibly easy to make: just wire some stems together and add a beautiful bow! If you are looking for gorgeous wired ribbon, you can lots on Etsy HERE and HERE and HERE.
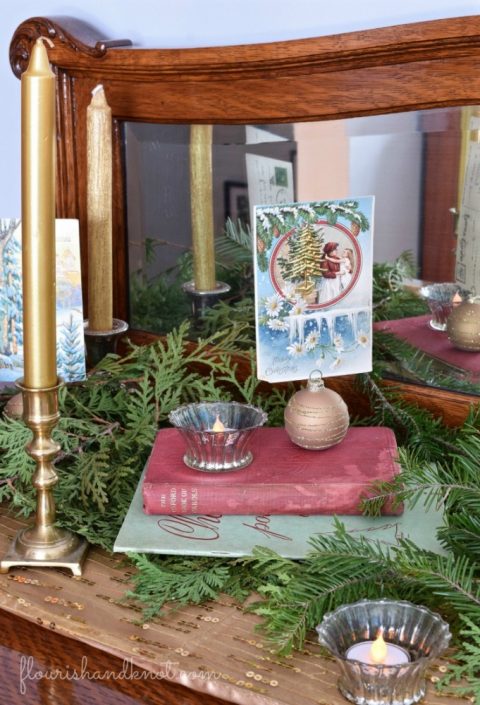
I hope you’ll come back tomorrow to see the reveal of my Christmas tree! I am in love with how it turned out this year. You can find all of my holiday-related content HERE!
↓Don’t forget to pin this post for later! ↓

Be sure to hop on over to Rocky Mountain Bliss to hear how she readies her home for the holidays. I’ve added a link to everyone else participating (and the day they post) so you can be sure to check out all the amazing blogs in this series.

Monday, December 5
Tuesday, December 6
Wednesday, December 7
Organize & Decorate Everything
Thursday, December 8
Friday, December 9
Finding Your Joy in The Journey

