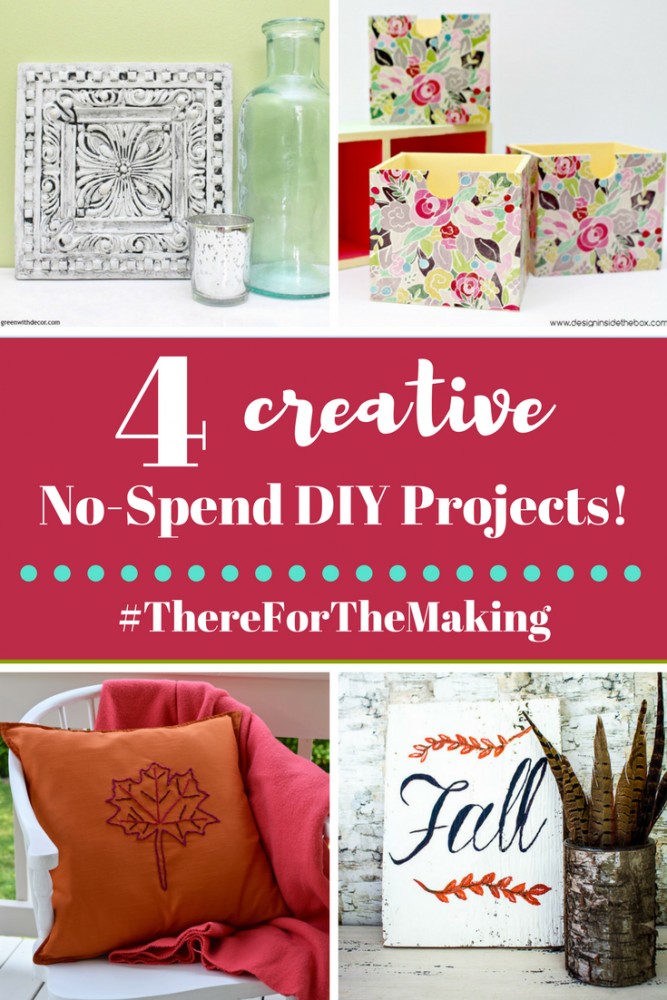
I always admired my grandmother’s beautiful embroidery skills, and wondered how she turned that bag of coloured thread into intricate, charming designs. I’ve attempted a few little quasi-embroidery projects in the past (a few little felt Christmas ornaments and some extraordinarily bad embroidered names on stockings don’t really count for much), so when the August edition of There for the Making rolled around, I thought I’d channel my grandmother and try my hand at some simple embroidery. I had an Ikea pillow cover kicking around, so I thought I would add some flair to it with an embroidered design for fall. Everyone loves a good Ikea hack, right?! Well, here’s how I made my easy (single-stitch!) embroidered maple leaf pillow.

In case you are new to There for the Making, this is a NO-SPEND, zero-dollar DIY challenge. That’s right: the bloggers who participate need to raid their craft and project stashes in order to repurpose, re-use, or recycle materials into something new. Without spending a cent! I love this project because it really forces us to be frugal, creative, and clever. AND it goes to show that you can do a lot without spending any money!
I started out with a plain-jane Ikea pillow cover in a rusty orange faux-silk. I bought these covers a few years ago and still have plans for the other one, but I thought the orange would be a perfect autumnal touch for our living room or deck.
How to Make an Easy Embroidered Pillow (with just one stitch!)
Materials
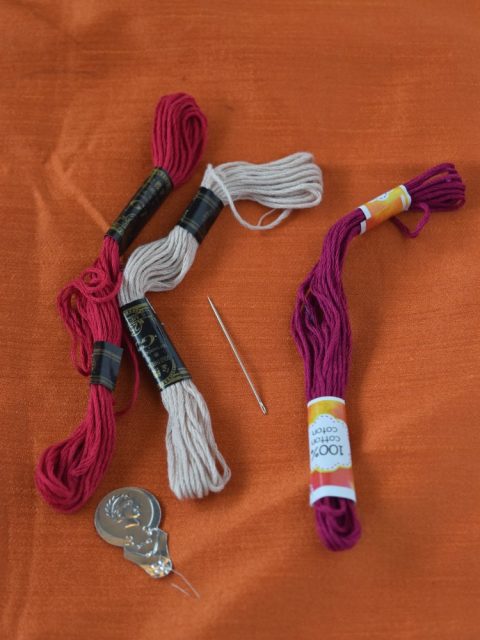
- embroidery floss in your chosen colours
- embroidery needle, threader, and scissors
- pillow cover
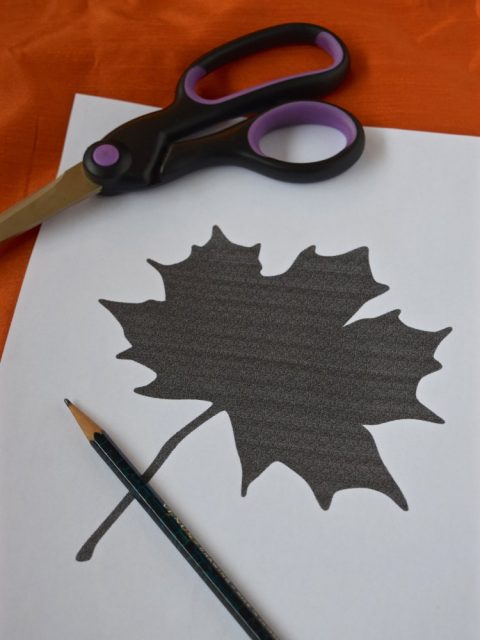
- shape template – I used a maple leaf printed from the ol’ internets
Directions
- Begin by cutting out and tracing your template onto the centre of your pillow. Trace it lightly with pencil or chalk. You can add your details (like the veins in a leaf, for example) now or later.
- Thread your needle with your desired colour of floss and knot the end. Starting from the wrong side of the pillow, pull the thread through. Do a chain stitch. (Insert the needle again right beside where you pulled through the thread; re-insert the needle about 1/2 a cm – or the desired length of your stitch – ahead on your design; loop the thread around the needle and pull.) *But really: go look on the internet for a good chain stitch tutorial*
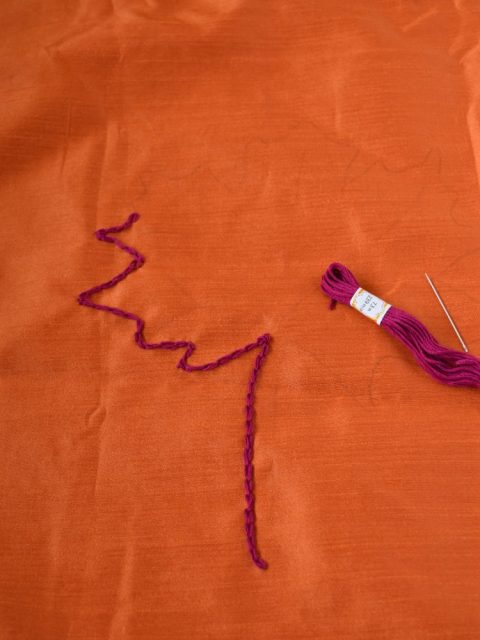
- Complete the outline of your design with your chain stitch. Change colours if desired and create your details using a chain stitch. It can be as fancy or simple as you wish!
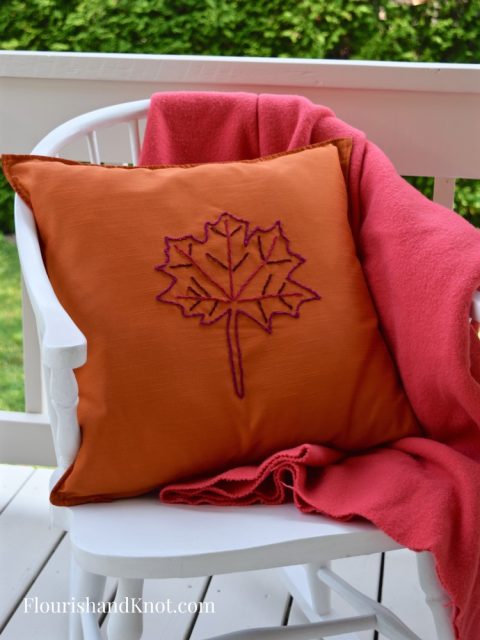
It really wasn’t a difficult project, nor did it take a long time. Probably about 2 hours, total! And I’m pretty much an embroidery newbie (let’s not journey back to the failed Christmas stocking name tags of 2014), so if I can do it, you definitely can! My stitches are by no means perfect, but I am pretty pleased with how it turned out. Not too shabby!
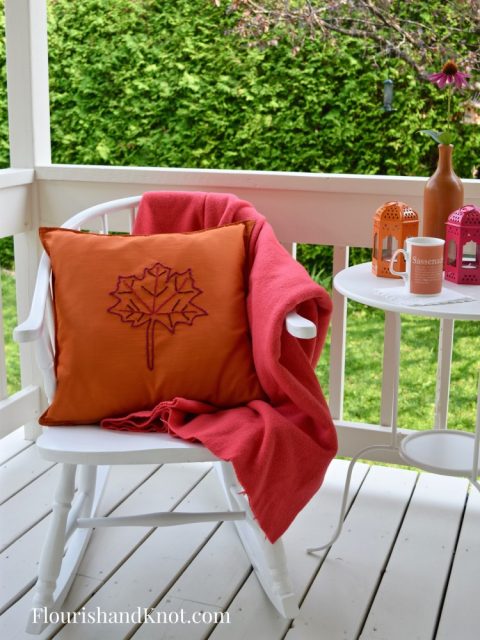
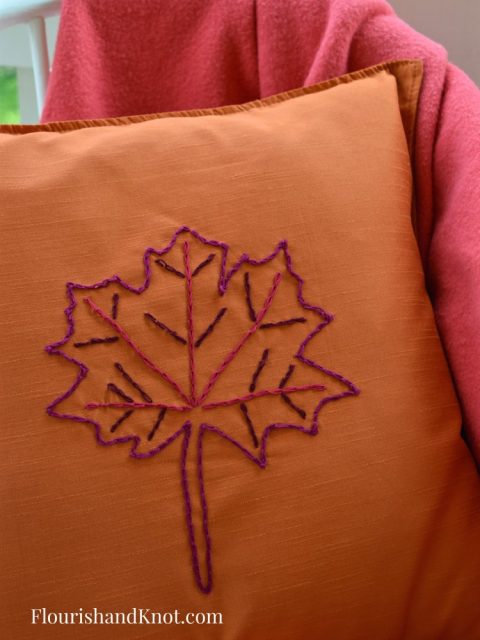
There are three other talented bloggers participating in this August edition of There for the Making, and I would love it if you would take a moment, stop by their blogs, and see what they made on a zero-dollar budget. There is some really creative inspiration to be had this month!
Check out all the no-spend DIY inspiration in this month’s #ThereForTheMaking Challenge!
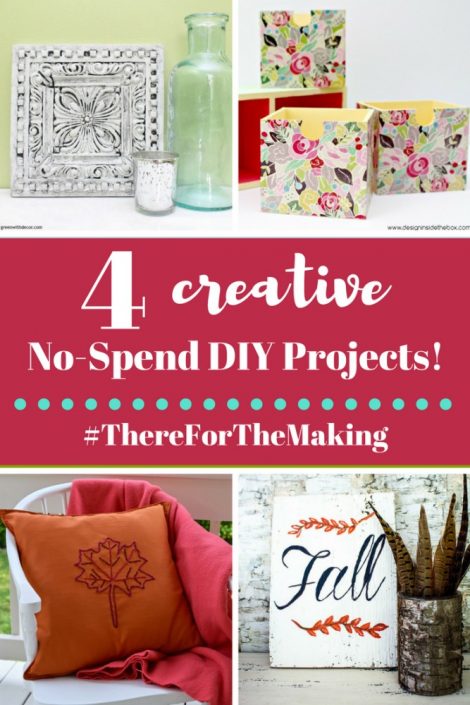
DIY Painted « Fall » Sign | 2 Bees in a Pod
DIY Storage Solutions | Design Inside the Box
Easy Embroidered Maple Leaf Pillow (Ikea Hack!) | Flourish & Knot
Updated Glazed Tile | Green With Decor

