I can’t believe I’m actually writing this post. Up until about 48 hours ago, I thought I’d be writing a big, sad apology for not completing my craft and sewing space makeover in time. But hey look! Thanks to some major butt-kicking (and a whole lot of help from my amazing family), the craft and sewing area is DONE like dinner. Proof positive that DIY home decor (even on a $100 budget) is the BEST kind of decor.
If you’ve been following along since week 1 of the challenge… well, you’re awesome! Thank you so much for seeing it through to the end with me. I am absolutely THRILLED with how this space has turned out and I cannot wait to show you all the pretty pretty details. If you missed a few posts along the way, you can catch up on week 2 here and week 3 here!
Drum roll, please! *brrrrrrrrrr…………………………………* (Bonus points if you made the sound out loud. One MILLION points if you did an air drum roll.)

Ta-da! I am SO excited to show you all the great little nooks and crannies of this space.
(I should apologize for last week’s lack of a progress post: I just got so busy actually DOING the DIYing that I didn’t have time to blog about it. But I figured that you wouldn’t mind too much if it resulted in a fabulous REVEAL post this week. Yahoo!)
I want to say a big thank you to Erin from Lemons, Lavender, and Laundry for organizing the $100 Room Challenge. She has done such a wonderful job and it is so kind of her to invite her blogging friends to tag along on the challenge. If you are new to the challenge, let me fill you in: Erin created it in order to add style – on a $100 budget! – to areas of her home that needed a little love and attention. She was out to prove that you can make a major impact on your home without spending a small fortune… and I couldn’t agree more with that!
Perhaps before I go any further, we should venture back to where this room began (a mere five weeks ago).
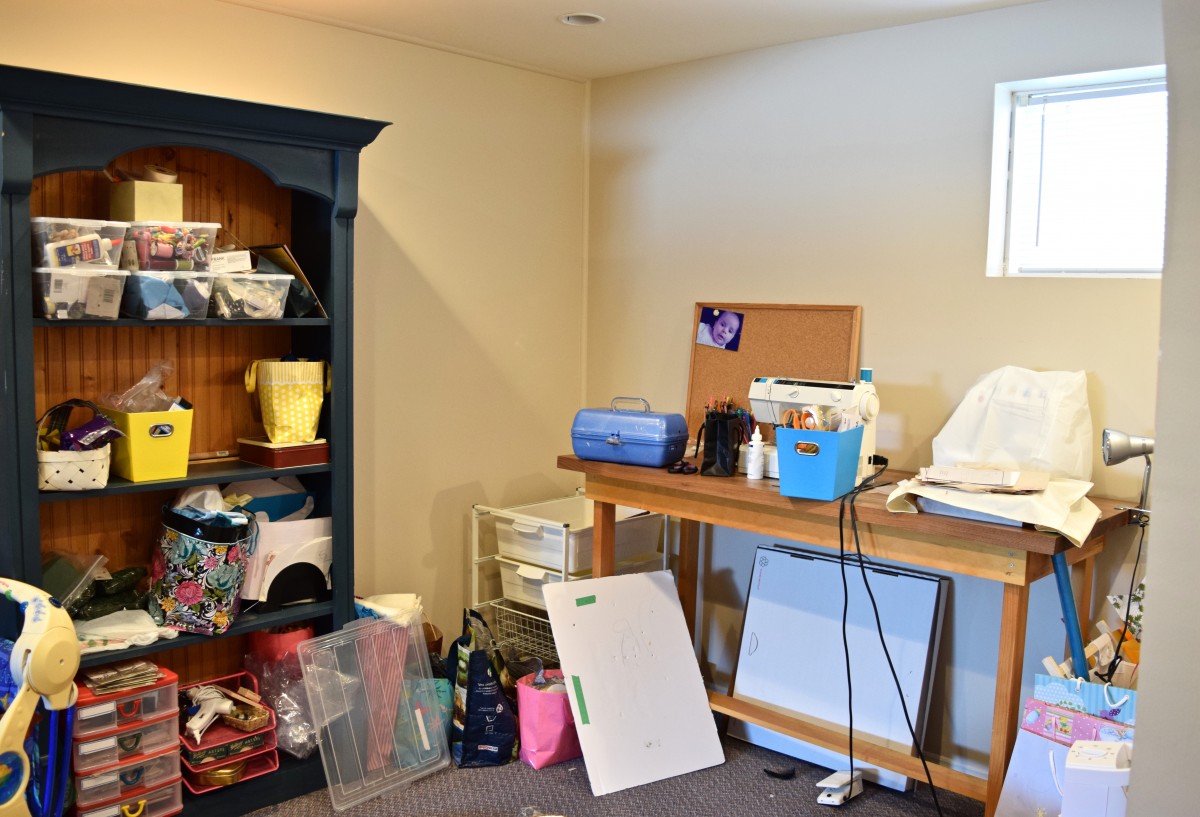
Yikes. Yikes yikes yikes.
Well it looks quite a bit better now. I no longer have to shovel a path from it to my music room. *Phew!* My shovelling arm was getting tired.
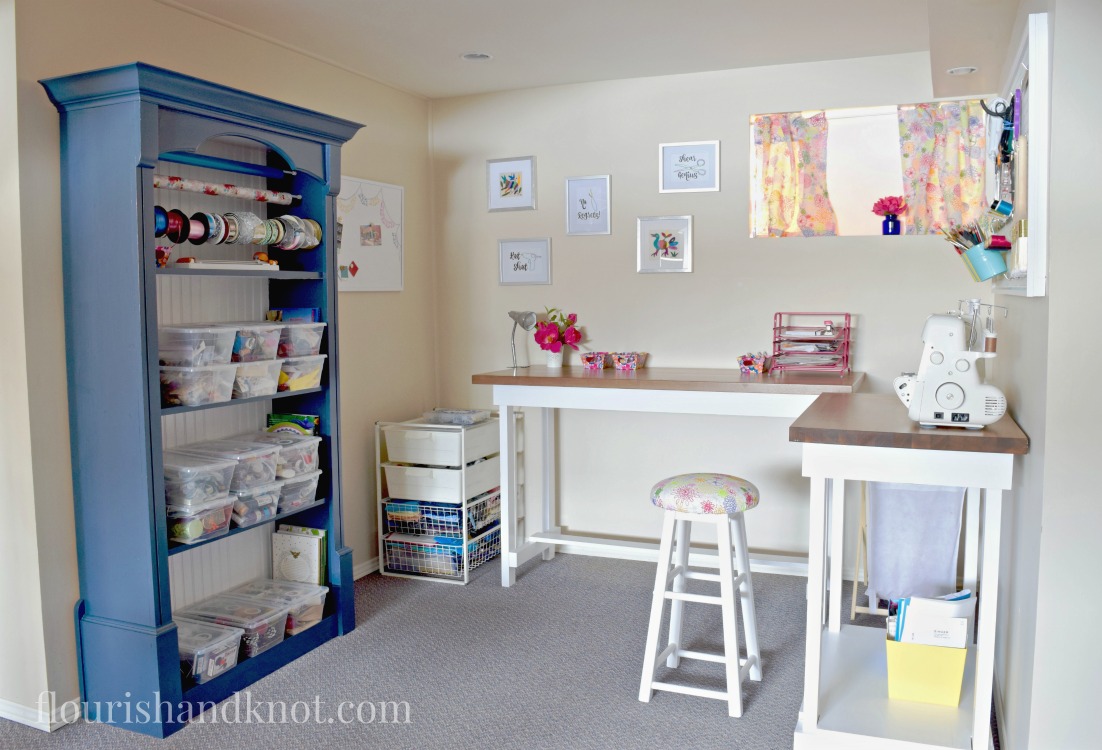
I’m hard-pressed to decide which element is my favourite. I love the way that my painted bookcase turned out. I took it from water-stained and completely disorganized:
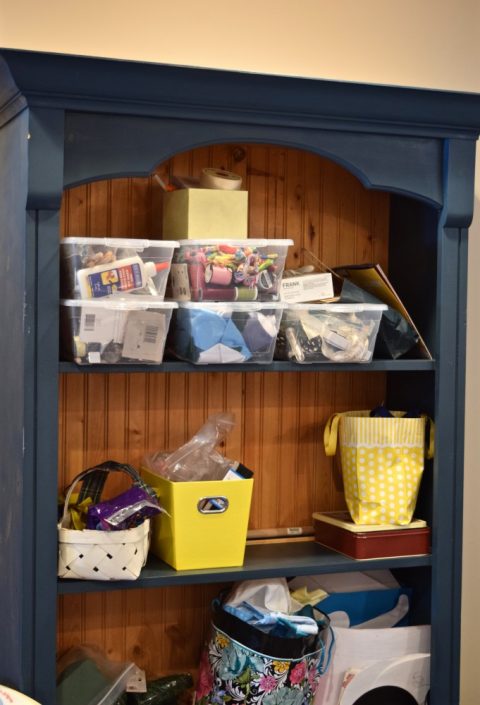
To ultra-organized and looking fab!

On of the best ideas of this whole space came from my mom, who suggested using tension curtain rods to hold the spools of ribbon and wrapping paper, instead of dowels (as I’d originally planned). It was a genius idea!
The storage bins that I owned already were working well but just weren’t enough to hold all my craft supplies. I purchased nine more of them and now everything has a place. I really like that I can see what’s in each of them.
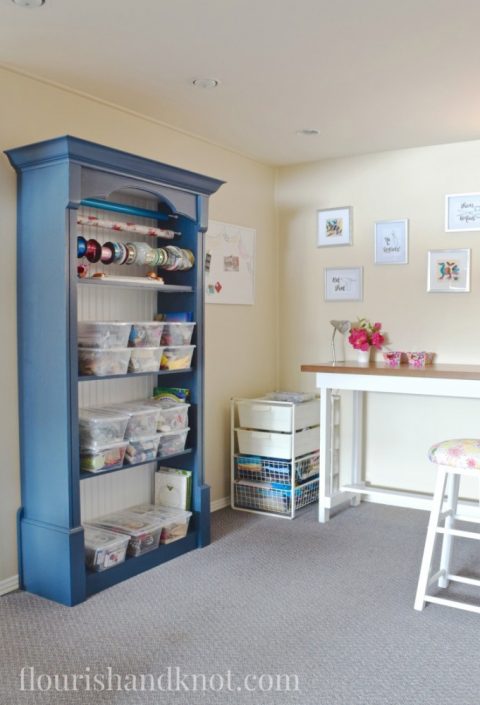
I filled out the bookcase with my DIY books, sewing manuals, gardening books, and other craft-related reading material. I’ve got my spray paints on there, as well as my paper cutter and cutting mats. Everything is easy to find and neat-looking – yes!
I love the way that my little upholstered bar stool turned out. It’s a departure from my original plan of a Shibori-style dyed fabric but sometimes you just have to go with it! I actually did dye the fabric, but it was just not working for the stool, so I’ll use it for another project. Instead, I upholstered the stool with some Ikea curtain fabric that I already owned.
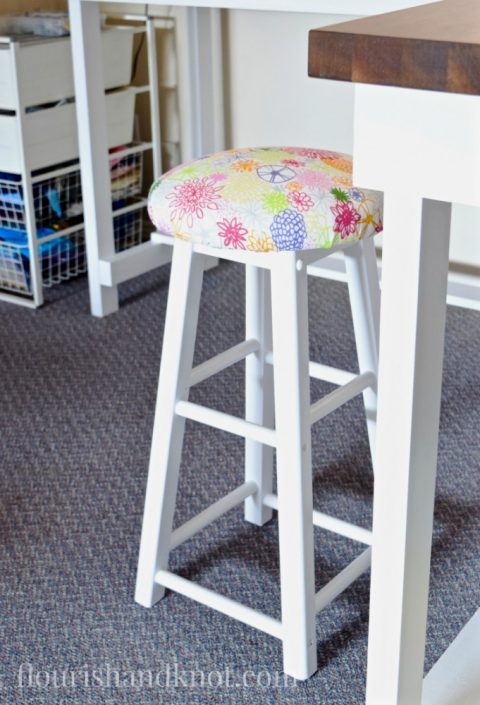
When I went to the hardware store to purchase covers for the screws on the stool, they didn’t have exactly the right size. I ended up filling the gaps with a paintable caulk, and it did the trick really well.

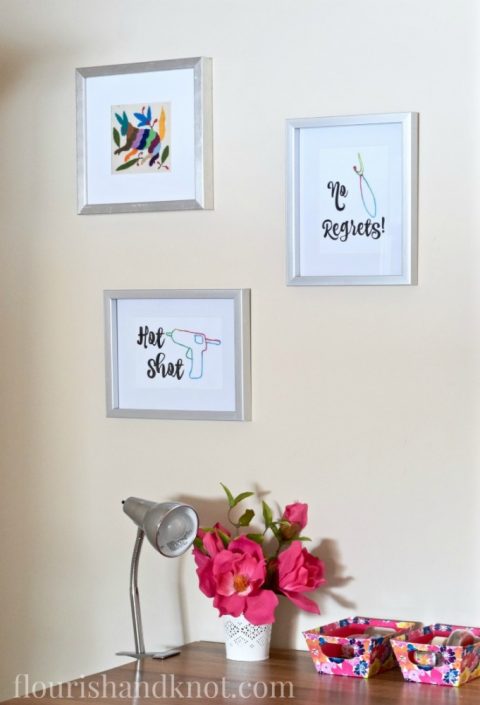
If you follow me on Instagram (I’d love for you to join me there!), you caught a little glimpse of one of my wall art DIYs for this space. I made three punny mixed-media prints for my gallery wall. My « Shear Genius », « Hot Shot », and « No Regrets » prints make me smile so much when I see them. I did the outlines of the scissors, seam ripper, and glue gun using rainbow embroidery floss. I’ll have a tutorial for that up in the next couple of weeks!
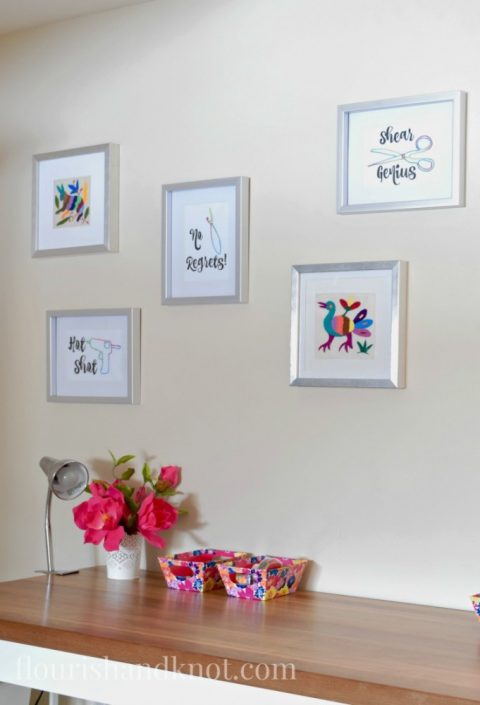
I combined those DIY prints with two fabric Otomi fabric pieces from Mexico. I love the bright colours in them!
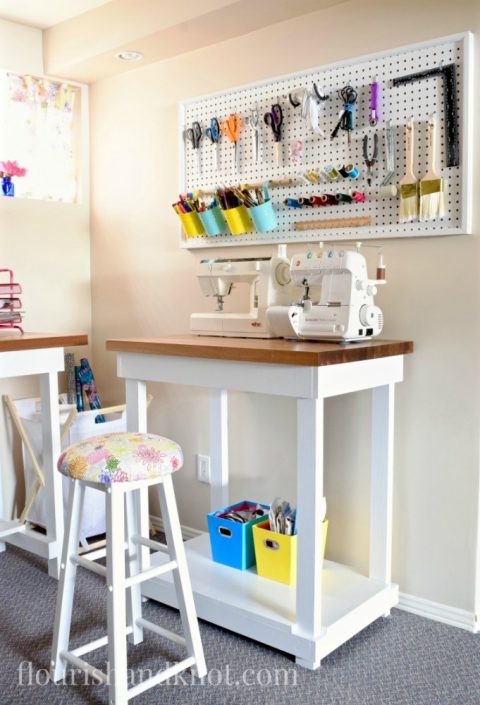
For all that I love the bookcase, the gallery wall, and the little painted corkboard in the corner of the room, I think my favourite element is my pegboard!
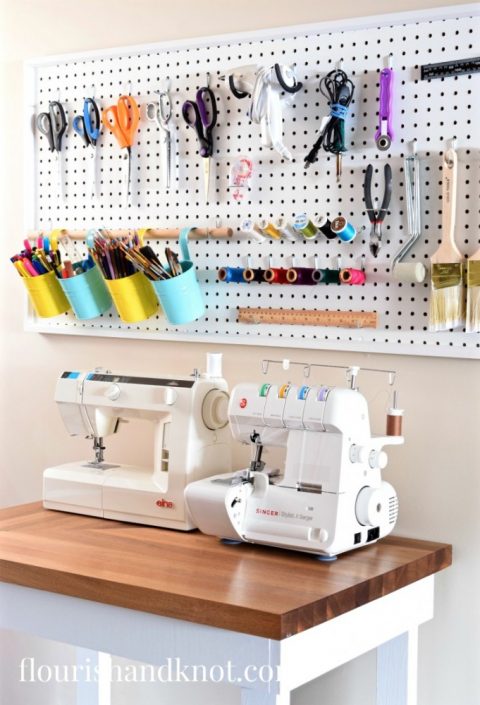
*pant pant* Hot stuff. (Also, the darling duo underneath the pegboard make my heart go pitter-patter.) My dad and I installed the pegboard together (and had a great time in the process) and I couldn’t be happier with how it looks. It was a really simple DIY that you just need a few basic tools to accomplish. But boy: is it ever useful and pretty!
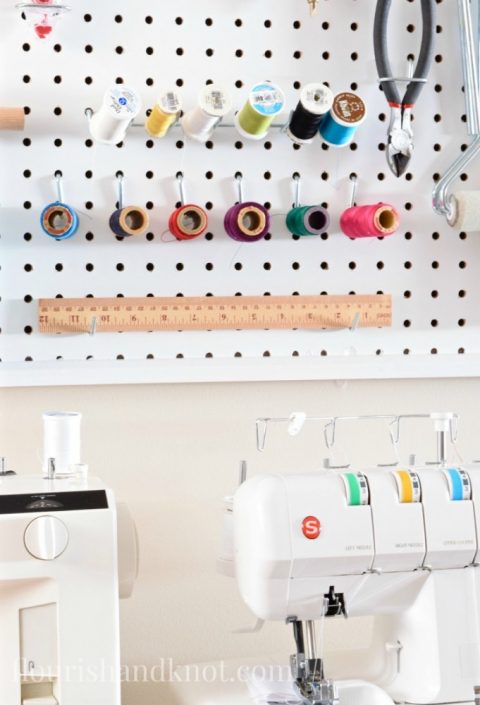
I also painted the bases of the two counters I’m using for my craft/cutting table and my sewing table. They were built by my handy hubby and my dad back in 2011 when we were living in an apartment with zero kitchen counters. I always wanted to paint the bases but just never got around to it. Now that we don’t need them as counters, I thought I’d give them a new life in my craft area.
So what do you think? Can you believe that all of that was accomplished for $100?? No? Neither can I, because I actually came in UNDER BUDGET!
- Painted the bookcase (already owned the paint) – $0
- Painted the counter bases (already owned the paint) – $0
- Painted the base of the stool (already owned the paint) – $0
- Upholstered the stool (already owned the fabric and batting – purchased the memory foam) – $10
- Purchased 9 clear storage bins – $22
- Purchased 4 tension rods – $14
- Purchased supplies to make pegboard and pegboard accessories – $30
- Painted the corkboard (already owned the paint) – $0
- DIY wall art – $0
- Purchased 3 silver picture frames for DIY art – $11
- Framed two Otomi pieces (already owned pieces and frames ) – $0
- Received 6 floral mini boxes (gift) $0
- Purchased 4 hanging pots for pegboard – $7
- Sewed small curtains for the window (already owned the fabric) – $0
- All other accents and accessories were already owned – $0
TOTAL… $94.00 (CANADIAN!)
Boom. That’s how we do things in the Great White North.
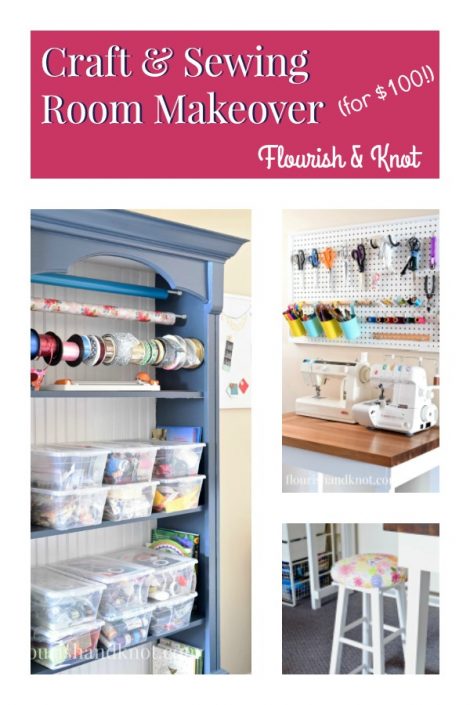
I would LOVE it if you’d pin this image for later. You can always come back for inspiration if you want to do your own $100 room makeover.
↓ Pin me! Pin me! ↓
I’m not alone in completing this crazy $100, five-week room makeover challenge! Please visit the other bloggers who have crossed the finish line. A challenge like this isn’t always simple: a tiny budget is never easy to work with, but having only a few weeks to complete it all is really tough. They all deserve a big round of applause for seeing it through to the end!
I’ll be back tomorrow with an Eh-Mazing (that’s a little Canadian humour for you) and really unique post for you. Can’t wait to show you what else I’ve been working on!

