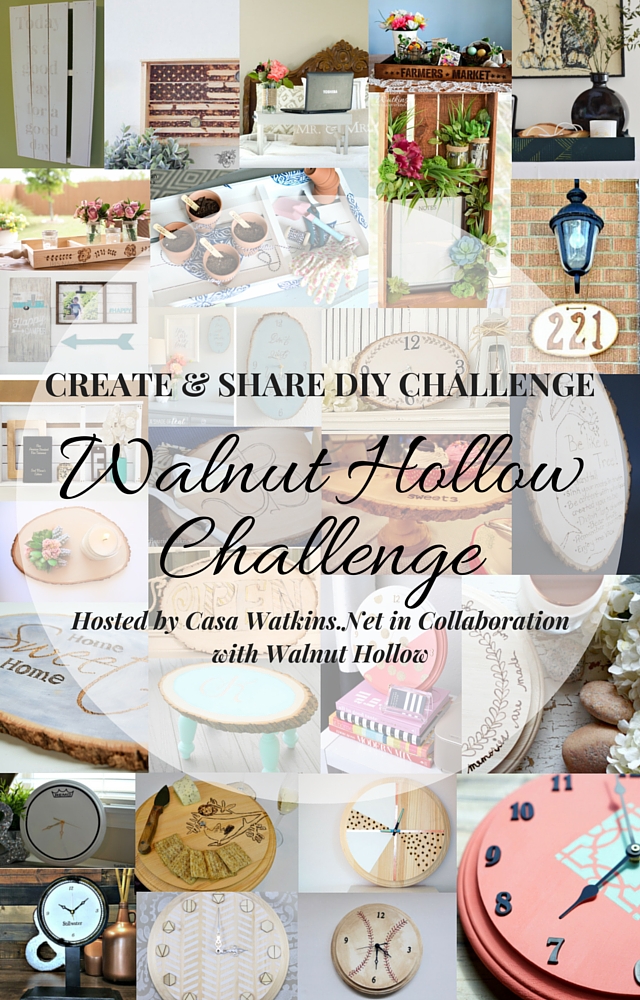
Every so often, a challenge comes along that really makes your DIY genes tingle in anticipation. This month’s Create & Share, was just such a challenge! Using products generously provide by Walnut Hollow, myself and 30 other DIY bloggers were tasked with creating a unique piece for our homes. As I’m such a foodie, I thought I’d taken the opportunity to create a beautiful, custom-monogrammed cheese board.

I received one basswood round and one woodburner from Walnut Hollow in exchange for writing this post. All opinions are my own.
I’m sure we’re all familiar with the wedding-season dilemma: what to get a couple that has been together quite a while, or who have already set up house? Sure, you can buy off a registry, or write them a cheque, but those options can sometimes feel impersonal. A personalized serving piece is a lovely way of acknowledging the start of their married life, and will be a beautiful reminder of the vows they made on their wedding day.
Of course, a serving piece like this makes a lovely gift for occasions other than weddings! It would be perfect for a birthday or anniversary, or as a shower gift. It is also a relatively inexpensive project, and could be packaged with a gift card to a quality grocery store, a set of beautiful cheese knives, or a bottle of good wine.
If you are at all handy (and by “at all” I mean you have opposable thumbs), you can definitely create this custom-monogrammed cheese board!
(And if you are already wondering “but who are JB, Sarah?” then you’ll just have to wait in utter torment and mystery until our dear friends, JB, get to unwrap their gift!)
Materials
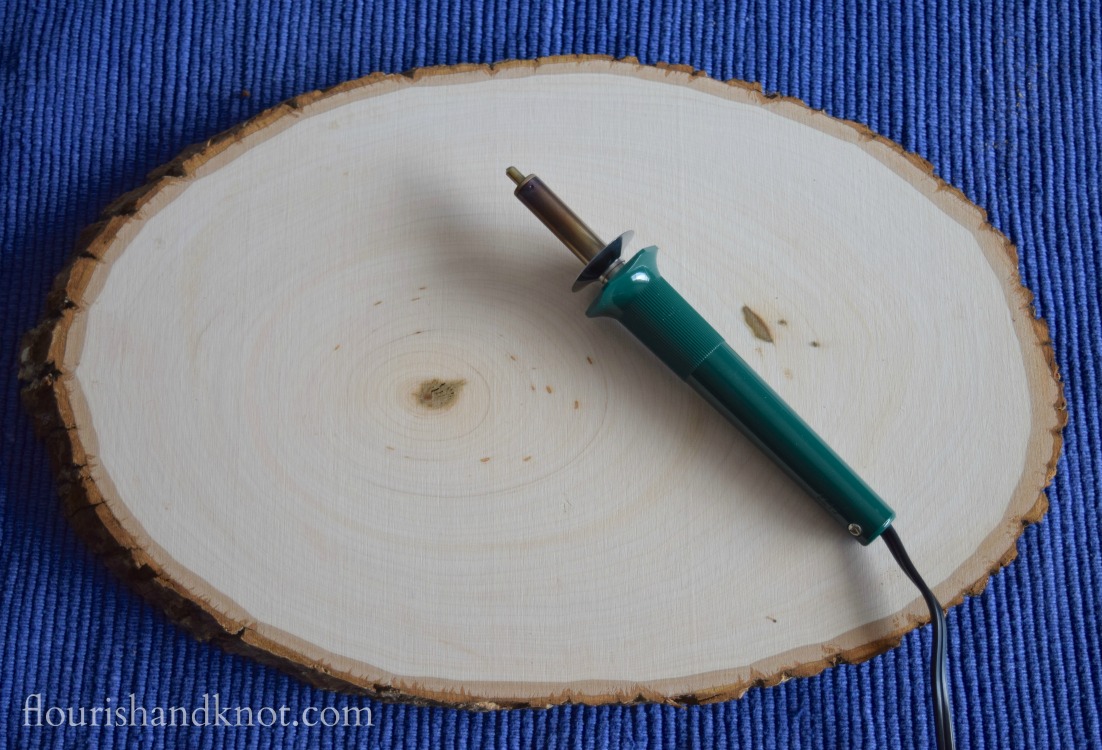
- 1 medium or large hardwood round, such as this medium basswood round from Walnut Hollow
- Fine-grit sandpaper
- Woodburner with a universal or fine tip, such as this creative woodburner from Walnut Hollow
- Pliers (for removing the woodburner tips
- Sharpened pencil and high-quality eraser
- Soft toothbrush or bristle-brush
- Butcher block compound (available at Ikea)
- Foam brush
Directions
- Begin by lightly sanding the wood round until the surface is smooth and even. Wipe the surface with a damp cloth and allow it to dry.
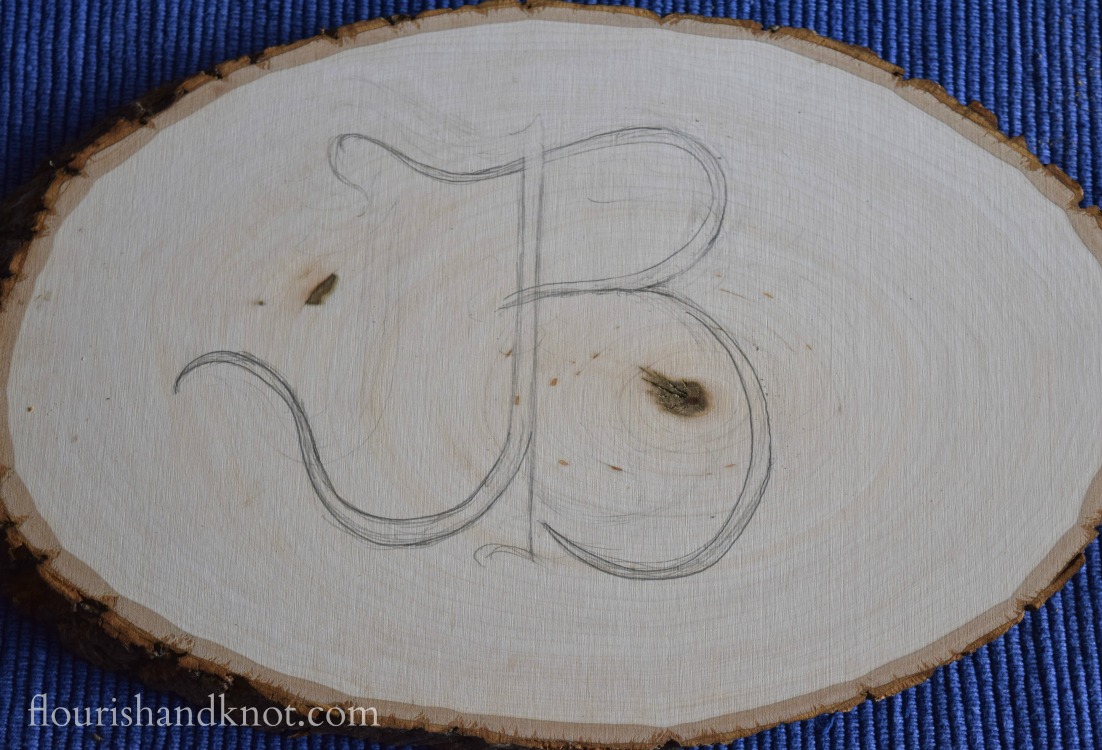
- Draw on your design or initials lightly in pencil. You can adjust as you go, but try to centre your drawing!
3. Once you are satisfied with your design, heat up your woodburner. Follow the directions exactly, and be very careful when handling the woodburner! Use the stand provided, and always remove the tips using a pair of pliers.
4. I recommend practicing your woodburning skills first on a piece of scrap wood. Just don’t do what I did and use a piece of softwood! It won’t burn well and will make you seriously doubt your woodburning potential! 🙂
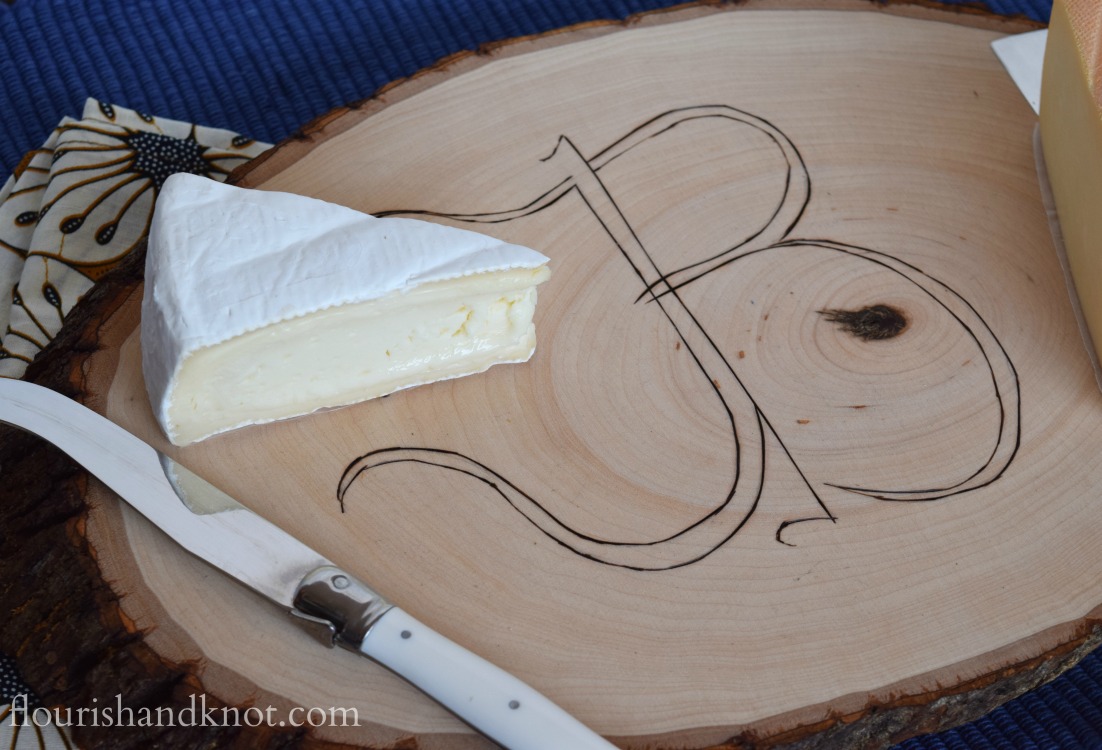
5. Burn your design into the board. Very. Carefully. Luckily, you are working with wood, so if you make a little mistake, you can always sand it out.

6. Using a soft toothbrush or other type of brush, remove any dirt or excess bark from the edge of the board. Be careful not to rub too hard or you’ll completely remove the bark (and that’s part of the charm of this type of rustic cheese board).
7. Apply the butcher block compound to both sides of the board using the foam brush. Do three layers (or apply it until it stops seeping in), and then wipe off the excess. Don’t forget the edges! Turn the board over and re-apply. Allow the board to dry for an hour or so before applying a second layer.
8. Allow the board to dry for at least 6 hours before applying a final coat of butcher block. Allow the board to completely dry before using it with food.
Butcher block doesn’t really stain the wood. It will bring out the natural colours of the grain, but it doesn’t significantly alter the colour of the wood. I found that it just became a little richer in colour. Lovely!
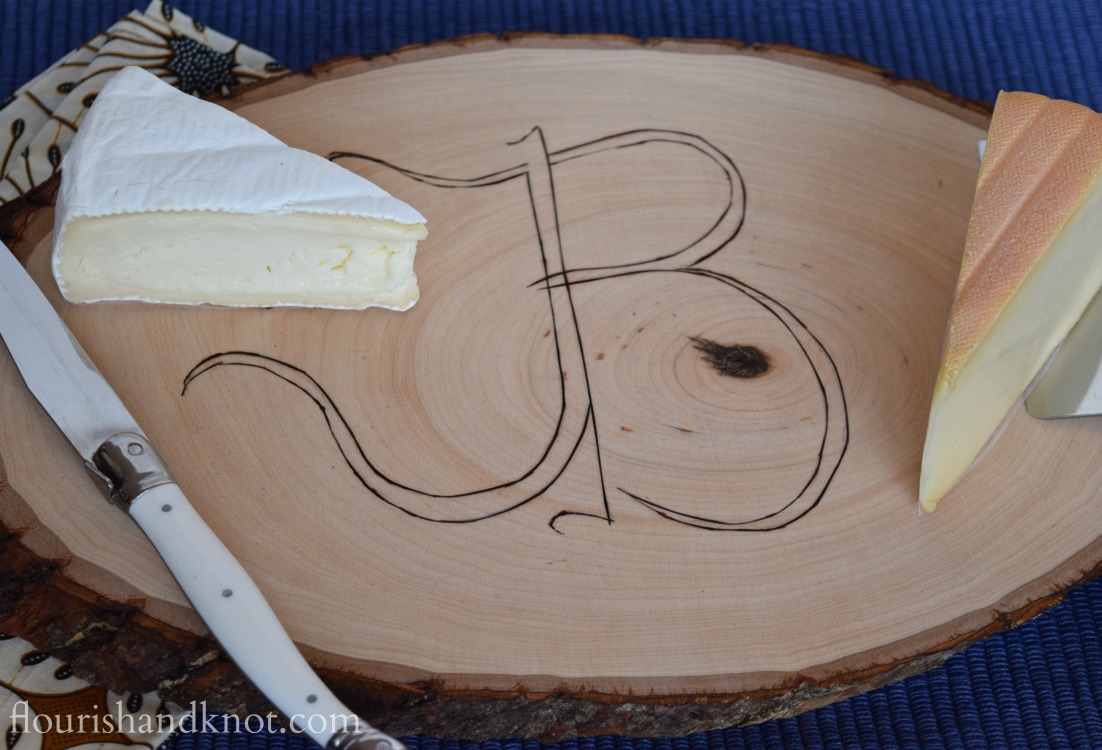
Of course, being a proud Quebecer, I couldn’t help but “serve” two delicious Quebec cheeses for my photoshoot (which I then had to eat… what hardship). The one on the left is “Le noble”, which is a brie-style soft cheese from the Fromagerie Domaine Féodale in the Lanaudière region of Quebec. The cheese on the right is a traditional Oka, which is a semi-soft, somewhat strong cheese from Oka, Quebec. Oka is one of my all-time favourites!
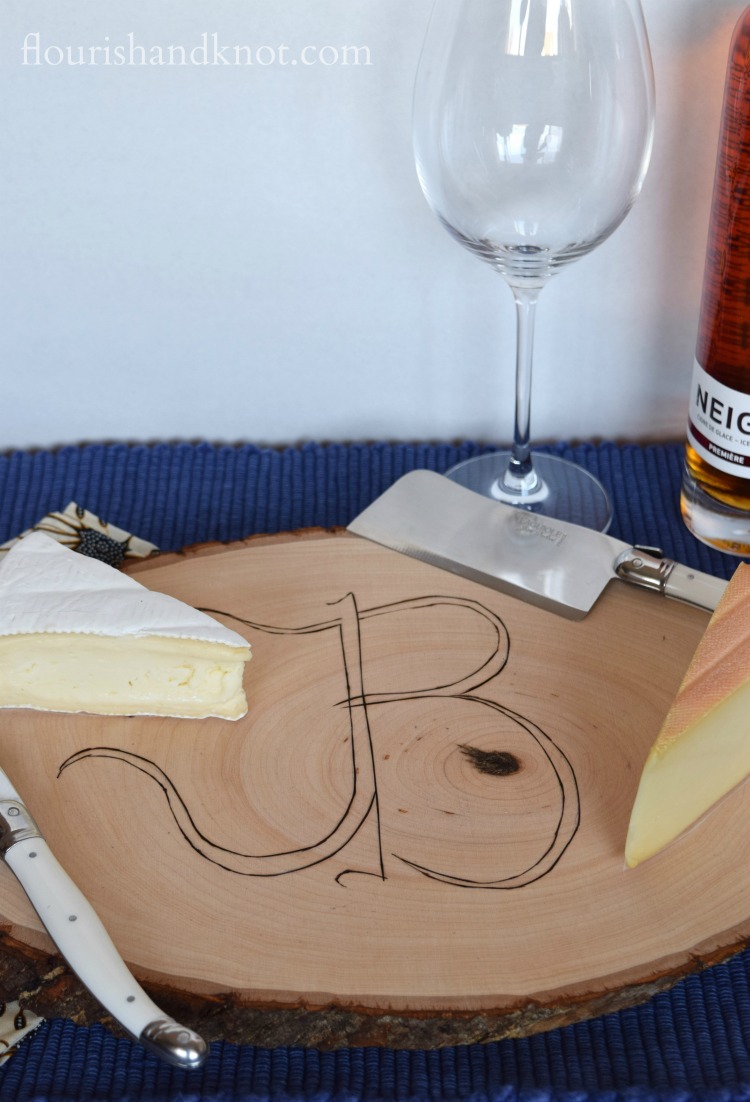
I also recommend serving cheeses with a yummy ice cider, such as Neige Première. It makes for a somewhat different pairing than a traditional white wine, and balances the sharpness of some of the cheeses. Of course, being six months pregnant, I can’t enjoy the cider now, but I am definitely looking forward to a glass in a couple of months!
I can’t wait to present our friend with their personalized cheese board. They are major foodies, so I hope they’ll get lots of use out of it!
Thank you so much to Walnut Hollow for sponsoring the basic materials for this project. It was truly a pleasure to step outside of my comfort zone and try some new techniques. I encourage you to check out their vast selection of DIY and craft supplies.
Bonus! For Create & Share readers, Walnut Hollow is offering a 20% DISCOUNT on their merchandise! Be sure to use the code below.
Please also take a moment (perhaps between sips of coffee?) and check out the other bloggers’ Create & Share projects for this month. There are some gorgeous ideas!
*****

Lovely! I know J&B will love it!
What a fun idea! Perfect for an outdoor wine and cheese party! 🙂
Oh man, I cannot wait til I can enjoy one of those again! 🙂
Love this, Sarah! I can’t wait to try that Butcher Block Compound!
It’s soooo easy to use!
Simple, beautiful and elegant! I love it!
Thanks, April!
What a GREAT idea! I love wine and cheese!!!!
Oh Sara, so do I. I really miss wine… Ah well, all worth it. 🙂
Looks great! I can’t believe you drew that by hand! So pretty!
Thank you, Meghan!
Beautiful gift! I will have to try using that butcher block compound. I never heard of that! Thanks for sharing. 🙂
Thank you so much! And yes, BBC is really easy to use – a great product.
Such a creative idea to use the wood round for a cheese plate Sarah! I am sure your friend will love it:)
Thanks, Tara!
Love you used the basswood for a cheese tray, such a good idea!
so adorable! I’m craft impaired but I do admire and buy them and even sell my idea that’s crafted by others on Etsy!! (:
Thanks, Sue!
I absolutely love your cheese board! What a beautiful (and useful) wedding gift and such a fantastic idea.
Thanks, Sarah. It’s always nice when a gift can be functional and pretty, I think. Glad you liked the post.