For the past twelve weeks I’ve been participating in the Earnest Challenge, created by Erin at the Earnest Home Company. The challenge comprised working on a particular skills over twelve weeks and documenting it on my blog. Waaayyy back in June, I decided that I would devote much of my time this summer to developing my photography skills.
Back in the spring, I purchased a Nikon D3300 dSLR camera, and I can now say that I am completely, 100% satisfied with my purchase! Sure, I’ve only scratched the surface of what it can do, but just learning a few simple functions has already upped my photography game.
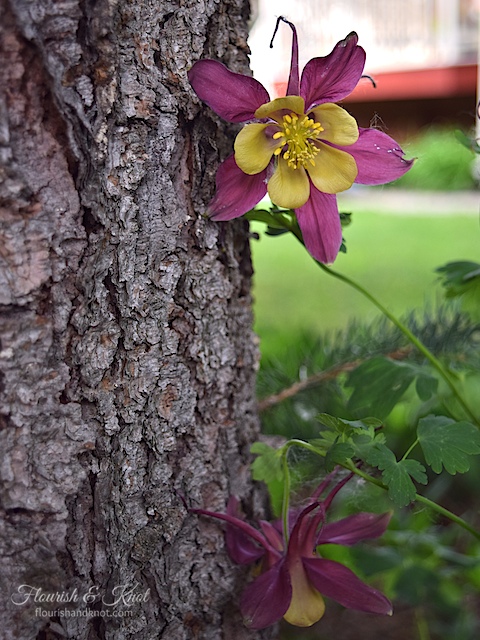
This was the image that I chose as my starting point for the Earnest Challenge:
Admittedly, I’m still pretty pleased with this photo. It never hurts when you have a beautiful subject like that delicate columbine blossom!
Since today is the final day of the Earnest Challenge, I thought I’d share five things I’ve learned as a newbie photographer. These five tips have been real game-changers for the quality of the photos I’m able to post on Flourish & Knot. I know that I still have a LONG way to go, but I’m really proud of what I’ve accomplished in just two months.
So here we go… The five tips that have made me a better photographer in 12 weeks!
1. Check that the photo is straight!
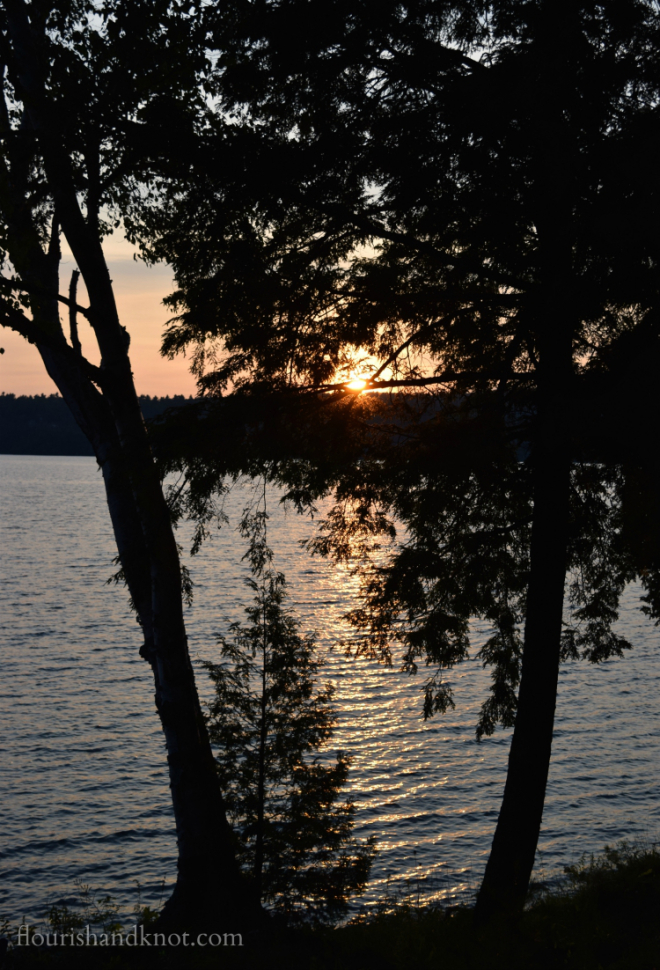
Yes, you can fix things with editing software. But it is definitely easier to start with a straight photo than a crooked one! This is a mistake that I still make frequently, but I find myself noticing my errors more quickly. That’s progress, folks!
This photo was taken at Windy Ridge on Palmerston Lake, Ontario. I’ve been coming to this cottage since I was a little girl, and the sunsets are always spectacular.
2. Set your camera in MANUAL mode!
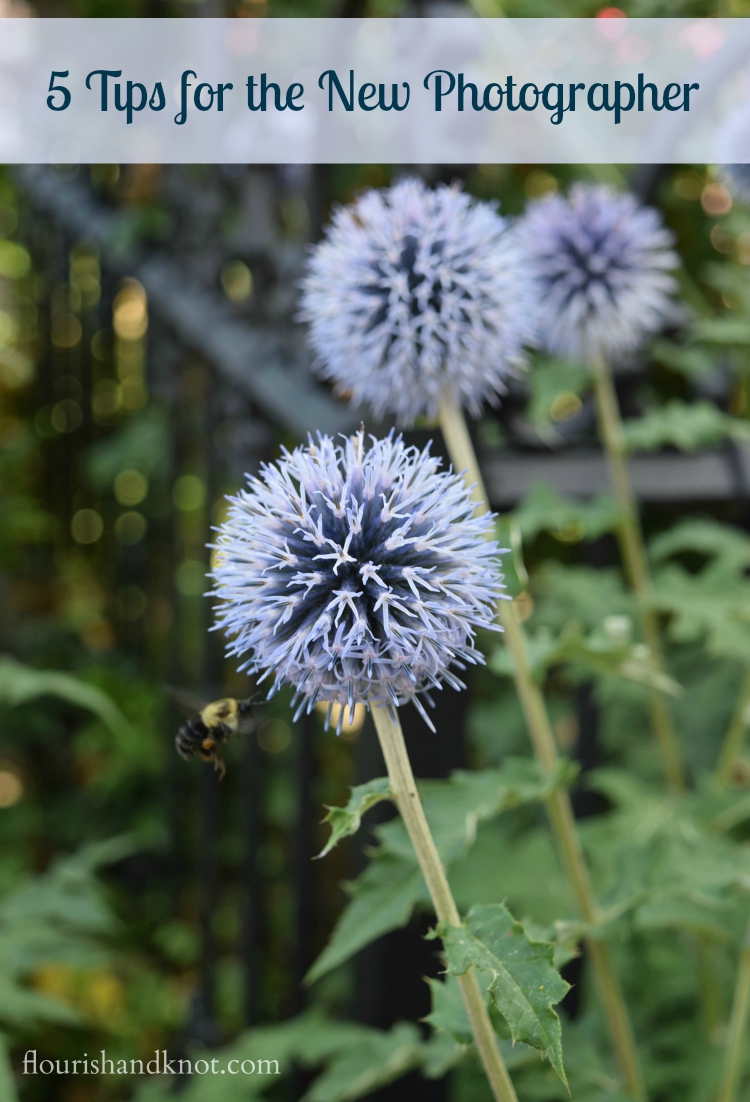
99.9% of the photos I took this summer were taken in Manual mode. Not because I am an Automatic snob, but because I wanted to learn to do things myself. Using Manual mode forced me to take into account my aperture, shutter speed, ISO, and focus. I’m sure white balance comes into play somewhere in there, but I’ll be honest and say that I still have no idea what that is. Next week on Flourish & Knot… 🙂
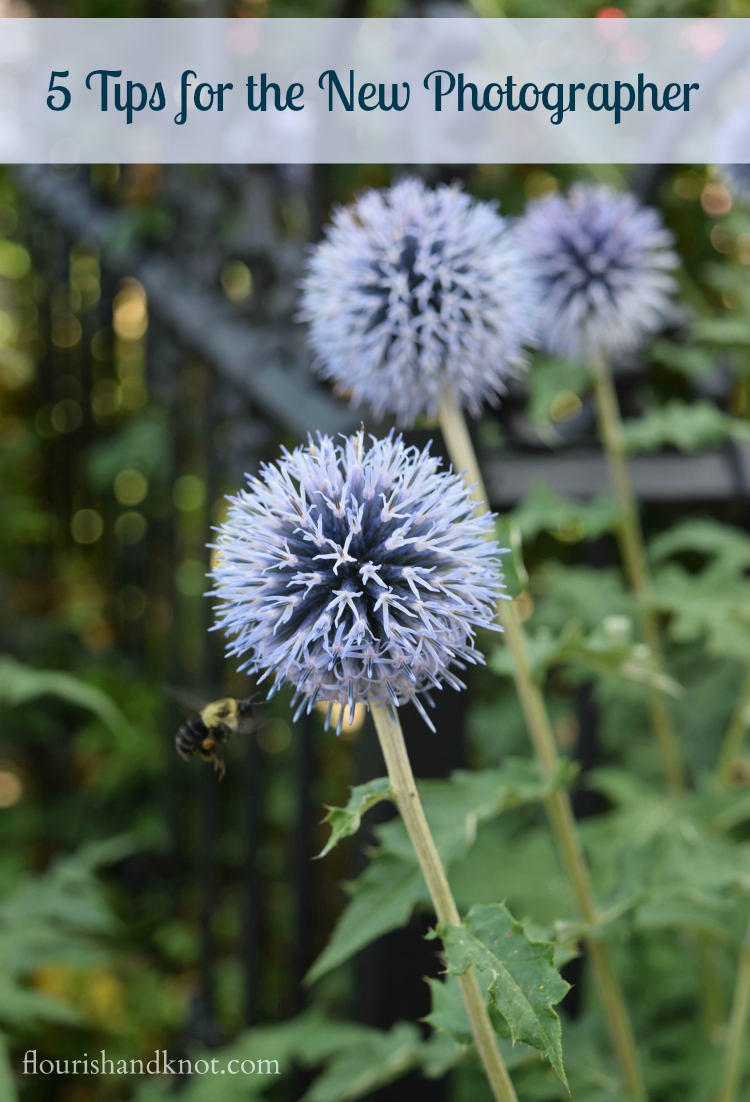
I’m really proud of the depth of field I achieved in this photo. Each of the three globe thistles is in slightly less focus, and you can see just how fast those little wings are beating! I wish the bee was in a bit better focus, but that’s something I’ll be working on.
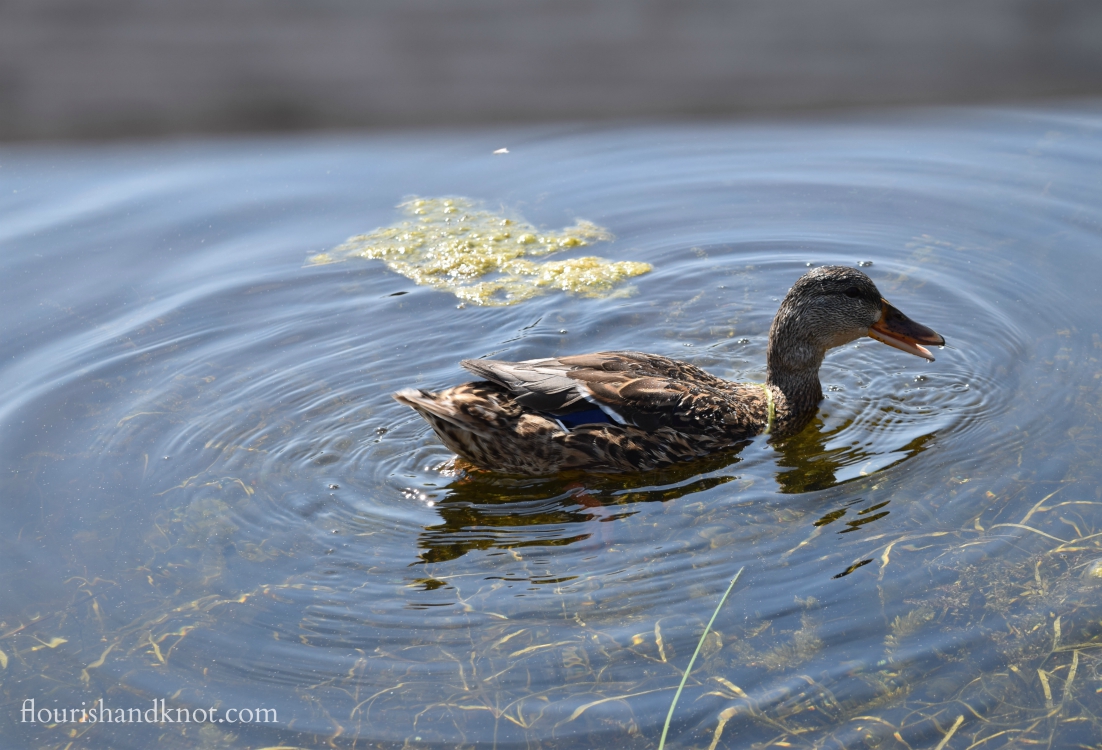
This was a difficult shot because the duck was moving and it was bright, full, mid-day sun. I took this photo at the park on L’Ile Bizard. It’s a great place to go for wildlife photography!
3. Learn what are “Aperture”, “ISO”, and “Shutter Speed”.
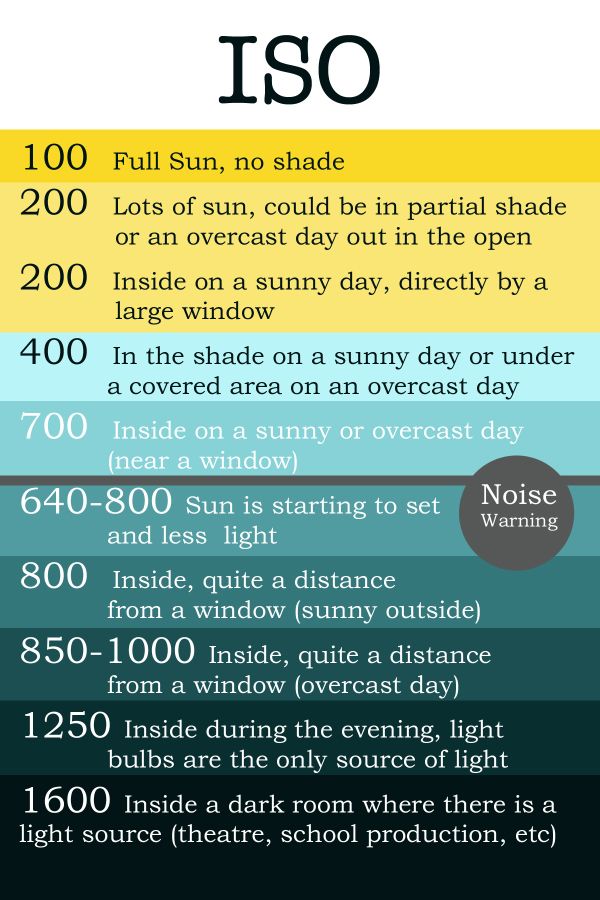
These three elements were the main things I learned to manipulate this summer. I learned that the Aperture is like your eye’s pupil, and the larger it is, the more light it lets in. The ISO is the sensitivity of the camera to light. So, in a very bright setting, use the lowest ISO setting (100). In a darker setting, your ISO needs to be set much higher. I found this pin to be very useful:
Originally from the Forums of TheBump.com
Shutter speed is the rate at which your camera takes the photo. If an object is moving quickly, a higher shutter speed will allow you to capture the image more clearly. Longer shutter speeds require a super steady hand, and are best done with a tripod.
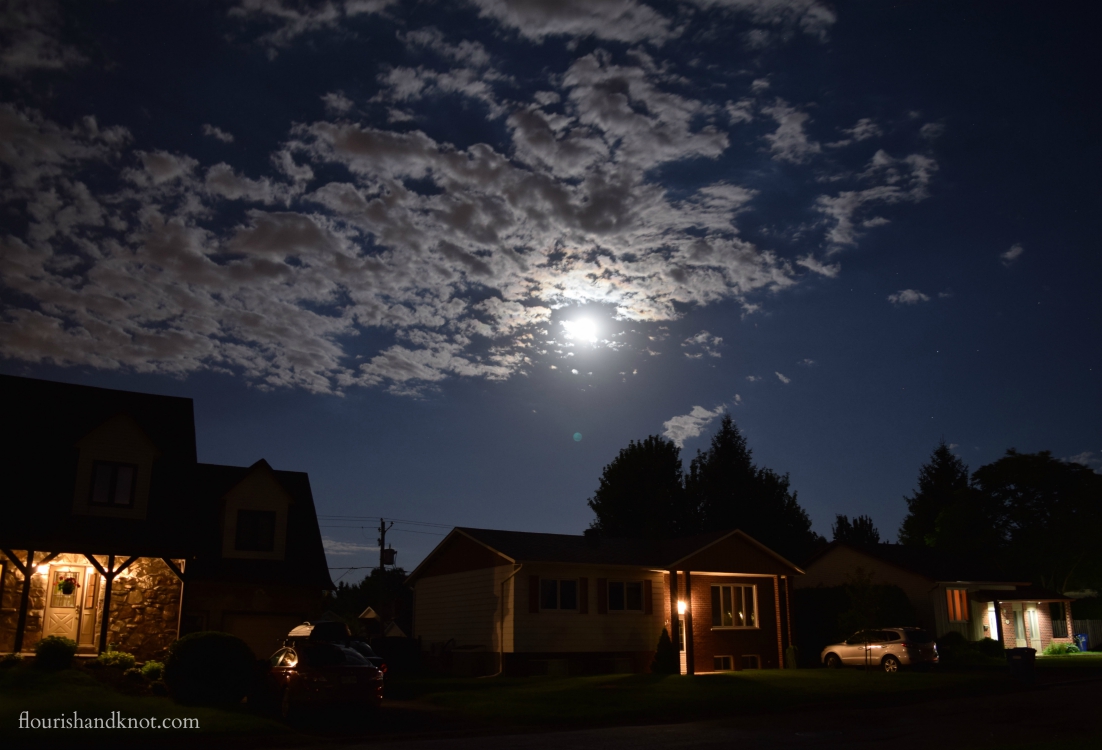
Erick and I took this photo using a long exposure and I love the result!
I love how the top half of the picture could practically be daylight but the bottom half is very clearly nighttime. Oh and I couldn’t have taken this photo without my handy-dandy new tripod!
4. Speaking of tripods…
Get yourself one! I absolutely love, love, love my Vanguard tripod! It was my combined birthday and anniversary gift this year from my thoughtful and supportive husband (thanks, love!) and I am really enjoying learning to use it. It has made a world of difference in the sharpness of the photos I’m taking.
5. Learn a few styling tricks.
This is something that I still REALLY need to work on, but I have made great progress this summer. I found this article from The Brewer and the Baker about food styling really helpful!
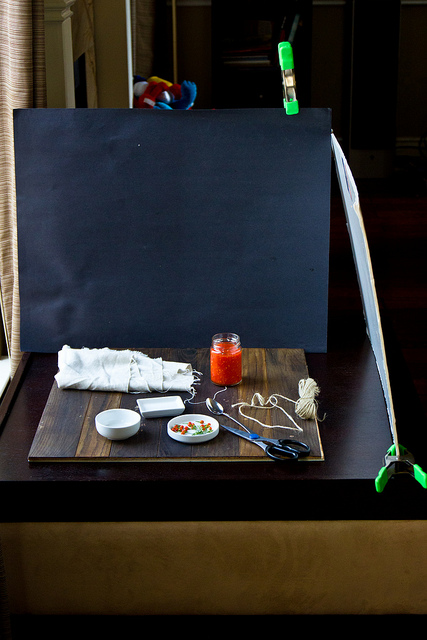
Photo by The Brewer and the Baker
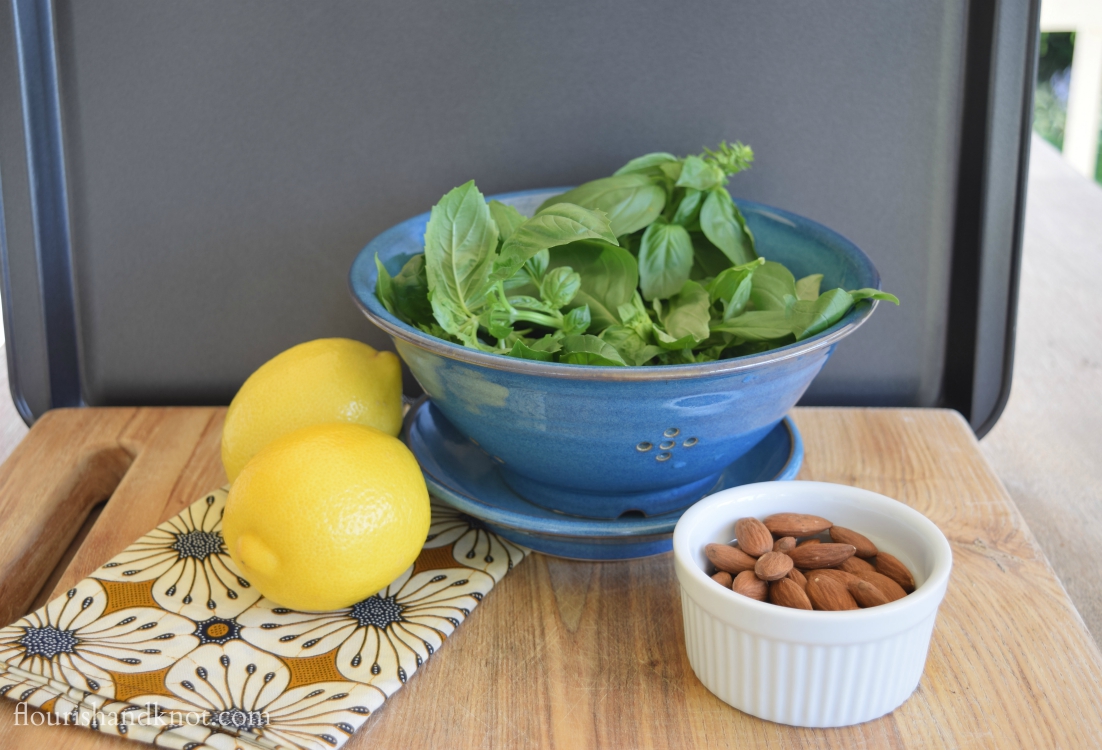
I emulated their set up for the photo shoot of my pesto recipe:
I read somewhere on Pinterest that plain cookie sheets make good photo backdrops. This is the only one large enough that I could find, but I have my eyes open for a large, FLAT cookie sheet.
One of my plans for this fall is to collect up a few options to use as backdrops for my photos. I also need to get myself a new white foam core board to use as a light bounce.
So there you have them: the top five things I’ve learned as a total newbie photographer!
One goal that I wasn’t able to meet during this challenge was learning to use Photoshop Elements. Unfortunately, my five-year-old MacBook just doesn’t have enough apple juice (haha) left in it to properly run the programme. 🙁 On the plus side, it is a great incentive to begin saving for a new computer!
I’m so glad to have participated in the Earnest Challenge: it really pushed me to set measurable goals for my photography, and I’m grateful to Erin at the Earnest Home Company for getting the ball rolling. (Erin actually learned to play the ukulele as her Earnest Challenge skill! It made my music teacher’s soul happy – check it out!)
Oh, what’s that you say? You’d like to keep checking out my photography progress over the NEXT twelve weeks?! Well fancy you should ask, because I’m participating in an Instagram game, #HomeForTheFallidays, which will be taking place over the next twelve weeks! Each week myself and fifteen other bloggers will be posting our favourite fall images to our Instagram accounts. Each week will have a theme, and you can get on board by following the hostesses and using the #HomeForThe Fallidays hashtag. You can find all the details here!
Happy Labour Day to all my Canadian and American readers – I hope you enjoy the last day of our long weekend!
*****
This post was featured at the Ultimate Pinterest Party!
Here’s where I link up each week:
Mondays: Merry Monday, Monday Funday, Inspire Me Monday, Show & Tell, Lou Lou Girls
Tuesdays: Tell ’em Tuesday, Two Uses Tuesday, Together on Tuesdays, Tutorials & Tips, Tuesdays with a Twist, Hit Me with Your Best Shot, Tickle My Tastebuds, Treasure Box Tuesday, Tasty Tuesdays
Wednesdays: Pin Worthy Wednesdays, Work it Wednesday, Wow Us Wednesday, Wake Up Wednesday, Wordless Wednesday, Whimsy Wednesday, Welcome Home Wednesdays
Thursdays: Think and Make Thursday, Handmade Hangout, Weekend Re-Treat, Favourite Things, Artsy Fartsy Link Party, What to Do Weekends, Friday Features (Thursday)
Friday: Fiesta Friday, Feathered Nest, Frugal Friday, Link Party Palooza, Friday Favourites
Saturday: Share it One More Time
Sunday: Nifty Thrifty Sunday, Silver Pennies, Sundays at Home, That DIY Party, Frugal Crafty Blog Hop, Share the Wealth Sunday, Food Stars
Monthly/Recurring: Great Blog Train, Sunday Brunch


Great tip! My biggest problem is always getting a straight shot, but photoshop/lightroom normally fixes that problem for me. Your pictures are fantastic! I look forward to seeing what other images you come up with!
Thank you so much! I’m really looking forward to seeing what I can do with Photoshop, when the time comes.
Wow!! Some really gorgeous pictures! Great tips…thanks
Thank you, Amy!
These are great tips. I wrote several new ones down. 😀
Thanks, Liz! I realize that for more experienced photographers, these may seem second-nature, but us newbies need a lot of reminders. We have to stick together!
Lovely pics and a lot of very good information!
I’m glad you found it useful!
Thanks for the tips! I’ll keep these in mind.
Enjoy!
Thank you for the tips. I just got my fancy new camera a week ago and I am an infant newbie for sure. Right now, I am thankful if my pictures are clear! I know that it will come with time and practice (and reading the manual) but I cannot wait!
Have fun and enjoy your new toy!!
Thanks for this post, great tips for sure. I love your depth of field one, I’m always trying to accomplish that with my food photography pictures, but for the most part they don’t turn out that way. I was told that perhaps it is because my lowest fstop setting is 3.5 and that it should be lower? I have a canon point and shoot. Bookmarking this for sure.
Thank you, Loretta! I wish I had more experience so that I could properly answer your question. I took that pic on ISO 100 at 1/80 with f/6.3, if that helps at all!
Thank you for these handy tricks! I’ll have to put some of them into practice 😉
I hope you find that they are useful!
Great tips! I’m so pleased I took my camera off auto! Thanks for linking up with Pin Worthy Wednesday, hope to see you next week!
Good for you! It’s kinda scary to shoot in Manual, but every picture gets better with practice!
What great tips and yes there is nothing better then a DSLR camera. Your photos are beautiful. Thanks for linking up at the Thursday Favorite Blog Hop.
Thanks so much, Rosemary!
Great tips – must get back to using my DRSL again. Thanks for linking up to Pin Worthy Wednesday, I have pinned your post to the Pin Worthy Wednesday Pinterest Board.
Hope you enjoy taking some pics soon!
Great tips Sarah. I think your photos are spectacular. I haven’t used my camera in Manual mode enough to be fully comfortable. Sometimes when taking pictures I switch to it so I can get the precise focus that I am looking for, but I need to learn more about the different settings. I love your night photo! That is what I want to work on the most. Some of these evenings are just beautiful and would love to document them visually.
Nice to hear from you, Ali! Thanks for taking the time to read my tips. I’m itching to do some photos this weekend because we’re going to have spectacular skies, apparently. I hope you get a chance to try out some nighttime photography soon! I want pics if you do.
This is a great post! I love your tips, especially about manual mode! The best way to learn your camera is to force yourself to actually use it. Setting your white balance will transform your pictures! When you set it, you’re basically telling your camera what color that it picks up should be the “true white”–and it adjusts accordingly. If your white balance isn’t set correctly, your pictures may be too warm (orangey/yellowy) or too cool (blueish). Most cameras have a setting that allow you to set it. I just found it on my camera…I take a picture of a pure white paper, and then tell the camera to use that picture as the “pure white’ in all other photos. You’ll be amazed at the difference! PS that first flower is beautiful!!
–Brittany @ DIYJustCuz.com
Hi Brittany! Thank you so much for these tips!!! I will definitely try that pure white trick. Thanks again!
Love the styling tips and the blog in general! I am recently learning and trying to better my styling for pictures on my blog 🙂 Great to know I’m not the only one.
Thanks! It’s a constant learning process, isn’t it?
Definitely is!