When I blogged about my 2017 goals, I alluded to a special series I was starting here on Flourish & Knot. Well, today I am so excited to be bringing you the very first instalment of There for the Making: the Zero $$ DIY Challenge! I have corralled an absolutely fantastic group of fellow bloggers to join me in creating something using what we already own. This is the ultimate chance for us to upcycle, repurpose, and generally use up our DIY stashes! I have a feeling our families are all really happy that we are having to purge our supply closets and bins… For this first There for the Making edition, I decided to give some thrift store picture frames I’d had for a few years a major facelift.
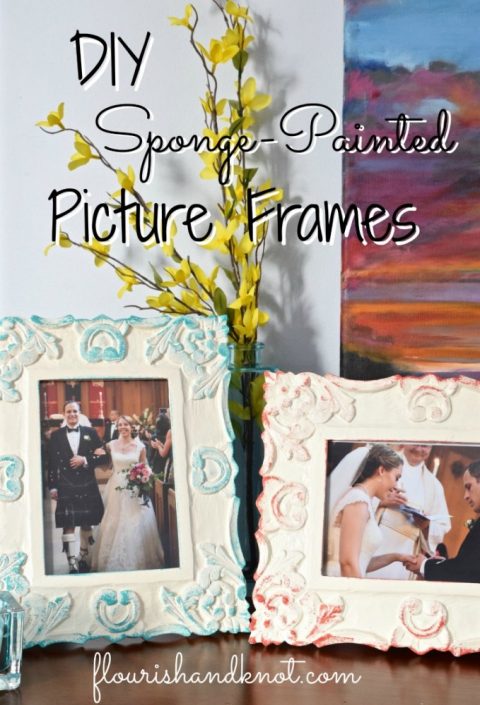
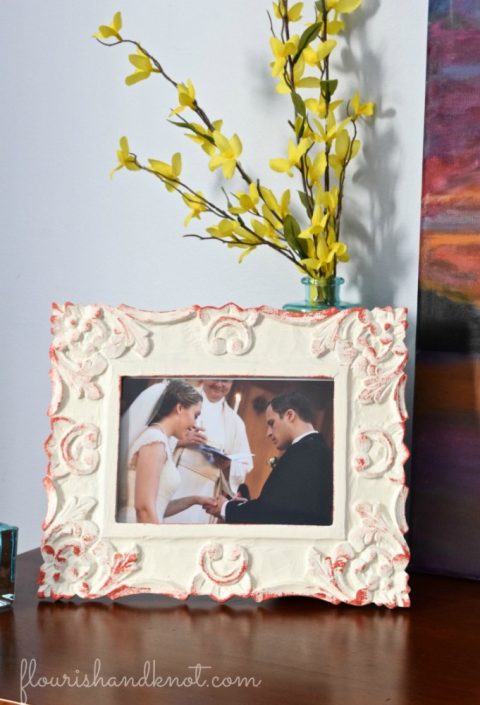
I used an incredibly simple, yet effective, painting technique to revamp my blah frames. All you need is two colours of paint, a brush, and a sponge and you are set!
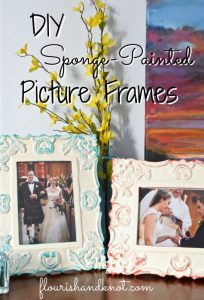
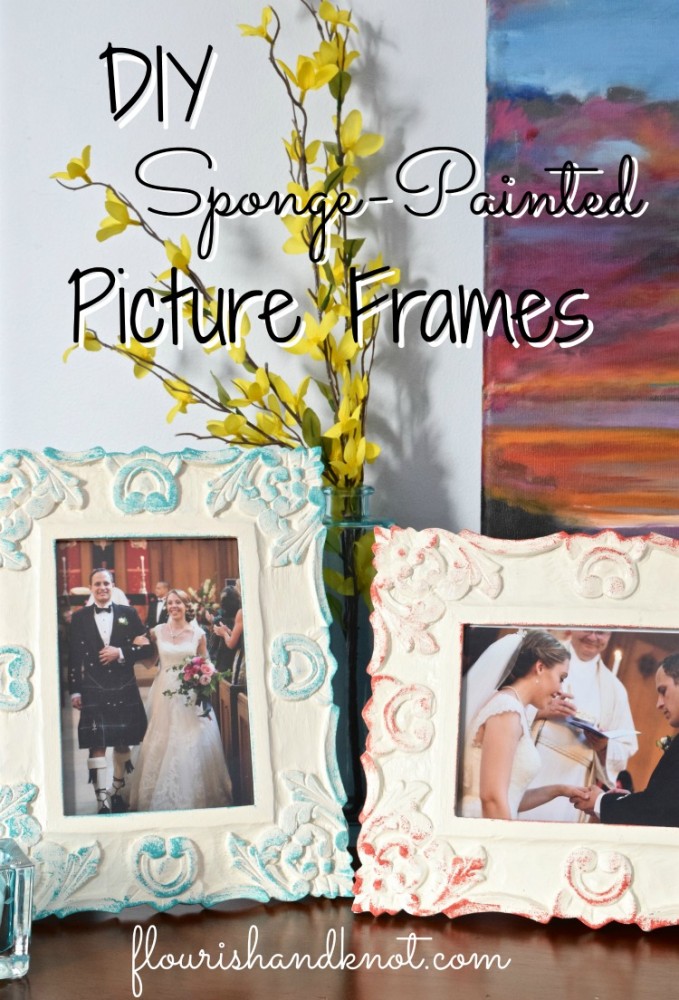
DIY Sponge-Painted Picture Frames
Materials
- Frame(s) of your choosing (you’ll want something with some detail, so that the sponge technique really shows)
- Base colour (I used up some basic white interior latex paint we had lying around)
- Contrasting colour (I used acrylic craft paint)
- Paint brush (for base colour)
- Kitchen sponge (for contrasting colour)
Directions
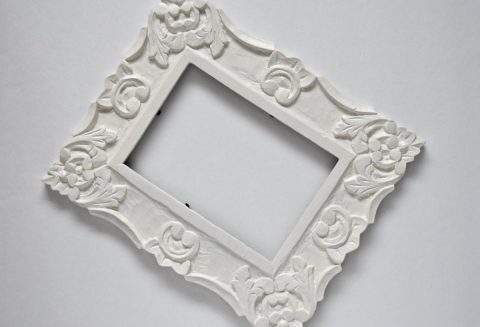
- Prepare your frames by wiping them clean and removing the backs and glass. Are you ready for the BEFORE shot? Here is what my frames looked like when I started:
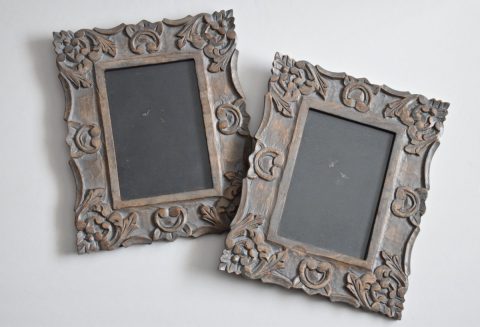
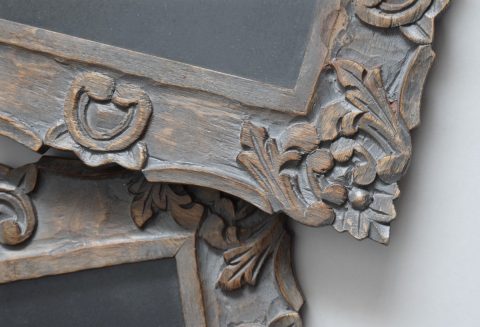
- Paint 2-3 layers of the base colour, being sure to reach all the little nooks and crannies. Allow the paint to fully dry in between coats.
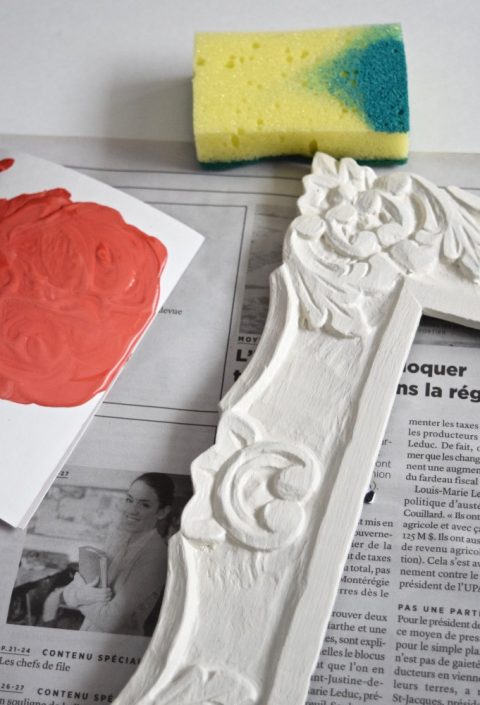
- Dip the sponge into your contrasting colour. I found it was best to put your paint on a flat surface (rather than in a dish or palette), so that I could get a really even coat of paint on the sponge. Dab off excess paint. Gently dab the sponge along the edges of the frame and over any relief detail on the frame. You can add as much or as little colour as you wish.
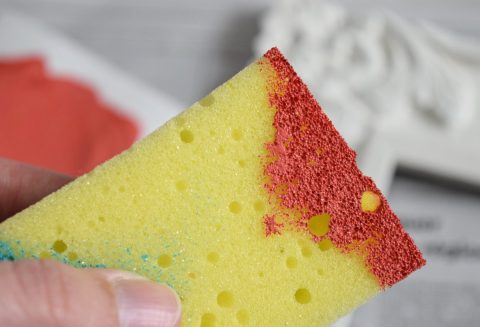
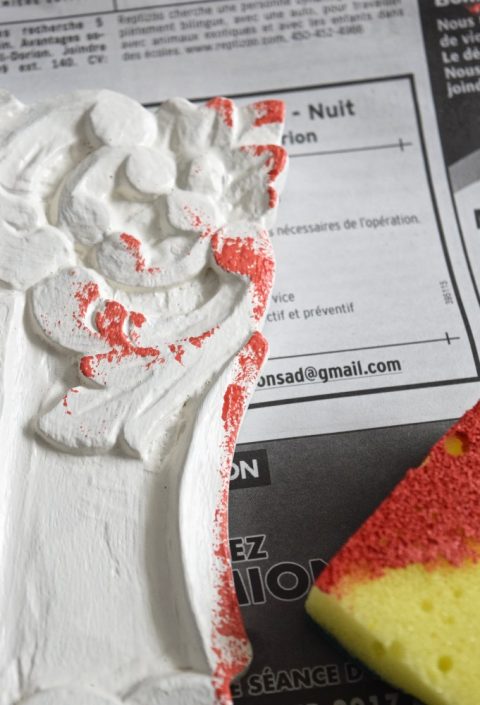
- Allow it to fully dry before replacing the back and glass. Marvel at your gorgeous new frame!
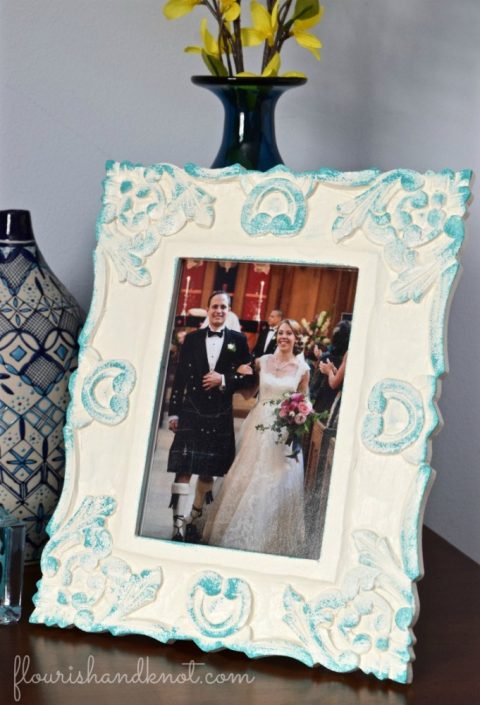
I did my second frame in turquoise, to suit the colours in the sunset painting we plan to put off hanging for another 3-4 years hang in our bedroom. And yes, I did frame pictures from our wedding. *Cue “awwwww”.*
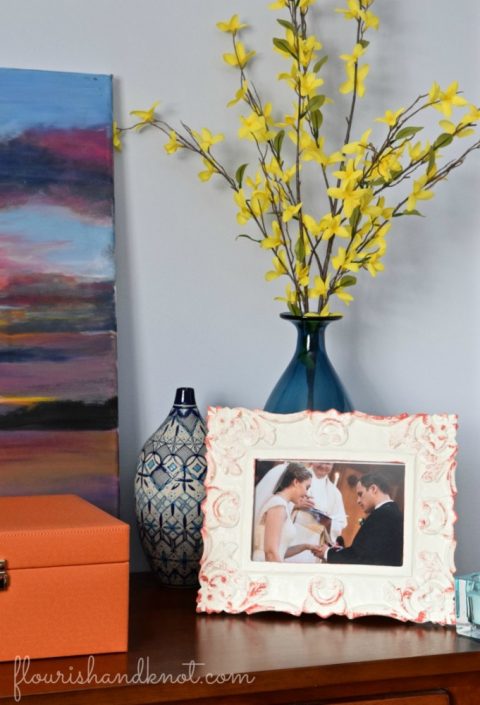
You know what? I’m going to be 100% honest and tell you that I originally painted one of these frames totally differently. I wanted to try a different technique and really thought it would work out… But it didn’t. And therein lies the beauty of paint. You can always paint over and start again! I’m really happy with the final – alternate – result.
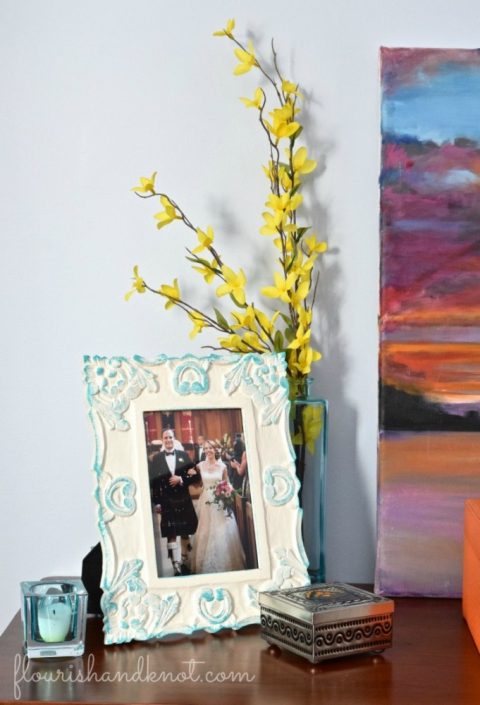
↓ Pin me! Pin me! ↓
We’ll be back in April with a special Earth Day edition of There for the Making. For now, I hope you’ll pour yourself another cup of coffee and visit the other bloggers participating in our no-spend DIY series. The next blogger in our hop today is Personally Andrea. All of these projects prove that we have hidden craft and DIY possibilities waiting in our homes! It IS possible to be creative without spending a dime!
There for the Making – February Challenge!
DIY Birch Business Card Holder by Minty Green Dream
Chalk Paint Chair Makeover by 2 Bees in a Pod
Sponge-Painted Picture Frame Makeover by Flourish & Knot
DIY Chalkboard Monogram by Personally Andrea
Gemstone Wrap Bracelet by Lifeovereasy
“Hello Sunshine” Wall Art by Two Purple Couches
St. Patrick’s Day Wine Bottle Makeover by Green with Decor
DIY Barn Board Mirror – Ikea Hack by Vin’yet Etc.
DIY Organizational Clipboard by DIY Passion
Geometric Planter by Love Create Celebrate
Toilet Paper Roll Turned Plastic Bag Holder by Design Inside the Box

Super cute makeover Sarah! We love the new look of your frames…and the awww factor 🙂 Thanks again for creating this fabulous challenge!
Thanks so much!!
Such pretty frames! Great makeover!
Thank you!
I really like the final/alternate(!) effect. And such a simple technique, too! Simple is good.
Agreed!!!
Such a great refresh!! I have so many frames I should do this to…
We throw out so much without realizing what we could do to give it new life!
I love the blue one, You can use any color and it would look so cool! I bet yellow would be so pretty! Its endless possibilities. Thanks for such a fun challenge.
Maria
You’re so welcome, Maria! Glad to have you participating.
These turned out so pretty! I really like the effect of sponging on the paint! Thanks for organizing this series; I am really looking forward to going through my stash throughout the year!
Thank you, Emily! I am so inspired by what everyone is making – I think we’re in for a great year!
Such a clever idea! Thanks for organizing such a fun challenge!
Thank you, Meg!
Love me a great frame makeover, this one is no exception!
xo
Thanks, Andrea!
Hi Sarah, thanks so much for organizing this fun challenge, I’ve really enjoyed rethinking my stash! I love the way your frames turned out, it’s so nice to actually use the items that are tucked away! Beautiful wedding photos too!
Me too, Laurie! I’m so glad you’re enjoying it. Can’t wait to see what we all come up with in April.
Such pretty frames! I loved your comment about the beauty of paint being that you can change it if it doesn’t come out right. So true!
Yeah, no kidding! Paint can be so forgiving (thank goodness)! 🙂
They look great! Love it!
Thanks!
Those frames are beautiful. I love the pop of color you added, perfect for spring!
Thank you, Roxanne!
What a fun challenge! And I love your picture frames. So creative!
Thanks, Meredith!
Love the way these turned out! Such a nice makeover for Spring 🙂
-Clarissa @ The View From Here
Super cute! I love how a coat of paint can make just about anything look better.
So true!
Super easy and i love the way it turned out.
Thanks, Amy!