My family does hand-made ornaments in a BIG way, so when I heard about the 2015 Ornament Exchange, hosted by Erlene at My Pinterventures, I had to jump on the craft wagon! (That’s like the band wagon only with more glue and fewer wrong notes.)
The Ornament Exchange has over 80 participating bloggers, who have each created or purchased an ornament for $10 or less. Those of us who have made our ornaments have been posting the tutorials over the past ten days, and each day has featured new and interesting ways to create hand-made decorations for your tree.
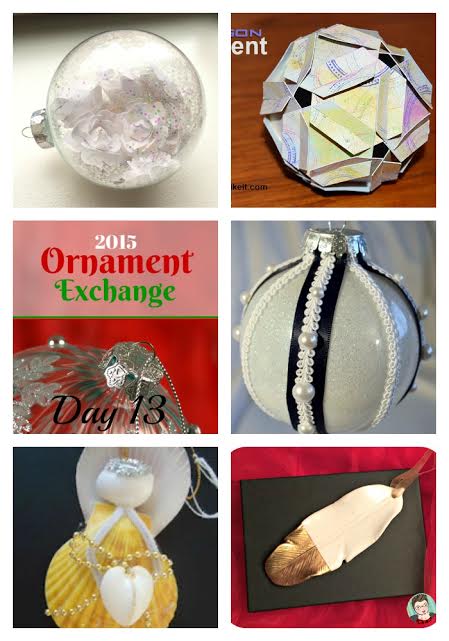
Once all the tutorials are posted, we will mail our beautiful ornaments to our assigned partners (you have no idea how much organization Erlene has put into this!) and we will proudly display each others’ creations on our trees, or in our holiday decor. My ornament partner hails from my hometown of Ottawa, Canada! Hilary, from Raising Fairies and Knights, created an amazing Outlander-themed ornament for me! I snuck a peek a couple of days ago when she posted her tutorial… And you all know just how much I like love am obsessed with Outlander.
Hilary told me her basic wish list for an ornament: no orange, lots of blue, silver is good, nothing breakable (she has toddlers). That made my job pretty easy, because blue and silver are also staples of MY holiday decorating! I love me some blue…
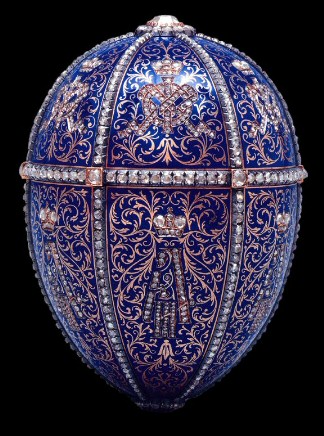
I was scouring the internet, searching for inspiration, and came across some images of the turn-of-the-century Fabergé ornaments and eggs from Imperial Russia. I was struck by the beauty of some of the designs, such as this gorgeous one:
And with that, I was off and running! Here’s how you can make your own Fabergé-inspired Christmas ornament, for less than $10.
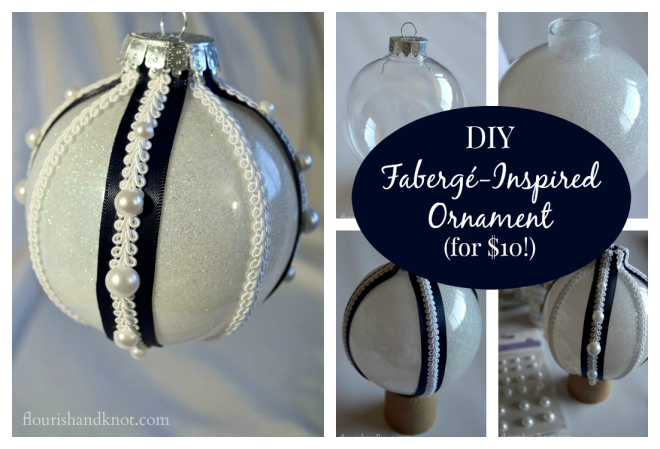
Materials
- 1 medium or large round clear plastic (or glass) ornament
- clear matte or glossy varnish or sealant (I used Dura Clear)
- white, silver, or gold glitter (very fine)
- tacky craft or fabric glue (I like Hi-Tak)
- glue gun and glue (you could forgo this if you only have the craft glue)
- 2 lengths (depends on the size of the ornament) medium-width ribbon (I used navy blue)
- 4 lengths (depends on the size of the ornament) small braid (I used white)
- stick-on half pearls in varying sizes (you could also use rhinestones or beads)
Part of what makes this a frugal craft is that you can use supplies you already own. Since you need relatively little ribbon and braid, even if you have to buy 1 meter of each, it will still be inexpensive. All my other supplies were purchased at the dollar store!
Directions
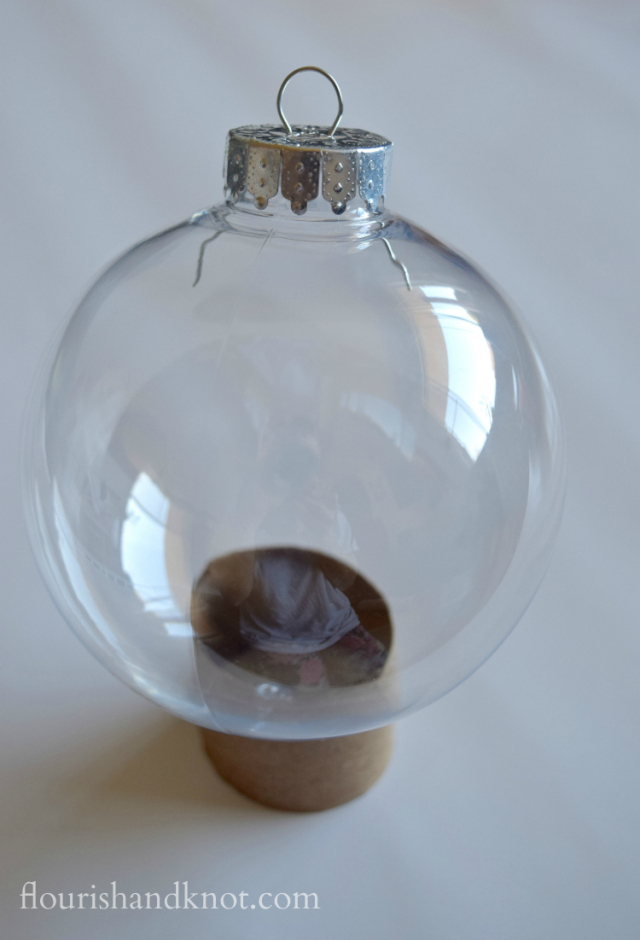
1. Clean the ornament well, inside and out. Allow it to dry fully! I propped mine up in a small section of cardboard tube that I had cut.
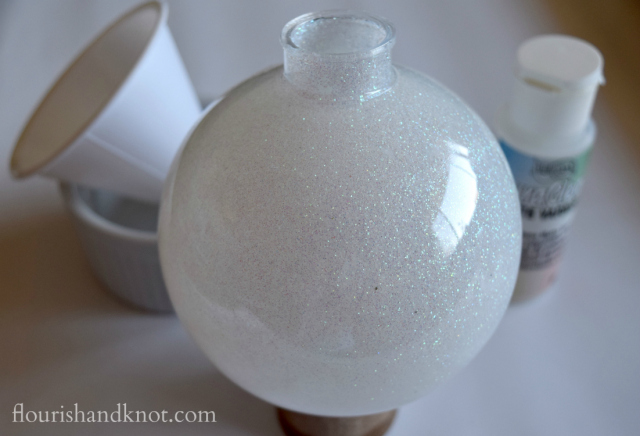
2. Pour a small amount of varnish into the ornament and swirl it around, coating evenly. Add more varnish if it does not cover the entire inside of the ornament. Once the ornament is coated, use a funnel to pour a small amount of glitter inside. Shake the ornament to distribute the glitter. Add more glitter if need be.
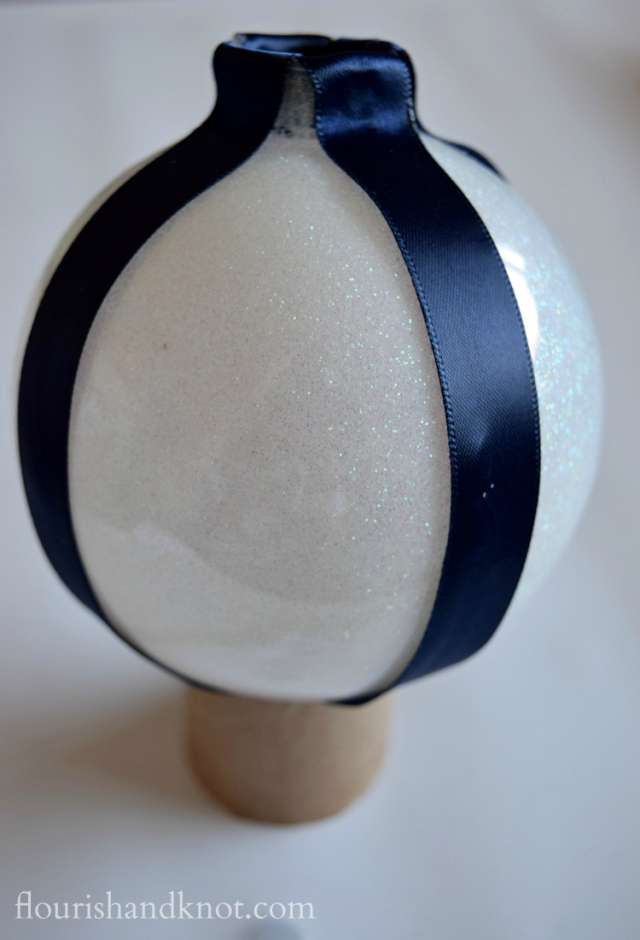
3. Once the varnish has dried, hot-glue the ribbon to the ornament, crossing the two lengths at the bottom. Make sure to line them up so that they create even quadrants. I put a dab of hot-glue inside the neck of the ornament to secure each of the ends of the pieces.
4. Use the craft or fabric glue to glue two of the lengths of braid to the ribbon, crossing at the bottom of the ornament. I secured mine at the top, centre, and bottom.
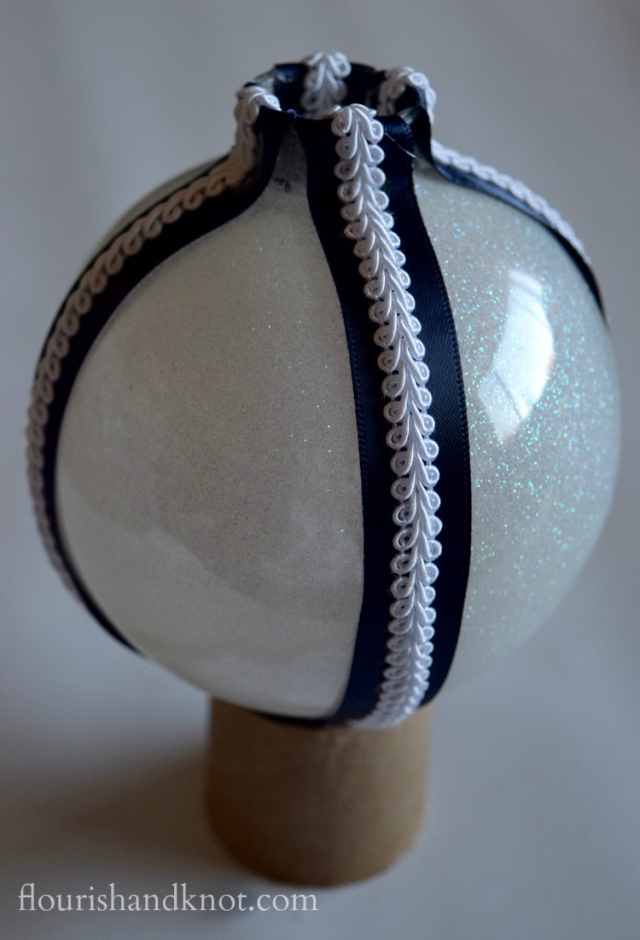
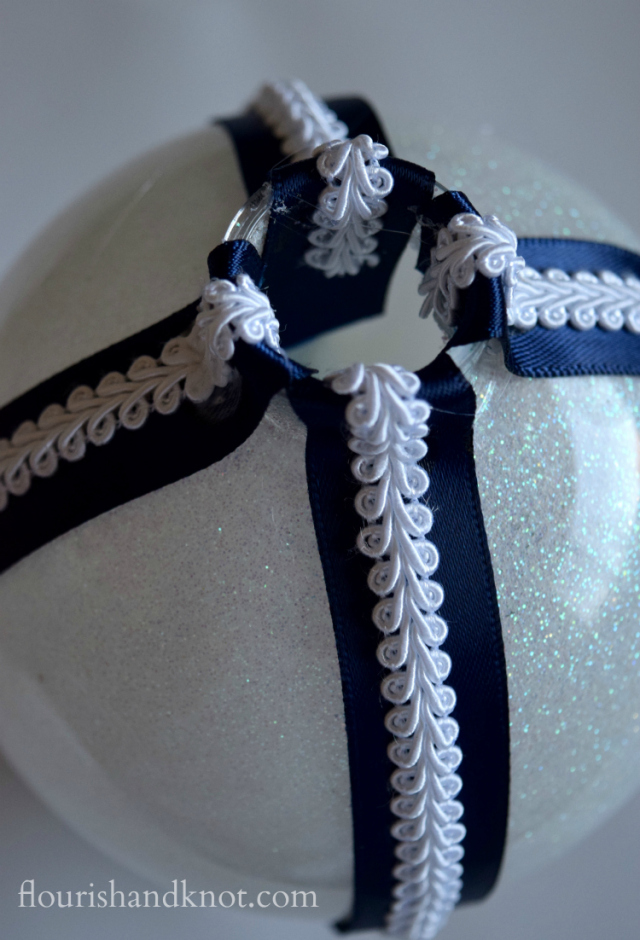
5. Add two more length of braid, intersecting the four quadrants. Try to keep the ribbon and braid glued tightly to the top of the neck of the ornament. You’ll need to replace the closure of the ornament, and you don’t want the neck to be too bulky.
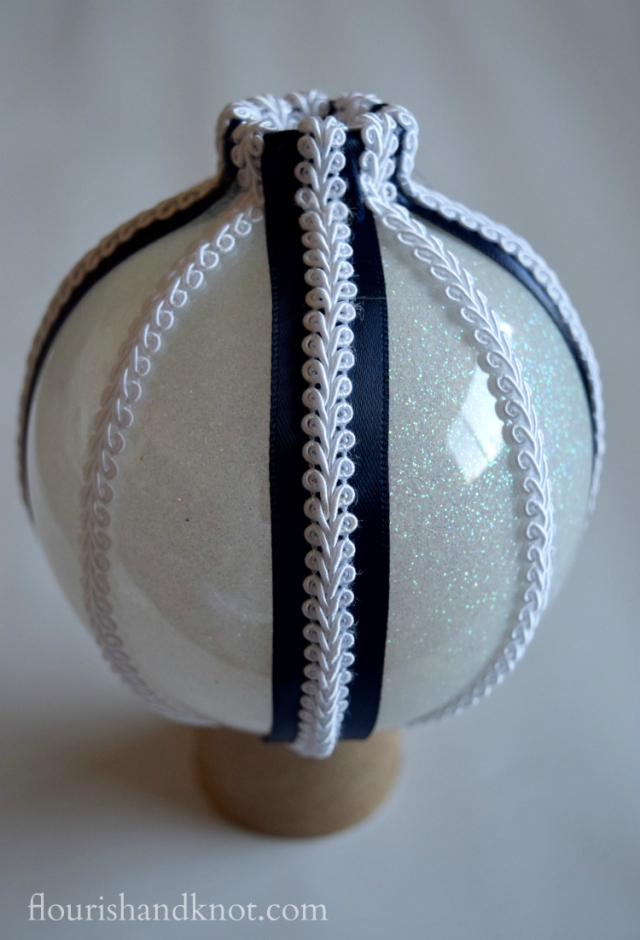
6. Add some embellishments, such as stick-on pearls. I began with a large pearl in the centre of each ribbon-and-braid length, and glued on progressively smaller pearls, keeping an equal distance between them.
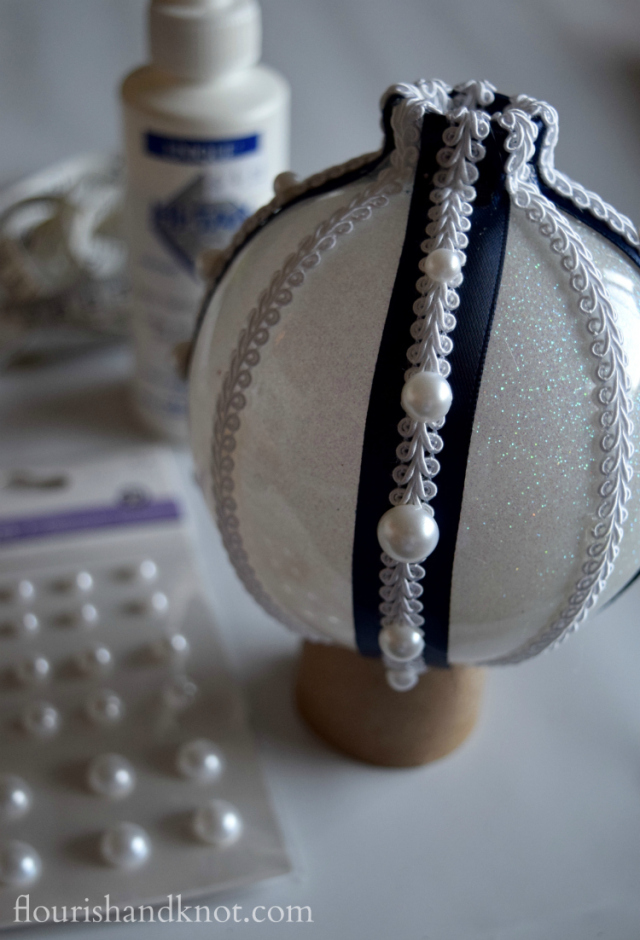
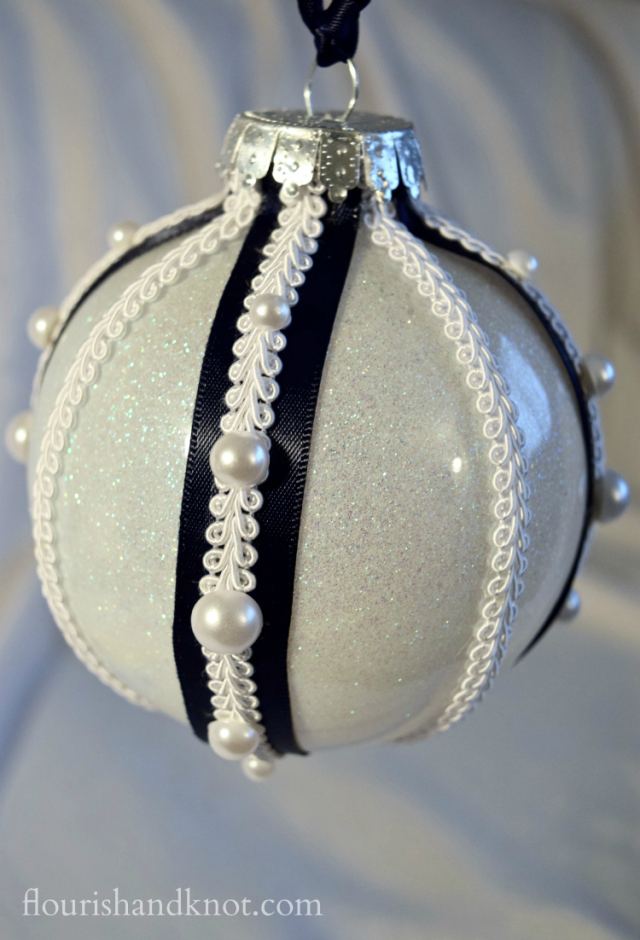
7. Replace the closure, pressing down the flaps as tightly as you can. Attach another length of ribbon and display your lovely ornament with pride!
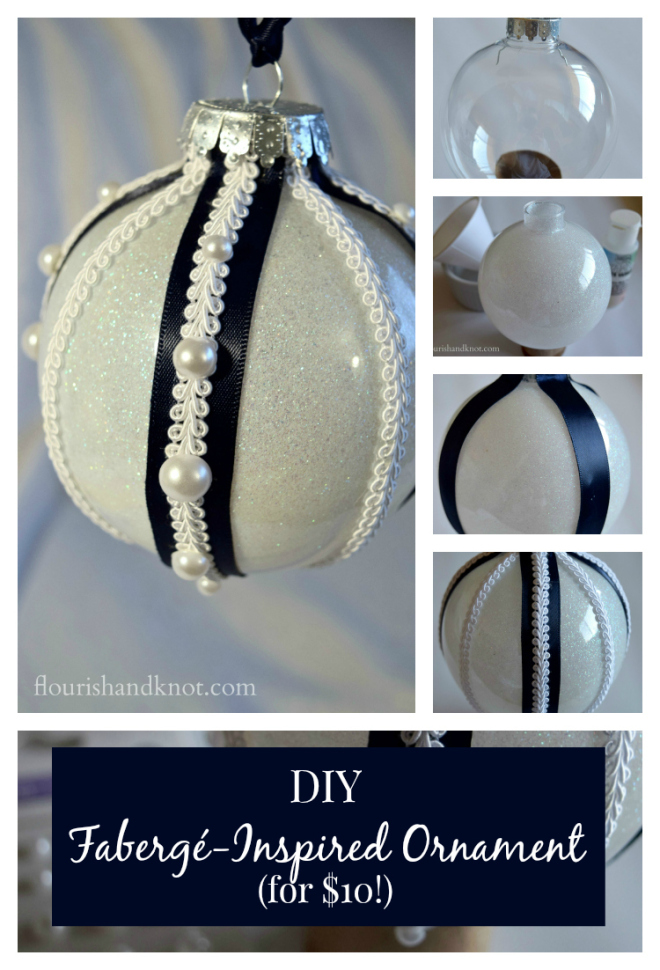
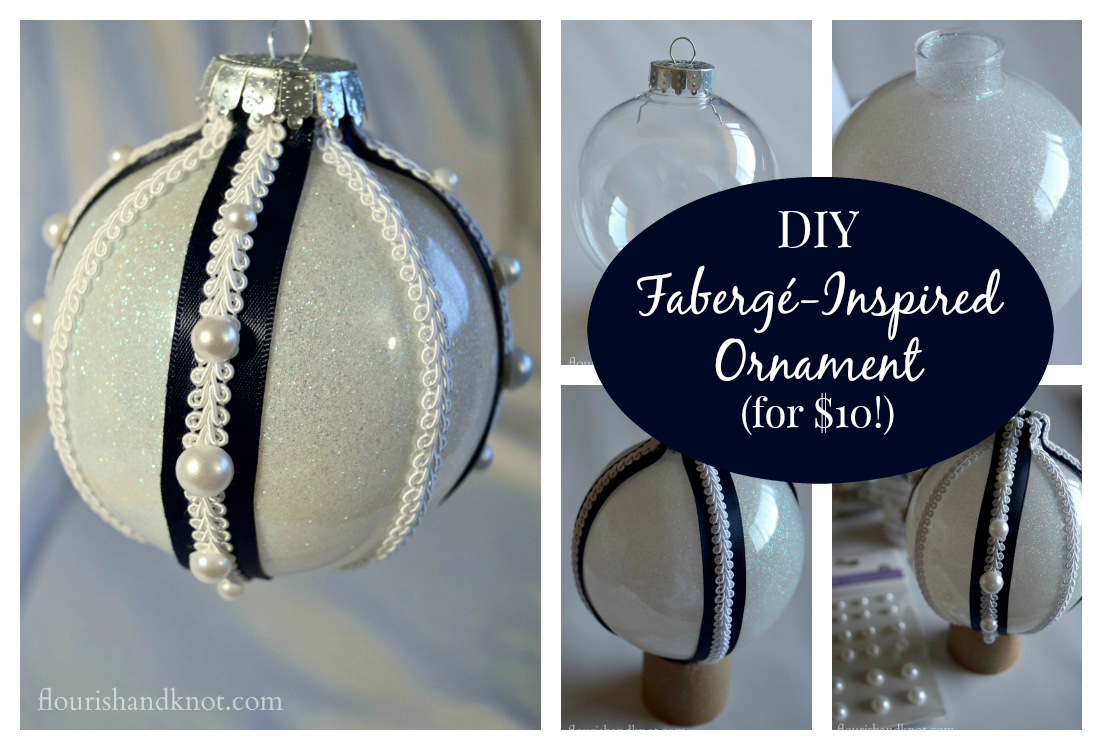
And in case you are Pinterest users (did you know that you can follow Flourish & Knot on Pinterest?), here is a handy-dandy cheat sheet with the steps to create this ornament. I know it’s early to be thinking of Christmas decor, but now is the time to get in some DIYing, before things get too busy! Please feel free to pin and share it.
Now comes the part where you get to hop around from blog to blog and see the other bloggers’ beautiful ornaments. Here are the lovely ladies who are posting today:
Try it – Like it | Gypsy Road | Playfully Tacky | Wife Mommy Me | Ash and Crafts
I hope you’ll take a minute or two (maybe over a second cup of coffee?) and peruse their posts. You can find ALL of the links to the ornament posts at My Pinterventures.

Thank you for sharing at the Thursday Favorite Things blog hop
How elegant and beautiful this turned out, I’m sure your partner is thrilled. Pinning this for future projects when I’m feeling a need for some graceful beauty on my tree!
Thank you, Katie! I really hope my partner will like it.
I LOVE that ornament! My friend has a “thing” about black, and a black-and-white ornament would make a perfect gift idea!
Thank you! It’s actually dark navy (I guess I need to work on my lighting) but it would work really well in black and white!
I’m a blue and silver girl, too. I love all the pretty little embellishments on your ornament!
Thank you so much!
Your ornament is very pretty i love Faberge eggs.- Mamas Journey
Thanks so much, Amy!
Hi Sarah! thank you so much for linking up to our first Inspired By You link party! We hope to see you back every Sunday morning!
Thanks for taking the time to read about my ornament!
Hello I am a fellow ornament exchange participant popping by. Your ornament is so clever and cute!
Have a wonderful day.
Thanks so much for stopping my, Laura! I will definitely hop on over to your blog to see your ornament.
What a lovely ornament!
It looks really nice and oh that Fabergé Egg is stunning.
Will try and see if I can make my own ornament for our xmas tree this year 🙂
I daresay the ornament is easier to make than the egg! 😉
The ornament came out beautiful. I love that you added the glitter inside to make it sparkle. Thank you for sharing your ornament craft on the #ornamentexchange.
Thanks so much for hosting the whole thing, Erlene! You did an amazing job!
Pretty! Thanks for adding this to the Bloggertunities Share Thread. I’ve shared it on my Friday Faves this week.
Wow it’s so detailed and pretty! Your inspiration is perfect – I really like how you didn’t just copy that idea but transformed it into something of your own. Also, the glitter is on POINT! (love glitter <3). Thanks for stopping by Welcome Home Wednesday and sharing with us that's awesome!
Thank you so much! I love that technique of adding glitter to the inside. I might just die in an explosion of glitter someday…