I have a big problem with premature Christmas paraphernalia. When a store cracks out their Christmas stock before Halloween is even over I make a mental note never to shop there again. Ever. (Which I promptly forget until the next year when the cycle of horrified shopping begins anew.)
I recently participated in a poll on cbc.ca (for non-Canadian readers, the CBC is our national broadcasting and news source), which asked on what calendar day it becomes acceptable to play Christmas music. The poll was prompted by some Canadian stores’ policy to refrain from playing holiday music until after Remembrance Day (November 11th) has passed. I fully support this policy and wish that it was mandatory in ALL stores! (Oh, and I would outlaw any Christmas music featuring anyone who has ever appeared on “the charts”, but that’s a rant for another post.)
But Christmas begins early in the blogosphere. And, having a day job that keeps me pretty unthinkably busy, I know that if I don’t get a move on some of my Christmas-related DIY-ing, it’ll never happen and I’ll be stuck in a shopping mall on December 24th. And I hate shopping malls.
So I’m compromising. Over the next month or so, Flourish & Knot will be hosting it’s inaugural Craftvent season! I’ll be bringing you a couple of DIY ideas that will allow you to ease into the holidays with minimal hassle and grief.
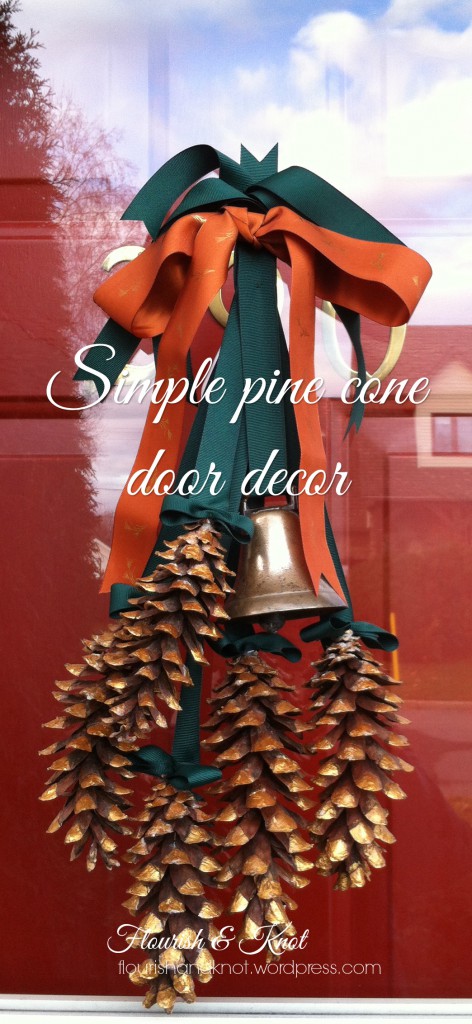
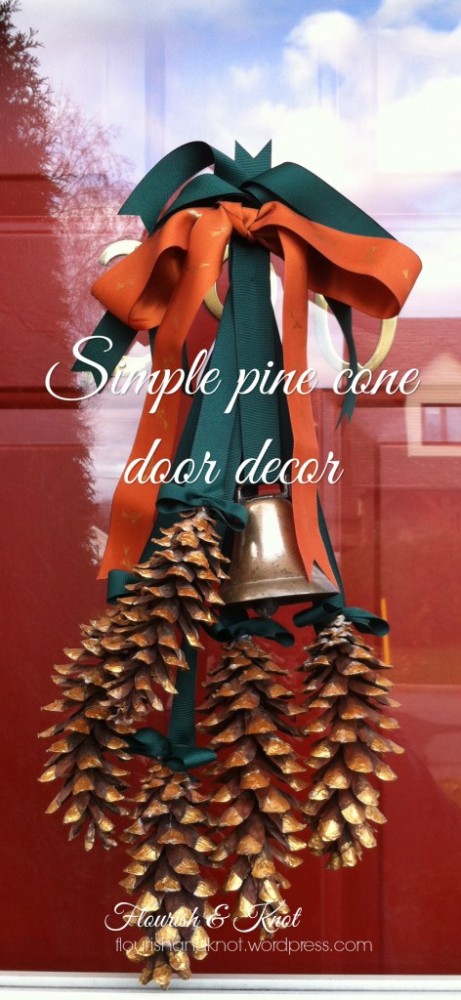
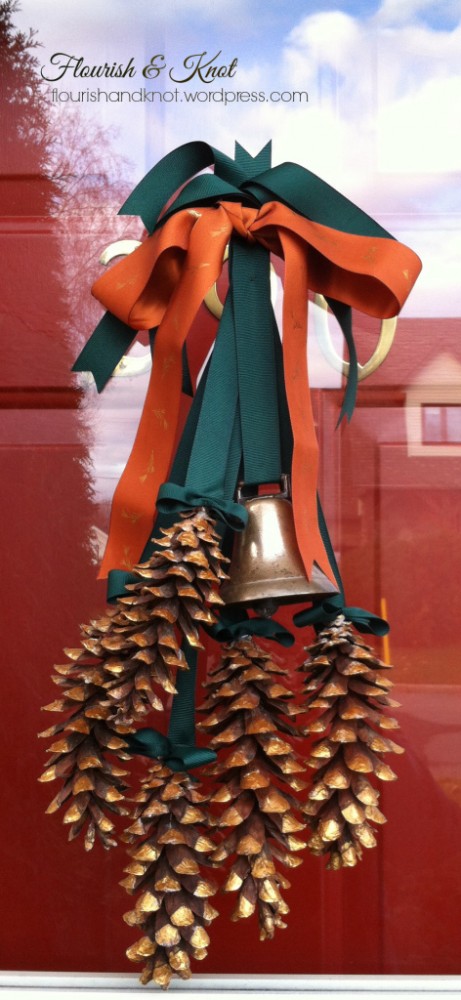
My first Craftvent project is this simple door decoration which can be made in an afternoon, and can easily transition from fall to winter. (So this would be a great project for any American readers looking for a way to spruce up their door for Thanksgiving!)
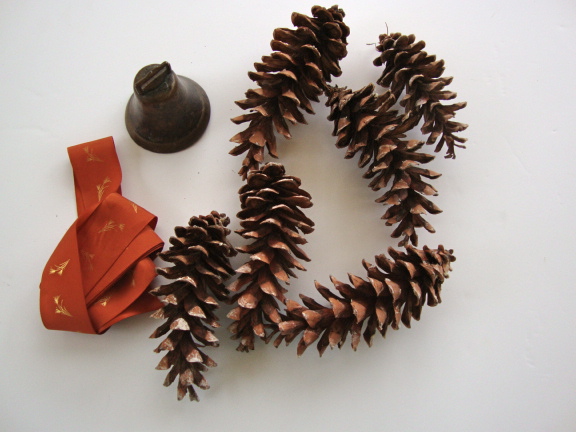
To make it, all you’ll need are 5-6 pine cones (it depends on their size, though – the ones I collected were quite large), some gold (or any colour) craft paint, a brush, some other decorative accent (I used an antique brass bell), a couple of meters of ribbon (could be contrasting like mine or all the same colour), and needle and thread.
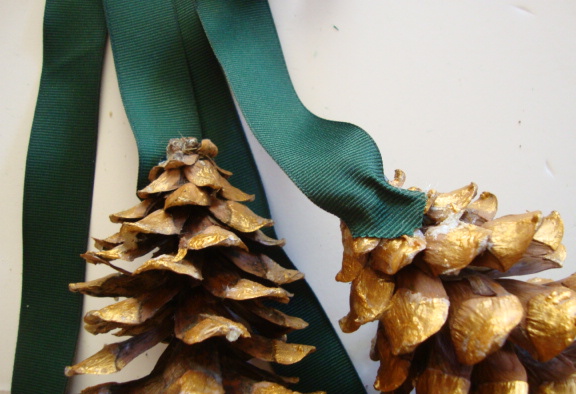
First things first, you need to “gild” the tips of your pine cones. I painted mine with metallic gold craft paint. At first I was worried about leftover sap on the pine cones, but it’s so sticky and hard to clean that I ended up simply painting over it using an old brush. It turned out just fine! Let the paint dry completely before you begin assembling your decoration.
Hot glue the top of each pine cone to a length of ribbon. I cut my ribbons to mostly the same length and then adjusted the length of the ribbons afterwards.
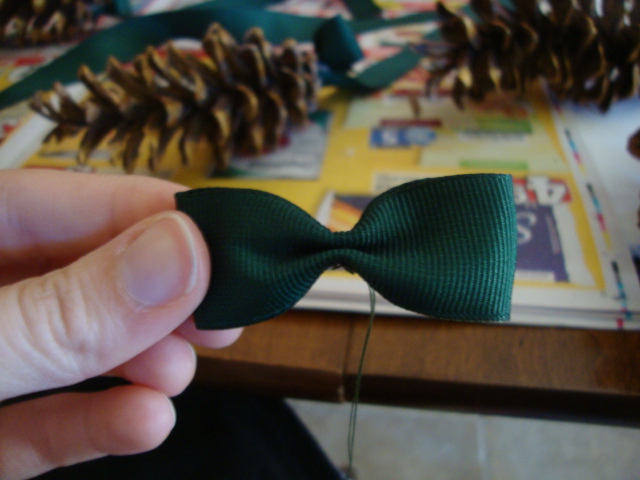
I sewed little bows to finish the tops of the pine cones by making a loop of ribbon, pinching the middle and stitching it with matching thread. I hot-glued the bows to the tops of the pine cones.
I also put the bell on a length of ribbon and stitched it in place for extra security.
I then gathered the ribbons together, arranging the pine cones and the bell at different heights. Once I found an arrangement I was pleased with, I stitched the ribbons together. I finished it off with the contrasting orange ribbon.
I hung it on the door using two suction cup hooks, which I covered by artfully arranging the ribbons. Sneaky, no? 😉
So there you have it! A simple way to decorate your door for fall or winter, which can be made in just a few hours. This would be a great project to do with kids, too. I remember making pine cone tree ornaments when I was about four years old. My mom still puts them on her tree every year. *cue chorus of “awwwww”*
What about you? Any plans for DIY projects leading up to the holidays? Or are you focusing on house-related tasks that need tackling before the cold sets in?
With this post, I declare Craftvent officially ON! C’est parti!

Welcome to Fiesta Friday #41, it’s never too early to start thinking about the holidays is it? Love your simple, yet catchy pine cone decor. So versatile and fall-like. Beautiful!
I’m with you on the early hype of Christmas, but collecting beautiful pine cones to use for the decorations is definitely on. That is a beautiful and tasteful decoration.
Thank you so much!
You may call it “simple”, but it is sure beautiful! Thanks for sharing your crafty ways with the Fiesta Friday group!
You’re welcome! I’m glad you liked the project and I hope it inspires you to gussy up your door. 🙂
Lovely and very festive! Thanks for sharing!
I’m stopping by from the Monday Funday Party and absolutely love your pine cone decor! Thanks for sharing!
Divine Autumnal colours!
This is a great idea! My mother-in-law recently brought me a bag full of pine cones from their backyard. I think this is something I could do with them!!!
Great idea, Iris!