Family traditions are so important! Here on Flourish & Knot, I’ve talked a lot about our family traditions. From the Scottish quaich ceremony at our wedding to the ornaments we put on our Christmas tree year after year, these rituals are at the heart of our family. Now that we’re parents to our beautiful baby Katherine, we want to make sure that she is in touch with her Mexican heritage, despite living in Canada. When I was brainstorming ideas for my next craft, I knew I wanted something both for Halloween and Día de Muertos (the Day of the Dead – an important Mexican holiday that happens on November 2nd). So, I got out my paintbrushes and my glue gun and set about making a funky, colourful painted pumpkin!
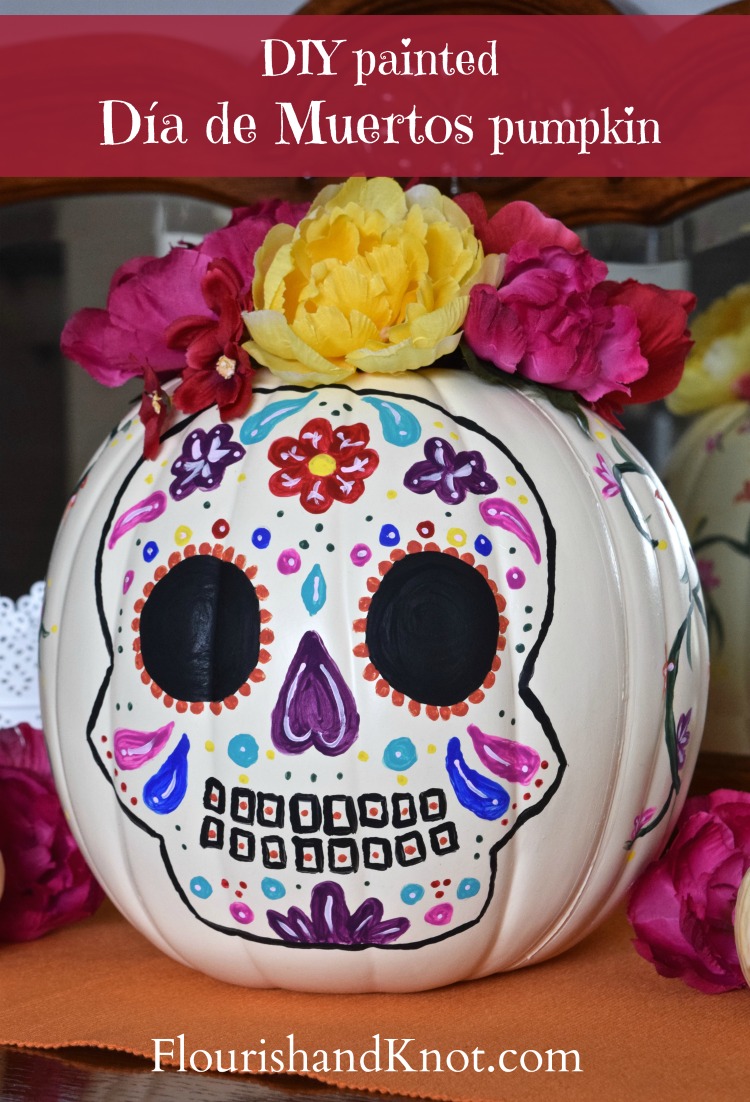
Inspired by a beautiful painted pumpkin tutorial from Ariel at PMQ for Two, I set out to create my own take on Día de Muertos decor. Here’s how I made it!
Materials
Acrylic paint in a variety of colours (the brighter the better!)
Fine-tip paintbrushes (I used one with a shorter tip and another, longer-tipped one)
A craft (or real!) pumpkin
Glue gun and glue
Silk flowers in a variety of colours
Pencil and good-quality eraser
Directions
- Pull up some images of Día de Muertos sugar skulls (called “calaveritas”, by the way!). You can print one to use as a template, print templates here (I used ’em last year to make luminaries), or just free-hand your design based on what you see. I decided to go bold (and possibly foolhardy?) and free-hand my skull.
- Sketch your skull onto the pumpkin. You don’t have to add all the details right now – you can go back and make some changes later.
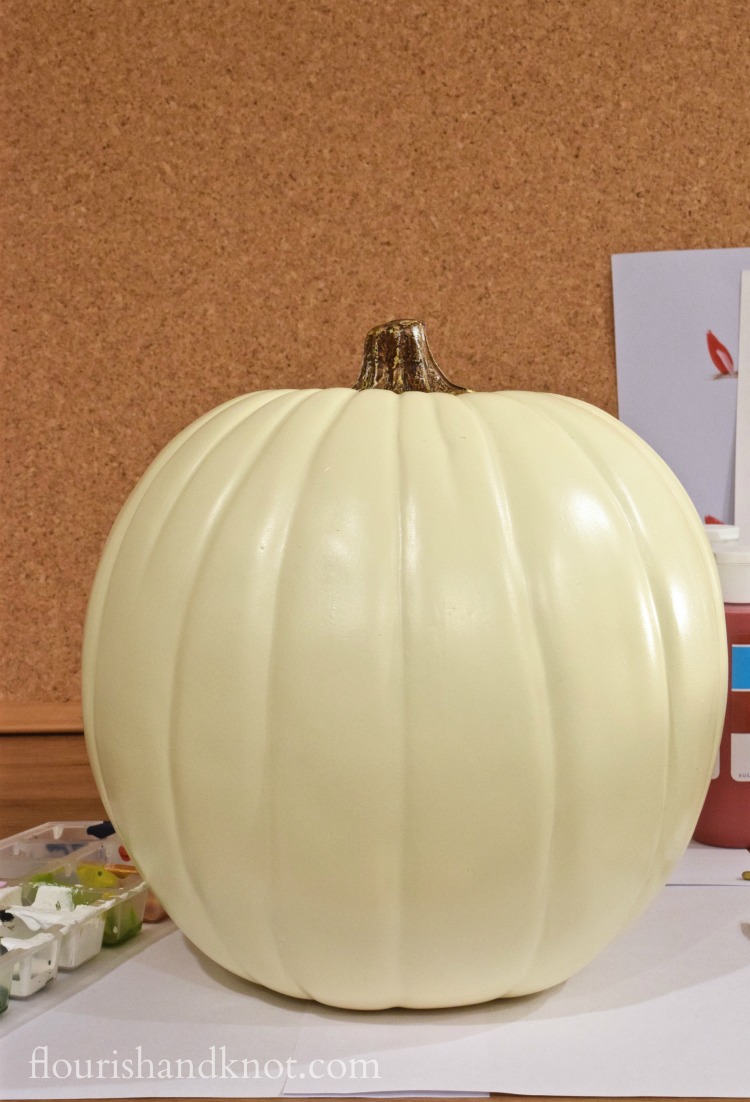
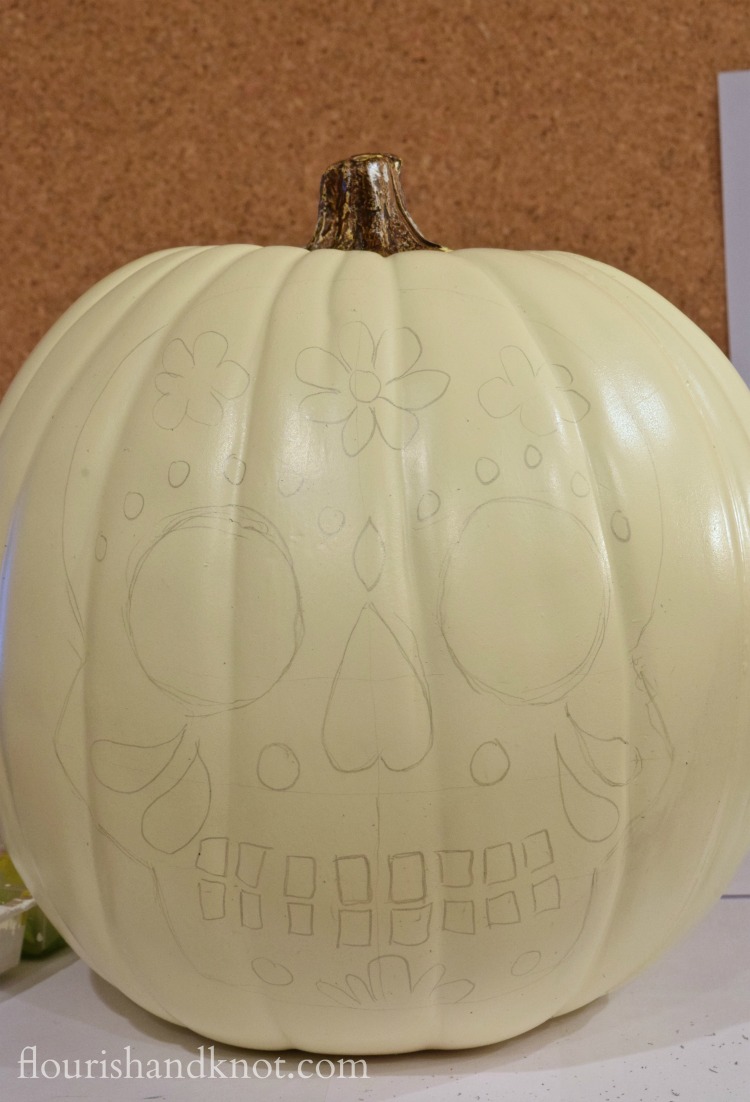
One thing I found helpful (especially since I free-handed this), was to add some basic reference lines to my drawing (centre, middle of nose, centre of teeth etc.). It helped me to keep things mostly symmetrical.
3. Once you are happy with your basic design, begin to fill in some of the major elements with paint.
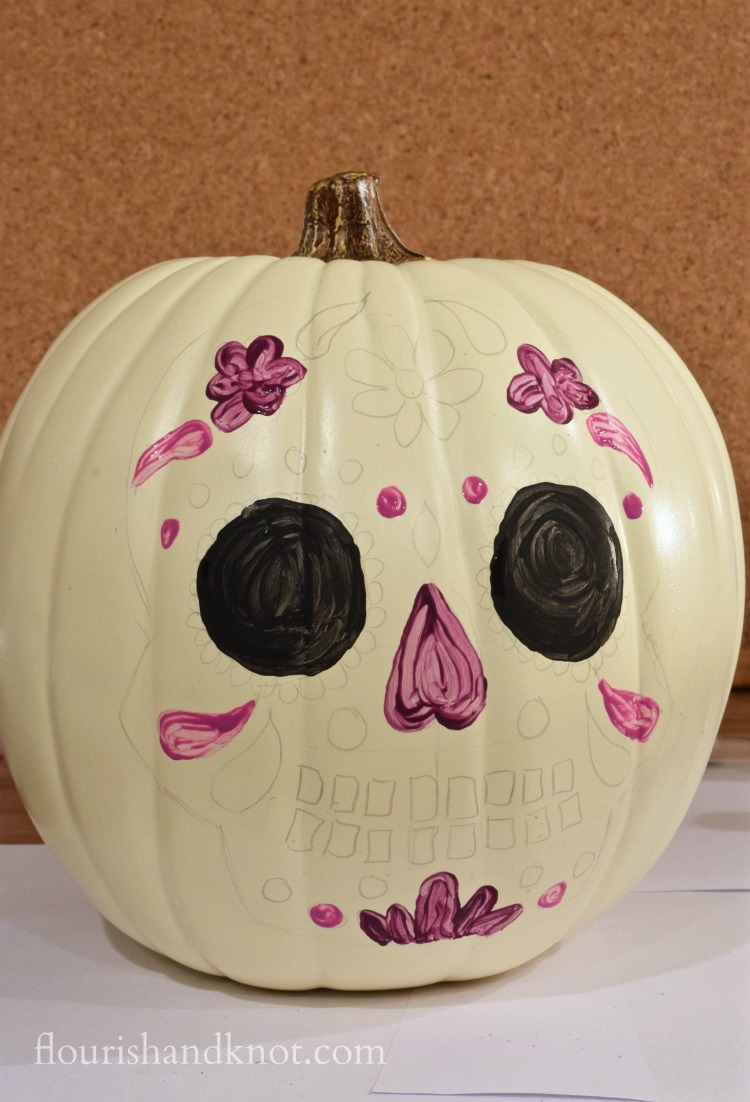
4. Continue filling in elements of your design, alternating colours to get a bold palette. Don’t worry about details yet. You’ll fill those in after you do a second coat on everything.
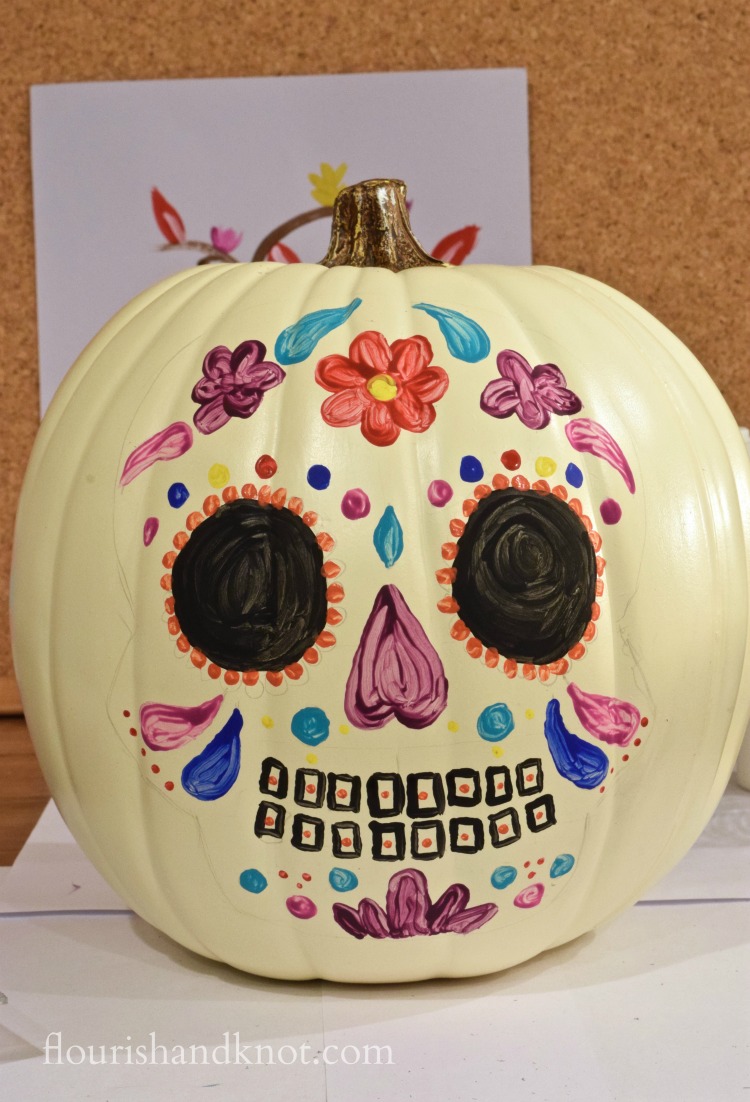
5. Apply a second coat of paint to your design, so that the shapes and colours really pop! I also added a bougainvillea vine to the back of my pumpkin. To see how to do this in detail, you really need to visit PMQ for Two! Ariel’s tutorial is top-notch and really makes it easy to get a gorgeous look. (Oh and did I mention she’s a fellow Canadian blogger? 🙂 )
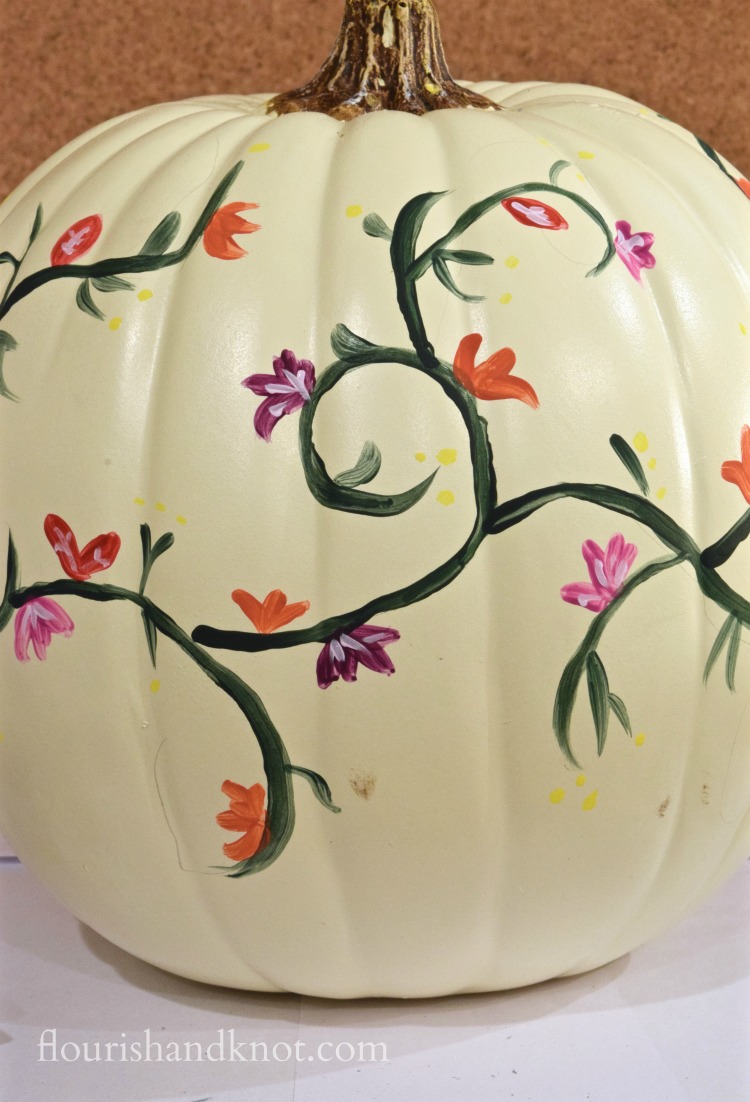
6. Once you’ve done two (or even three for some trickier colours) coats, you are ready to add some detail to your design. I added little dots in a bunch of different colours, and highlighted in light pink.
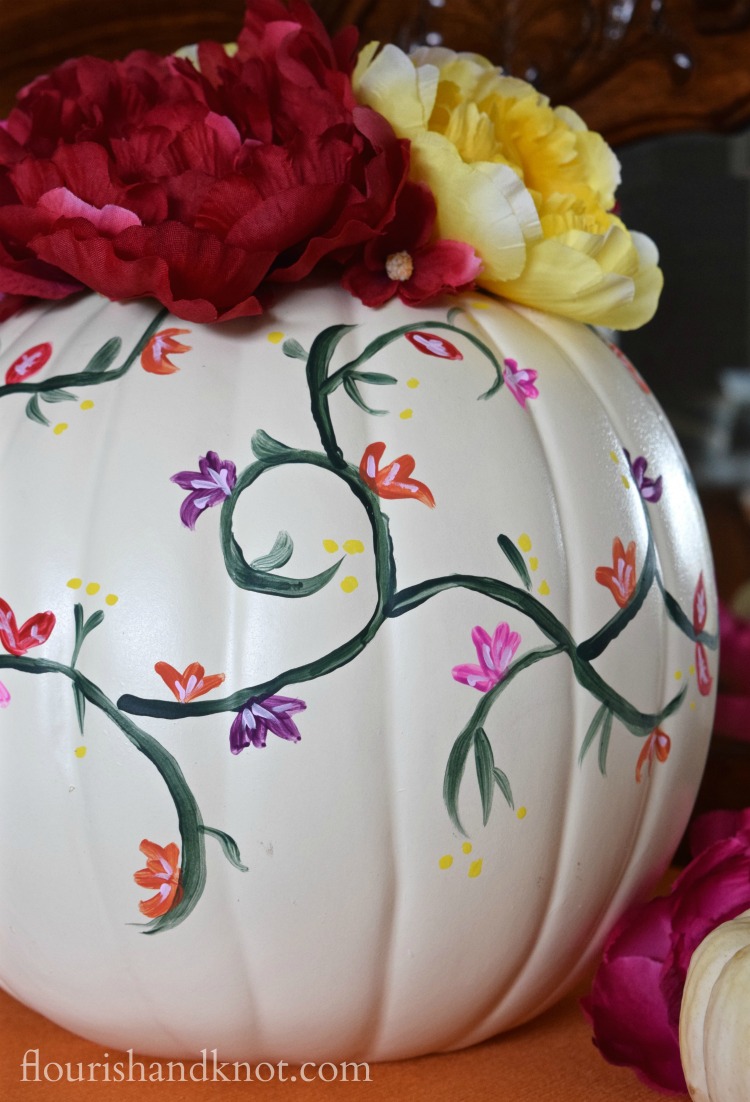
7. Erase any visible pencil lines (with a good-quality eraser – not the one from the end of the pencil).
8. Cut the stems off your silk flowers and hot-glue them to the top of the pumpkin to create a floral crown. (À la Frida Kahlo)

That’s it, folks! This isn’t a particularly difficult craft, but it does take time – mostly waiting for the paint to dry so that you can apply another coat. 🙂 But I’d say it’s well worth the effort!
I’m always a fan of decor that you can bring out year after year, especially because it often becomes the basis for great conversations and family memories! I can’t wait til Katherine is old enough to learn about her vibrant Mexican heritage.
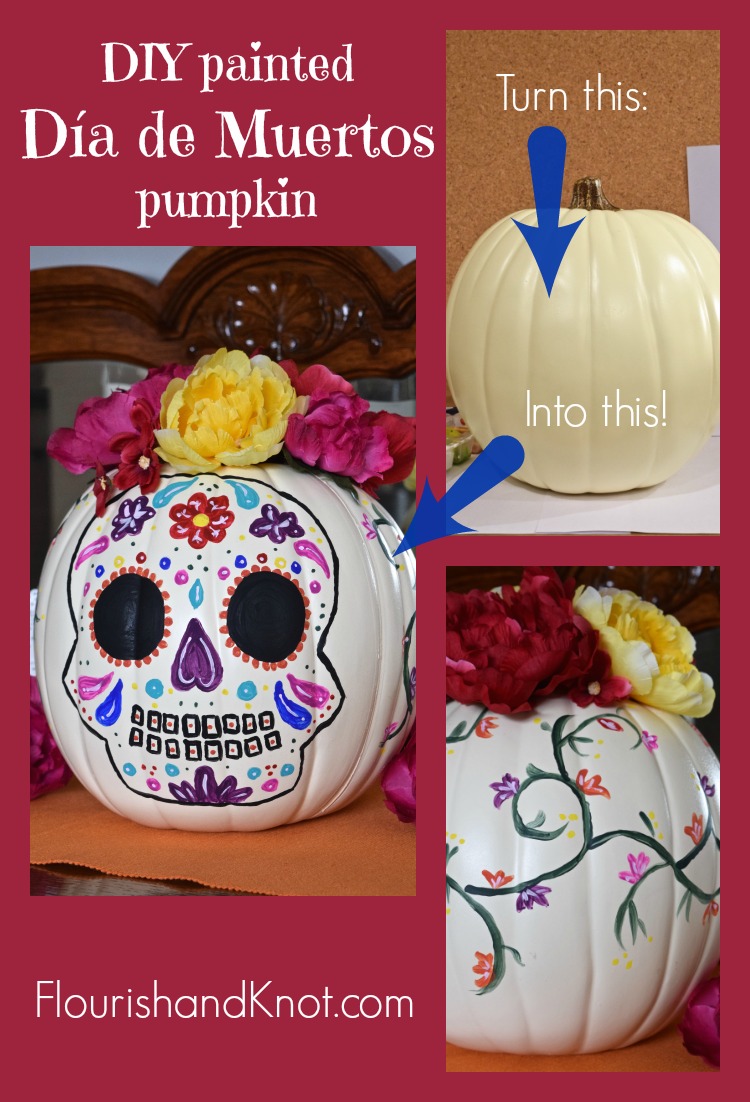
Don’t forget to pin this tutorial for a rainy day! (AKA this weekend if you live in Quebec 🙁 )
So what are your weekend plans? We’ll be celebrating a major family birthday and getting the house ready for Halloween. How are you decorating? Let me know in the comments!
Have a great weekend and happy crafting!
*****
Joining the party at Fiesta Friday!

Decorative painting is not my forte, but will pass this on to those in the family who really could do it.
You know what, Hilda? I never thought it was my forte either, but every time I do it, I improve! Thanks for reading!
That is sooooo cool! Frida would love it!
Thank you! I’m so glad you liked the post.
Greetings from Brazil.
Welcome! Glad to have you as a reader.
I had no idea you can buy craft pumpkins?! Your final product looks amazing, and I guess you can keep it to bring out each year?
Thank you for sharing this with everyone at Fiesta Friday, and nice to meet you
Hi Elaine! Yes – they are just plastic pumpkins. I should have specified that in the post. You could definitely do this with a real pumpkin, but it’s nice to be able to re-use it next year!
Brilliant idea!
My boys love going to te local pottery paint shop near us, thanks for reminding me to take them.
Painting is so wonderfully calming, I find!
Adorable! I love the colors – pinning!
Thanks, April!
This is so cute! I love the colors you used – it turned out beautifully!
Thanks, Amanda!
I’m SO SO SORRY I’m late to the game on this! Girl you did a fantastic job! I love it! So glad you liked my tutorial 🙂 Pinning!
Hey Ariel! I’m so pleased that you liked my pumpkin. Thanks for being the initial inspiration!
This is really cool, love it!
Thanks, Roxanne!
I love this project, so clever!
Thank you, Laurie!
Love this 🙂 visiting you from the Home Matters Linky Party.
Thanks for reading, Anita!
This is just so cool! I am pinning today.
Maria
Thanks, Maria!
Great colors and traditions are so important!
Yes, aren’t they just?!
This is so beautiful and perfect for the home, I will be bringing this idea to life in our own Dia De Muertos traditions.
I love this!! So colorful and fun – it turned out beautifully!
Thank you, Sarah. I’m pleased with how it turned out.
So glad to hear it! Enjoy!
Very Creative…love,love,love